The project I made for today’s post is a lovely, feminine card that would fit so many occasions!
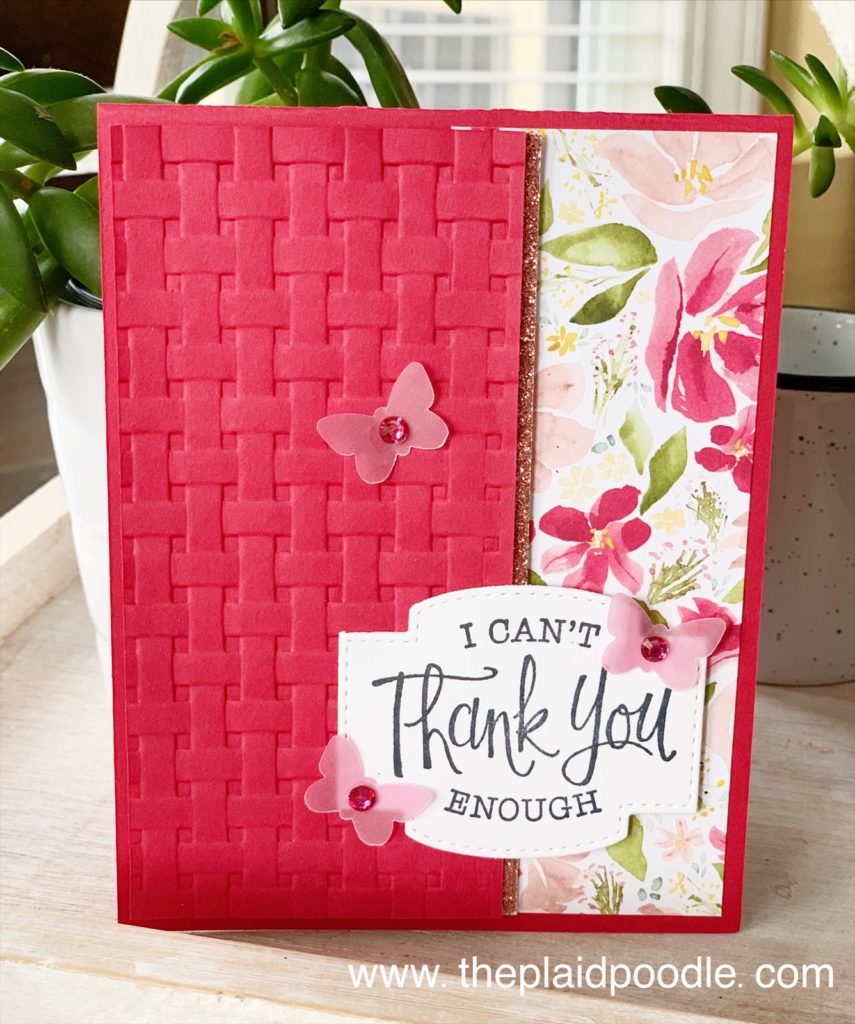
The floral paper from the Best Dressed Designer Series Paper Stack was my inspiration for the card. I pulled the Lovely Lipstick color from the paper to use for the card base, the embossed layer, the butterflies and even the rhinestones! I used a sentiment from the So Sentimental Stamp Set from Stampin’ Up! Look at all the great occasions this stamp set would work for!
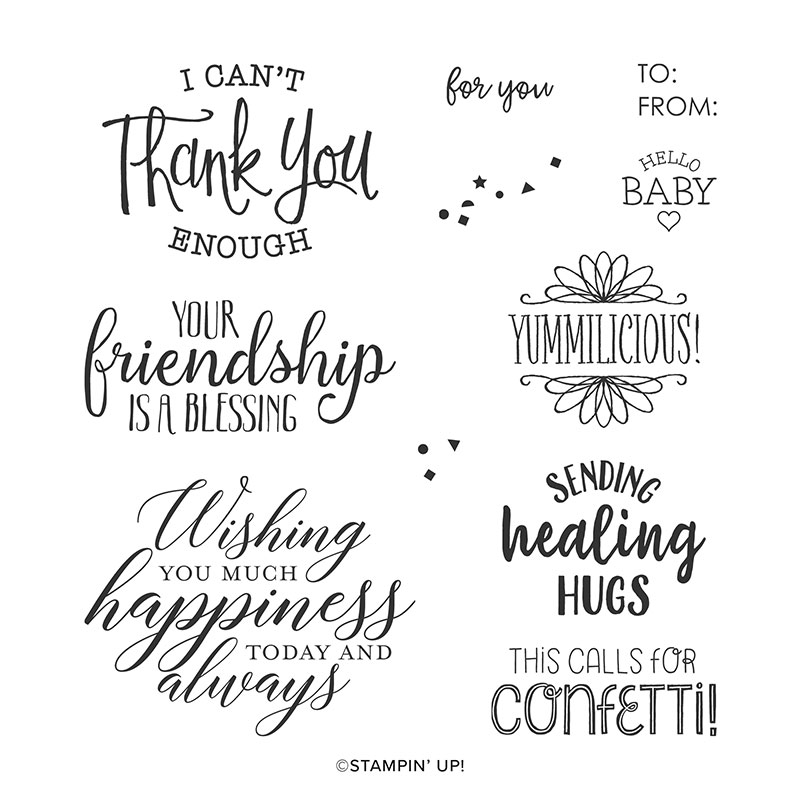
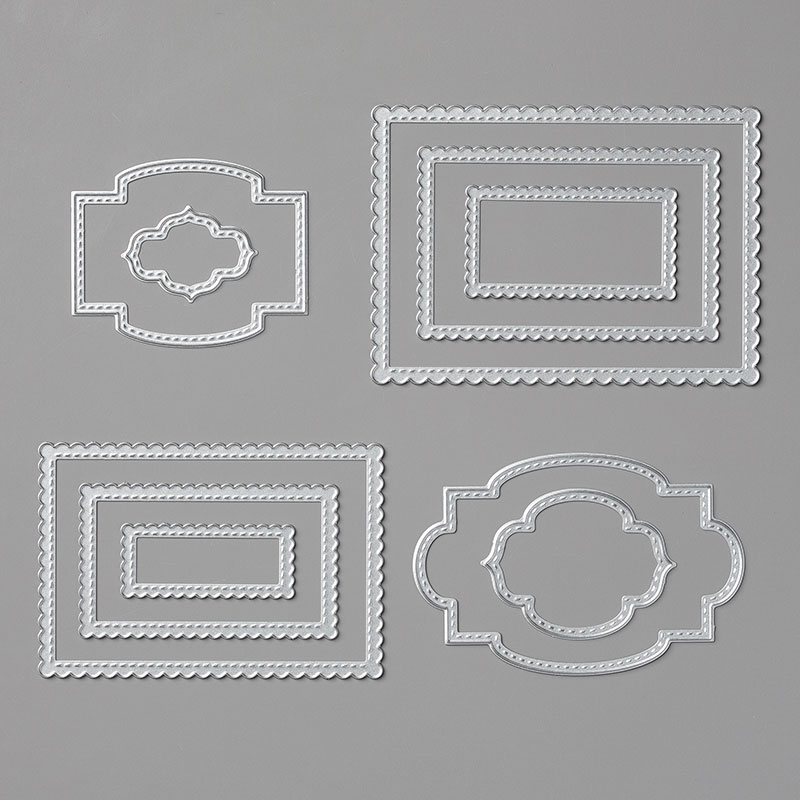
What was really fun was using the stamps along with the coordinating Stitched So Sweetly Dies. When you purchase the So Sentimental Bundle, the stamp set and dies, you save 10%! The dies fit perfectly over several of the stamped images creating pretty tags for cards and packages. I’m excited to use the stitched scallop rectangle dies on a project!
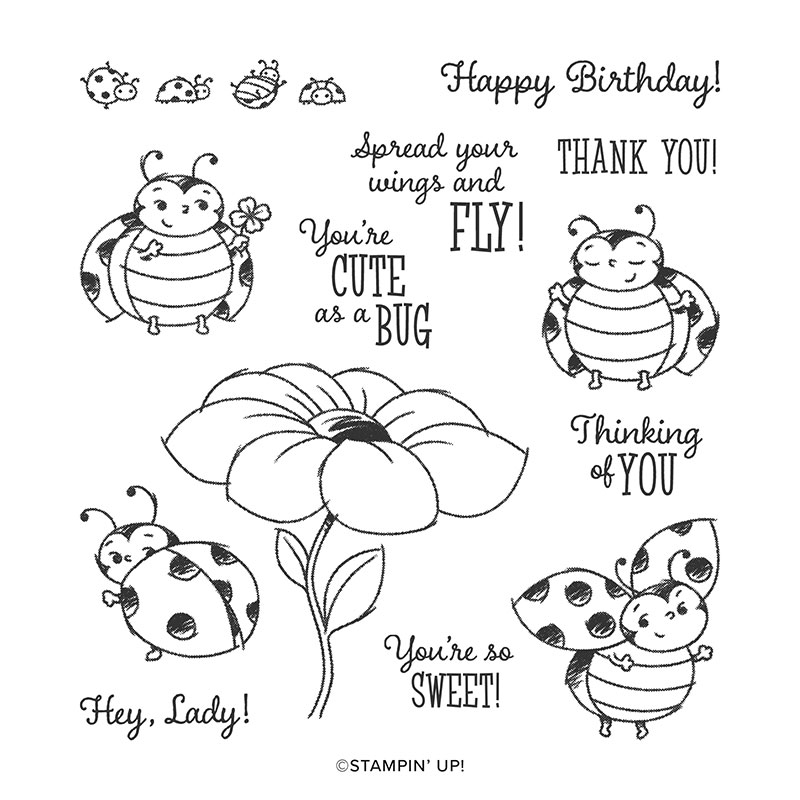
For the inside sentiment, I chose a stamp from the Little Ladybug stamp, a Host Stamp Set from Stampin’ Up! Isn’t it cute?
 $5.00 |  $7.00 | |||
 $32.00 |  $3.00 |  $18.00 |  $49.00 | |
 $5.00 |  $4.00 |  $7.00 |  $4.00 |
")
")
")


 Designer Series Paper")


Card Recipe:
- Real Red card stock = 4-1/4″ x 11″ scored at 5-1/2″ to form card base
- Real Red card stock = 2-1/2″ x 5-1/4″ emboss
- Best Dressed Designer Series Paper = 2″ x 5-1/4″
- Rose Glimmer Paper = 1/4″ x 5-1/4″
- Whisper White card stock = 2-1/2″ x 3″ stamp sentiment & die-cut out
- Whisper White card stock = 4″ x 5-1/4″ inside card sentiment
- Vellum = scrap for punched butterflies
Click on the Shop Now button below to get everything you need to make your own So Sentimental Thank You Card!