I recently learned a new way of cutting Designer Series Paper to create beautiful backgrounds for my handmade cards. All you need is a 4-3/4″ x 3-1/2″ piece of patterned paper and a paper trimmer. Once the created background is adhered to your card front you can embellish it however your wish.
Here is the first card I created using the technique.
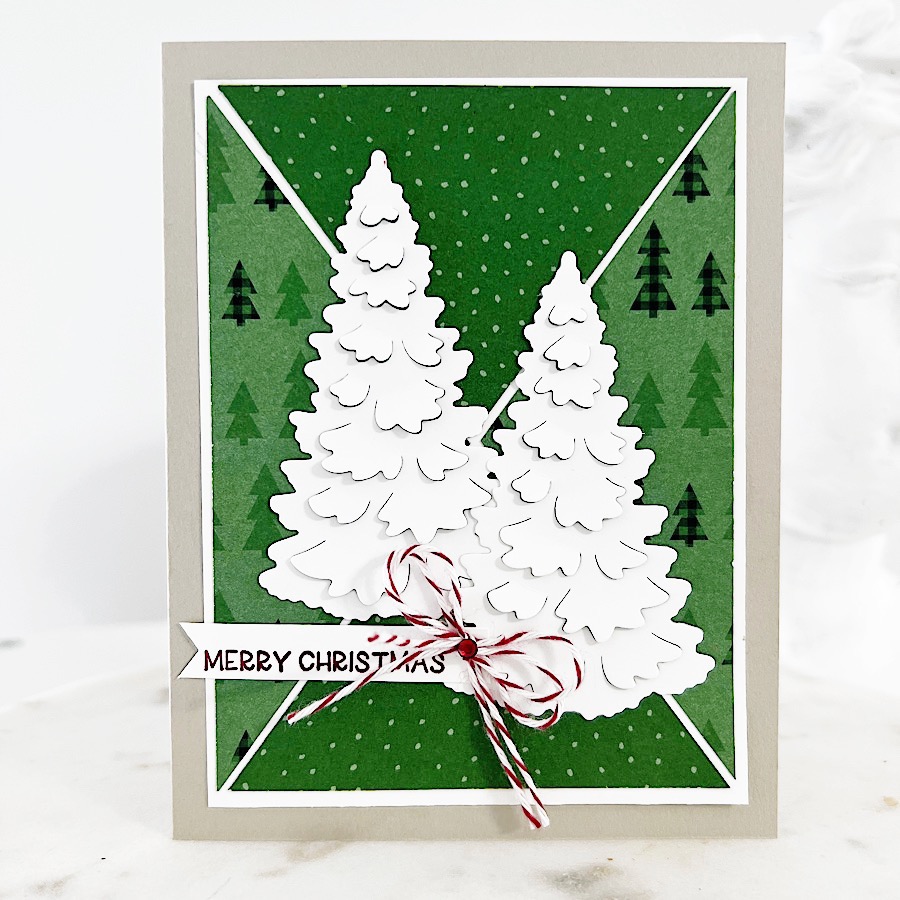
I used both sides of the Designer Series Paper for the background of this Christmas card. Here is another card I made using the technique that only used one side of the patterned paper.
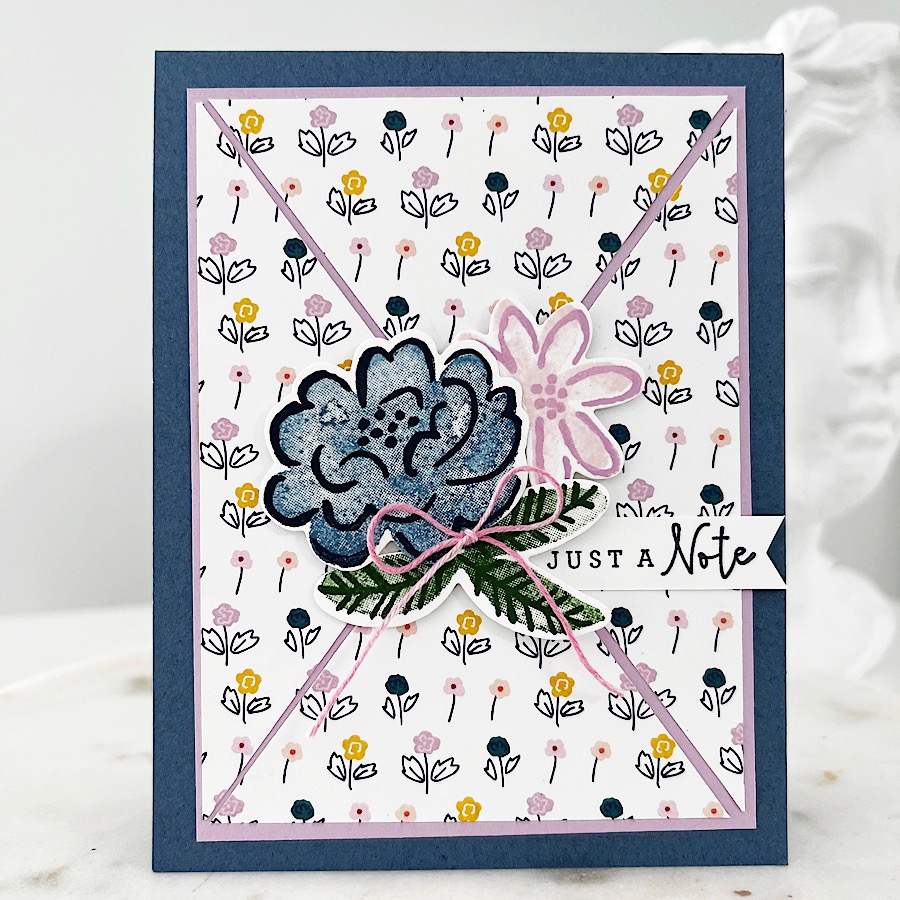
You can see how easy it is to adapt this card background for any occasion and use any products in your stash to embellish the front.
Cutting and Scoring Guide
- Create an A2-sized card base.
- First Layer = 5″ x 3-3/4″ piece cardstock.
- Designer Series Paper = 4-3/4″ x 3-1/2″
 |  |  |  |
 |  |  Designer Series Paper") |  |
 |  |  |  |
 |  |  |  |
 |