Making cards is fun but sending them to brighten someone else’s day is delightful! Wouldn’t you love to receive a handmade card in the mail? Happy Mail is the best kind of mail!
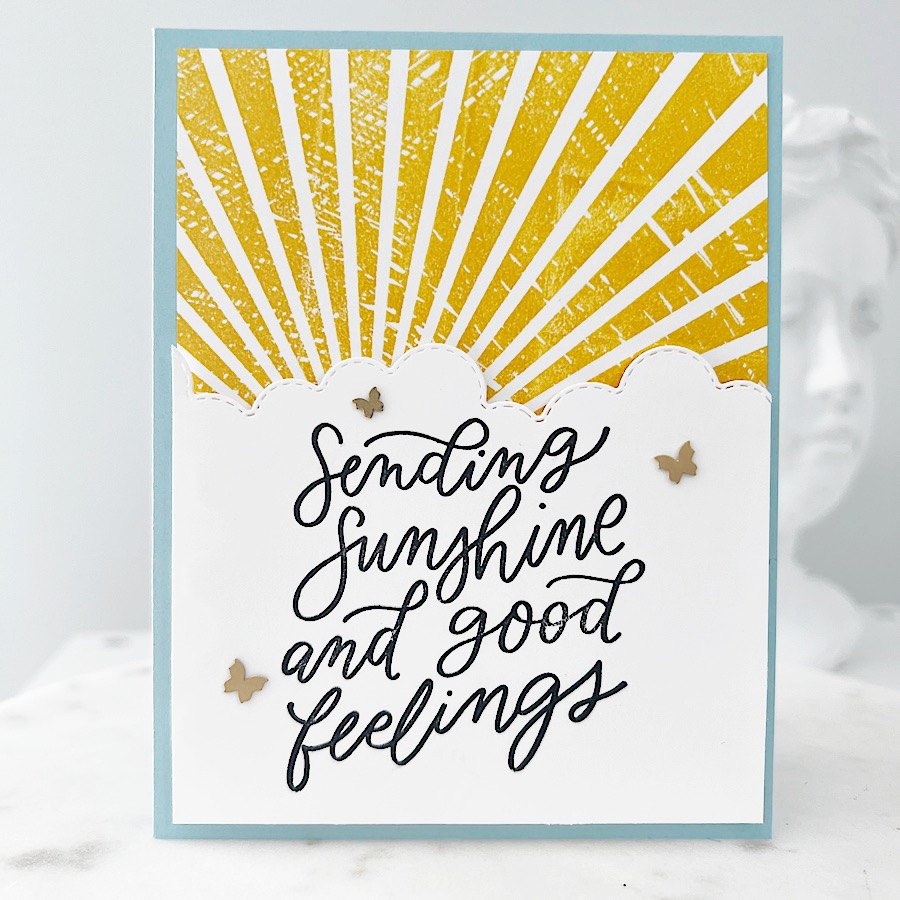
The Sending Sunshine greeting card I made during today’s Coffee & a Card Livestream would brighten anyone’s day. Whatever kind of day you’re having, those rays of light are sure to bring encouragement!
The “Sending Sunshine and good feelings” sentiment works couples well with the Rays of Light stamp set.
I used a masking technique to shorten the stamped sentiment. This video replay from today’s Livestream demonstrates how I did that.
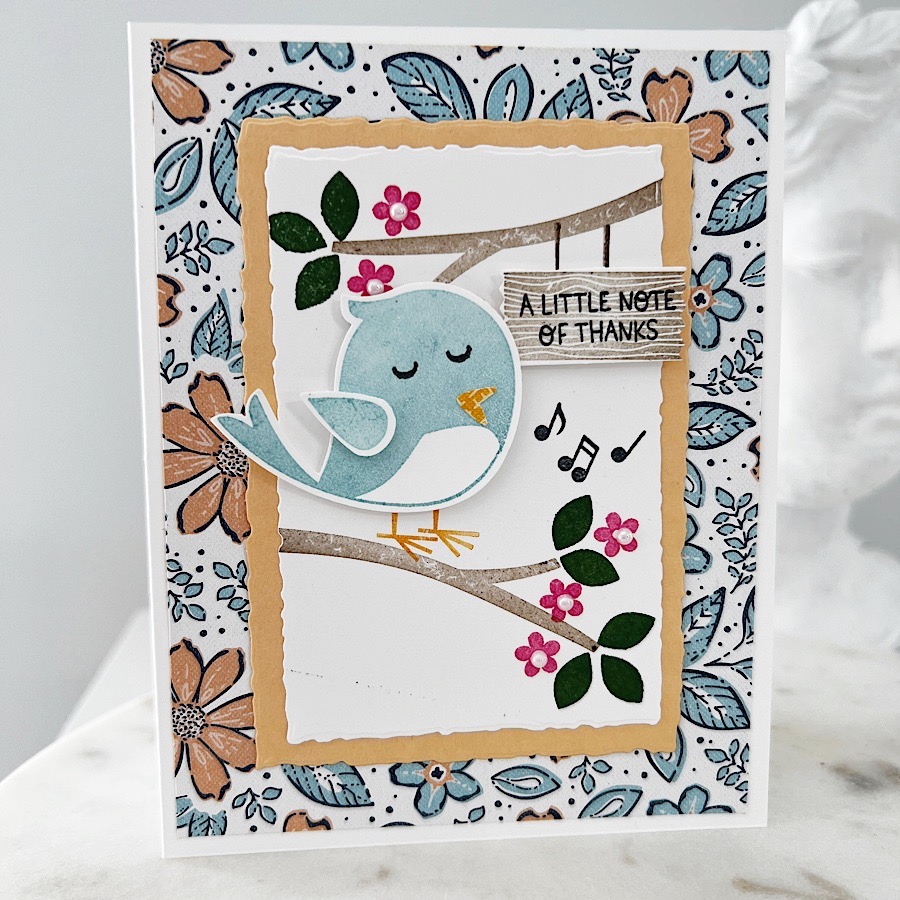
Spring has sprung here in Kansas City and has put me in the mood to make this Sweet Songbirds thank-you card. I used the Sweet Songbirds Bundle from Stampin’ Up! to create the card. I also used one of my favorite 6″ x 6″ paper collections, Regency Park.
Although I could have cut rectangles for the layers, I chose to use the Deckled Rectangle Dies to add some texture and a little more interest.
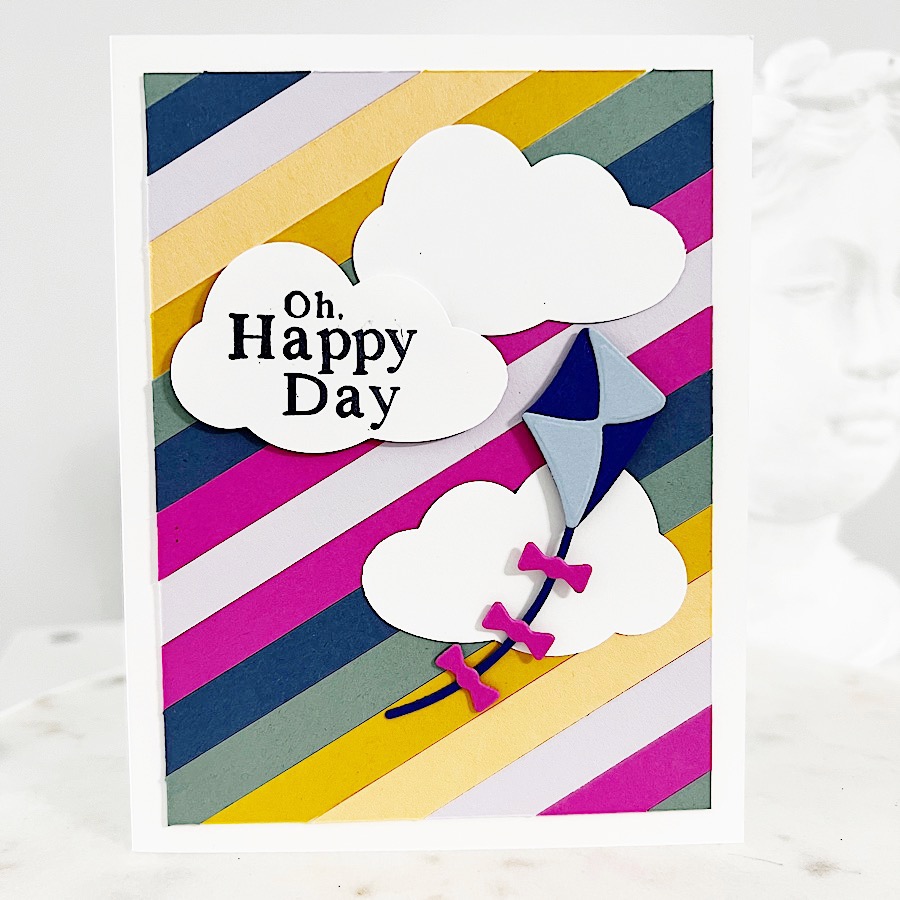
I’ve got another card to share with you today using paper scraps. I’ll admit it, I’m a paper hoarder and I need lots of ideas to use up my stash of cardstock. Today’s card uses 3/8″ x 5-1/4″ strips of cardstock, the Cloud Punch, and the Playing in the Rain Bundle from Stampin’ Up!
The background created with the paper strips, reminiscent of a rainbow, makes a great background for the clouds and kite die-cuts. Watch this video tutorial for full directions:
Are you wondering what to do with all those designer series paper scraps? Use them! I’ve used eight, 1/2″ strips of paper scraps to create the card I’m sharing with you today.
The vibrant woven background created with the paper strips makes a great background and sets the stage for any sentiment tag.
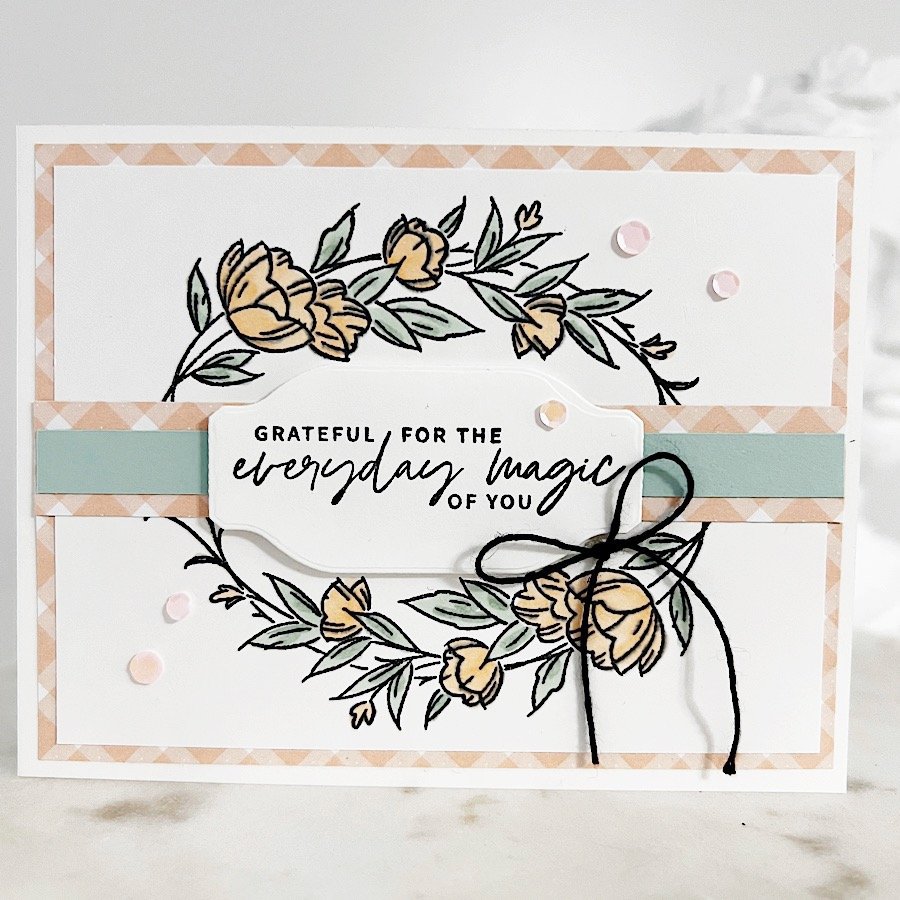
I used the Decorative Borders stamp set from Stampin’ Up! to make this sweet, wreath-themed card.
I used my favorite coloring tools, Stampin’ Blends, to color the beautiful line art image from the stamp set. The Petal Pink color was drawn from the Country Gingham Designer Series Paper I used as the first layer on the card.
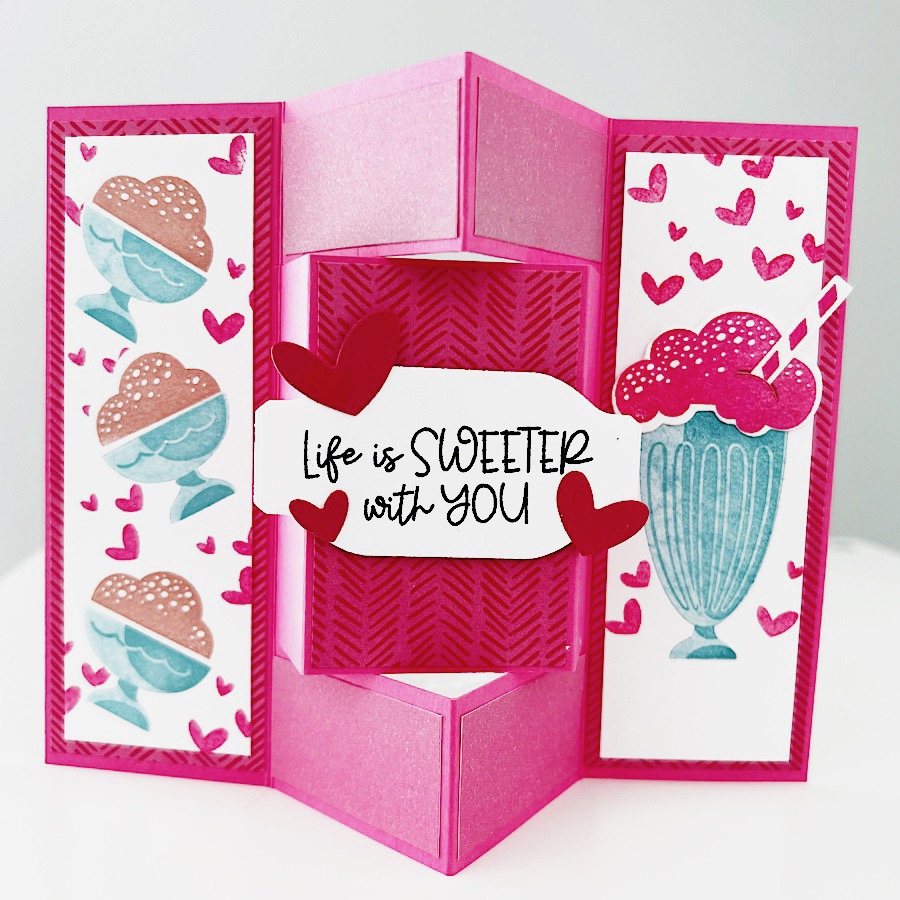
I used the Share a Milkshake Bundle from Stampin’ Up! to embellish the card I’m sharing with you today. Who doesn’t dream of floating ice cream dishes and strawberry milkshakes? You can’t get any sweeter than that!
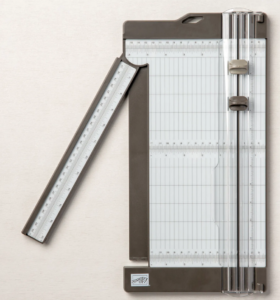
The fun-fold technique I used appears a bit complicated but is actually quite simple when you use a paper trimmer that includes a scoring blade. I used this one from Stampin’ Up!
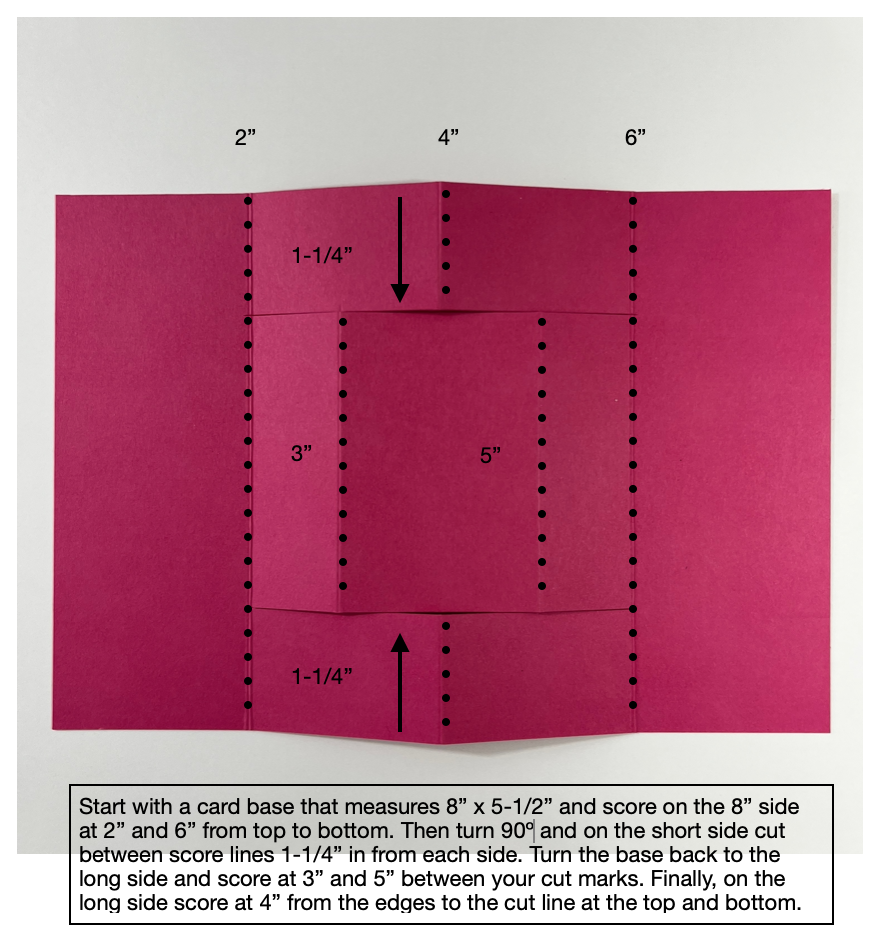
Here is a diagram showing the cutting and scoring I used to create this fun-fold card base:
Watch this video for complete cutting and scoring instructions:
Cutting & Scoring Guide
Card Base = 8″ x 5-1/2″
Designer Series Paper = two pieces 1-7/8″ x 5-1/4″ each, one piece 2-7/8″ x 1-7/8″, four pieces 1-7/8″ x 1″ each
We’re almost halfway through the month of February – what? Sale-a-Bration will be going away in just a couple of weeks. If you’re new here, during the promotion you can choose a free Sale-a-Bration product with every $50 or $100 you spend. Read all about Sale-a-Bration here: https://bit.ly/40CPRwK
The Designer Series Paper I used for the card is a sneak peek of the Enjoy the Journey paper. The pack of 12″ x 12″ is available to customers as an Online Exclusive on March 1. Demonstrators were able to preorder the paper.
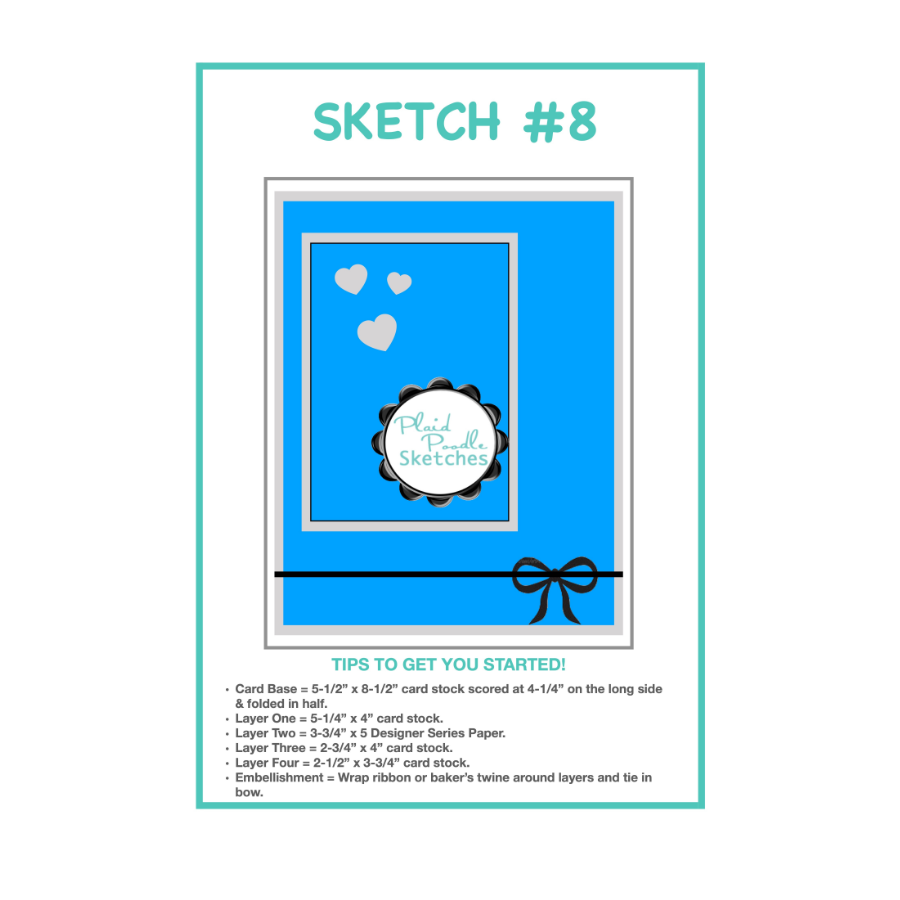
I send a free card tutorial to my email subscribers every Tuesday. This week subscribers received a card tutorial for this Valentine’s card and this sketch.
I used the same sketch to create today’s Beautifully Happy Thank-You Card. Did you notice how I changed things up from the sketch? Don’t miss one of my Fee Tutorial Tuesday emails! Sign up at this link: https://bit.ly/3l6KHJ1
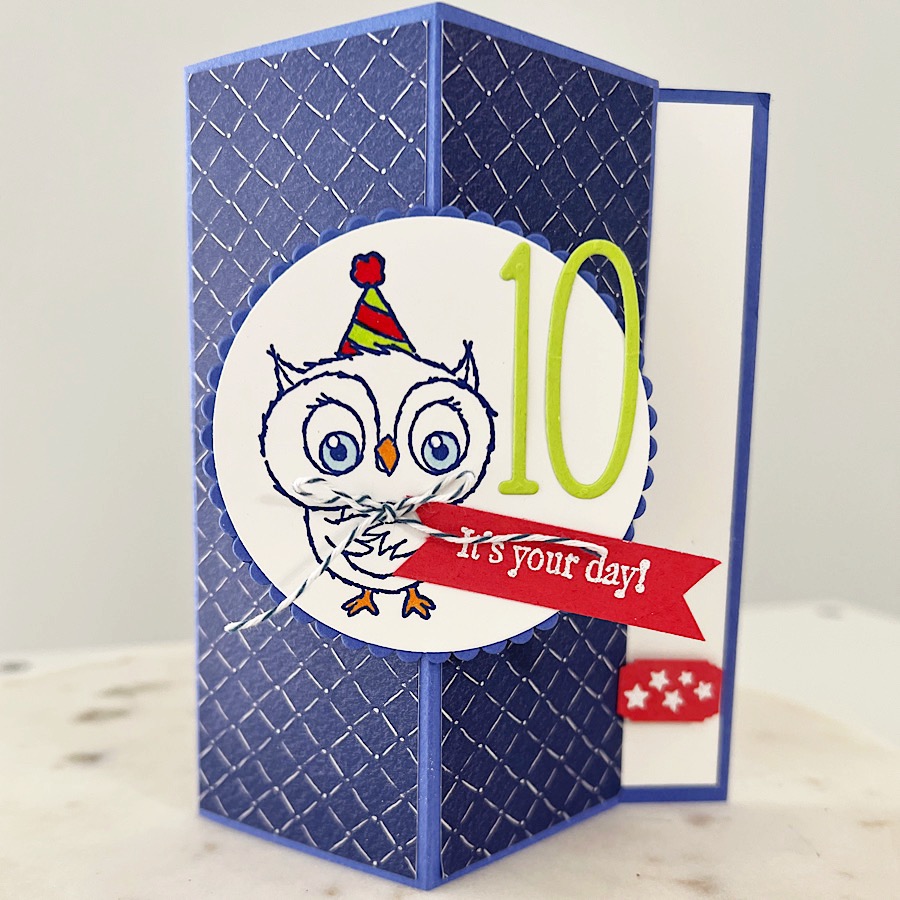
I know a couple of fellas that are having birthdays this year and I cannot wait to give them this card I made today during my Make-it-Monday Livestream:
Isn’t that little hoot owl image from the Adorable Owls stamp set the cutest? The Adorable Owls stamp set from Stampin’ Up! is one of the free Sale-a-Bration products you can earn with a qualifying purchase through February.
Cutting & Scoring Guide
Card Base = 8-1/2″ x 5-1/2″ piece of Starry Sky cardstock scored at 2-1/8 and 4-1/4″ on the 8-1/2″ side.
Designer Series Paper = Two 2″ x 5-3/8″ pieces of Dainty Flowers Designer Series Paper
Scallop Circle = Cut scallop circle from 3″ x 3″ piece of Starry Sky cardstock
Stamped Circle = Cut circle from 3″ x 3″ piece of Basic White cardstock
Card Insert = 4″ x 5-1/4″ piece of Basic White cardstock
Sentiment Tag = 1/2″ x 3″ piece of Sweet Sorbet cardstock
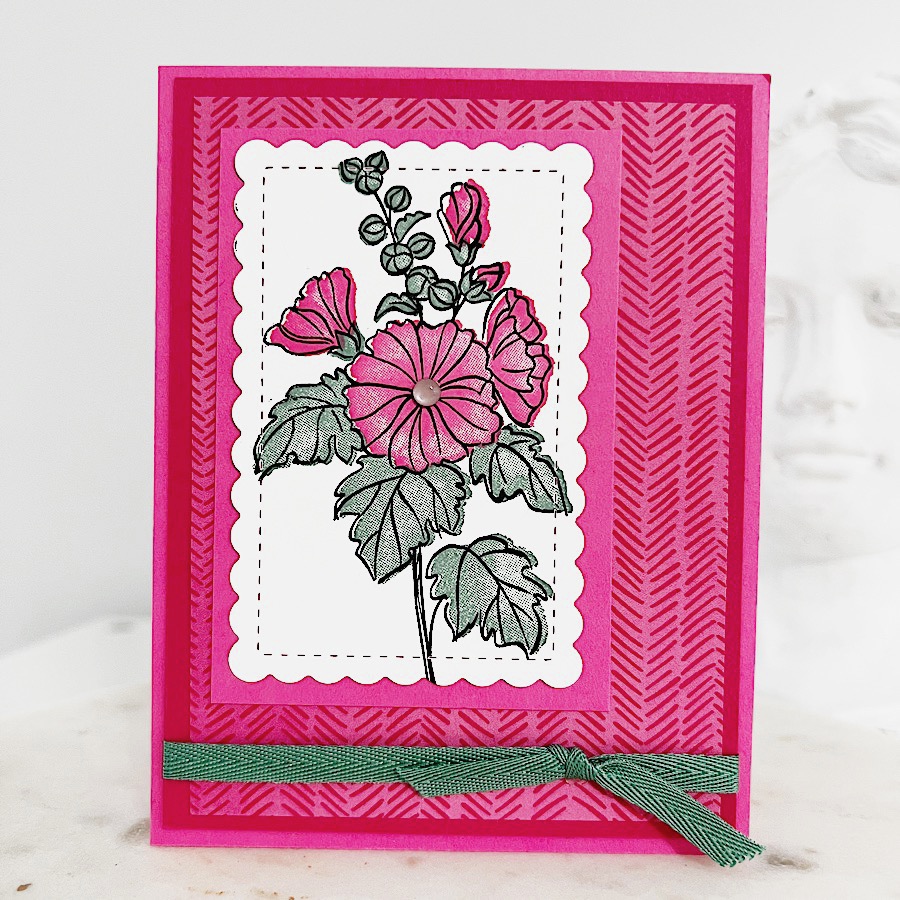
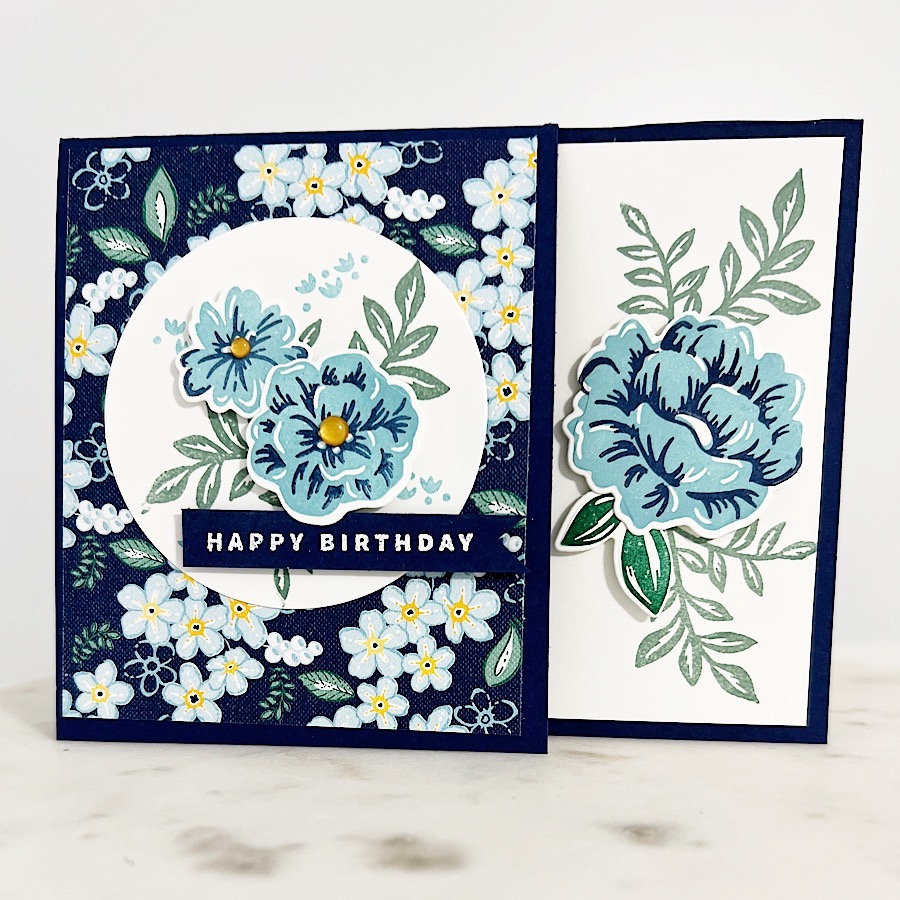
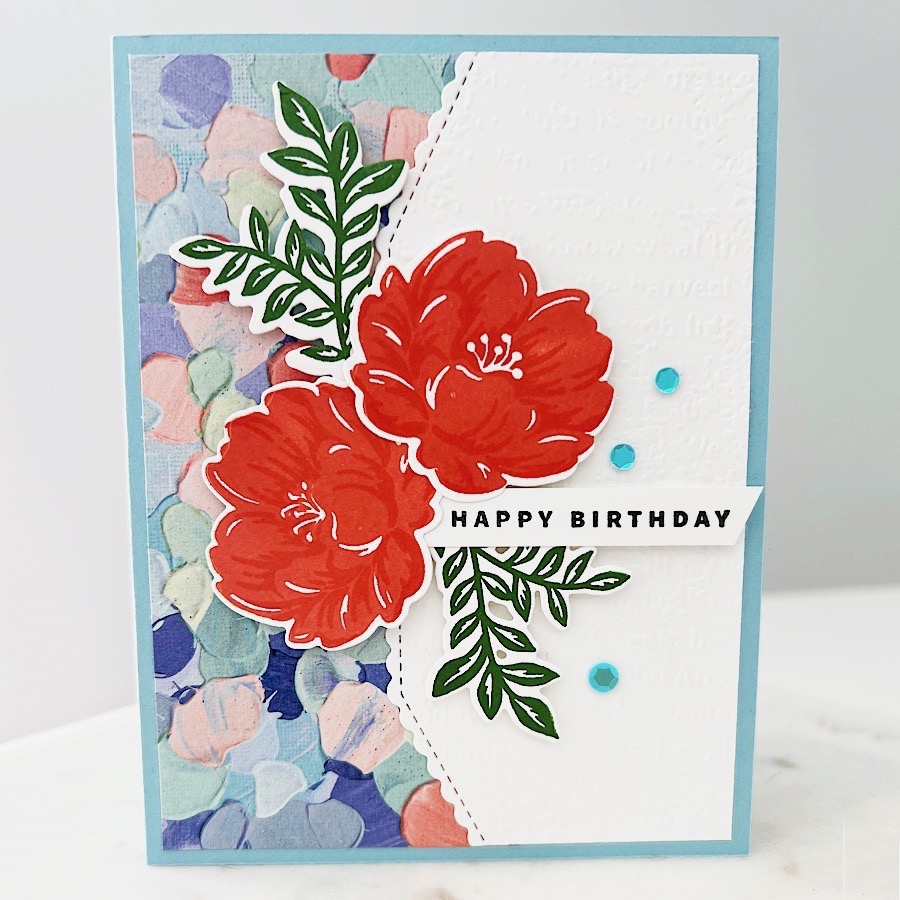
The card I’m sharing with you today uses the Two-Tone Flora Bundle from Stampin’ Up!. The bundle includes the Two-Tone Flora Stamp Set and the Two-Tone Flora Dies.
The Two-Tone Flora Bundle is a floral enthusiast’s dream! Use the Two-Step feature of the Two-Tone Flora Stamp Set to create detailed flowers and cut them out with the coordinating dies from the Two-Tone Flora Dies. This stamp set features solid flower images and coordinating shaded-detail images, so you can add more depth and dimension to your projects.
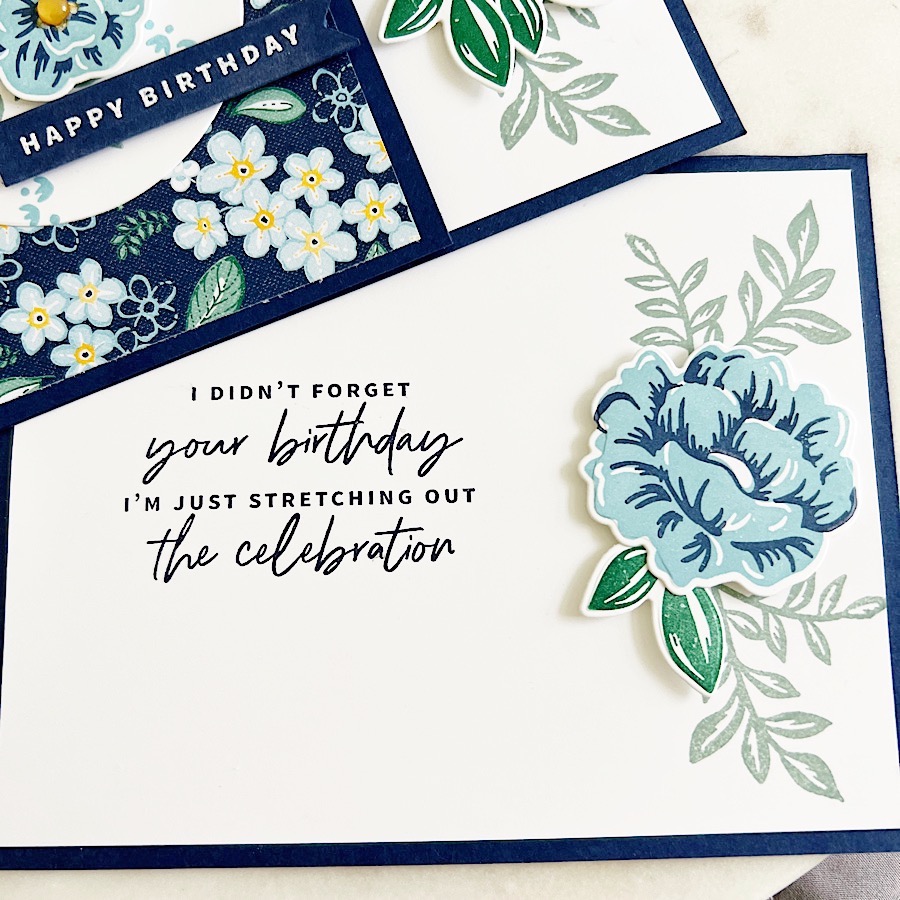
My favorite part of the card is this sweet sentiment. Anyone else out there who has trouble getting their cards mailed on time?
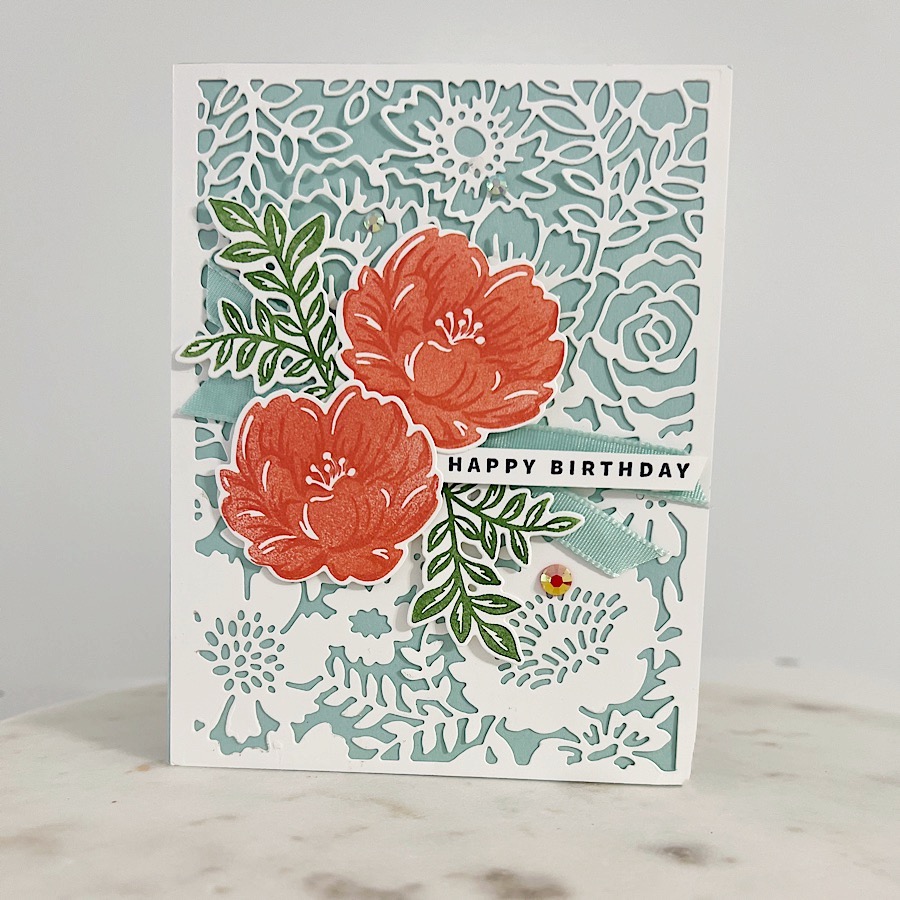
Here is another card made using the gorgeous lacy background die that is part of the Two-Tone Flora Dies.
Card Base = 8-1/2″ x 5-1/2″ piece of Night of Navy cardstock scored at 4-1/4″ on the long side. Cut a 2″ panel from the card front using a paper trimmer.
Regency Park Designer Series Paper = 3-1/4″ x 4″
Card Insert = 4″ x 5-1/4″ piece of Basic White cardstock.
2-11/16″ Basic White circle die-cut
Stamp images onto 3-1/2″ x 4″ piece of Basic White cardstock. Cut out using Two-Tone Flora Dies with die-cutting machine.
Sentiment Tag = 3/8″ x 2-1/2″ piece of Night of Navy
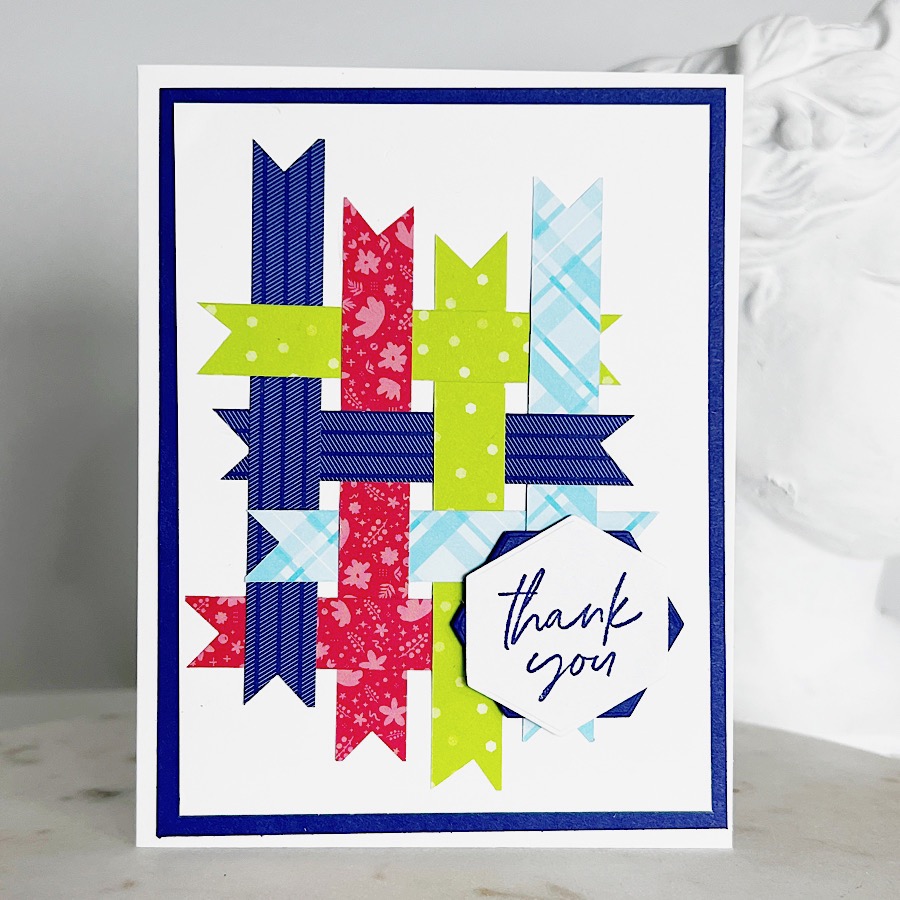
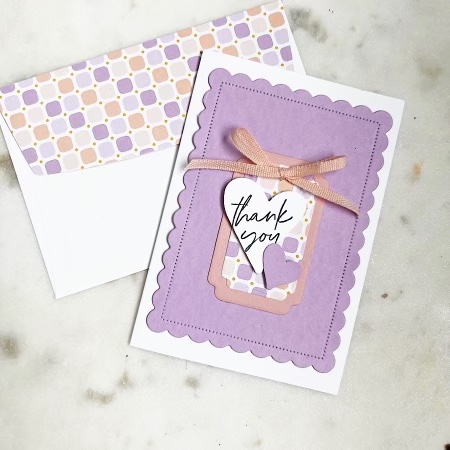
I used the Note Cards & Envelopes from Stampin’ Up! to make this simple thank-you card.
After adding a stitched, scalloped rectangle to the card front, I created a tag. The dies from the Something Fancy Bundle from Stampin’ Up! are perfect tag builders! The font on the “thank you” sentiment stamp is going to be a favorite.
I used the Dandy Designs Designer Series Paper on the tag and to embellish the notecard envelope flap. The Dandy Designs paper can be earned for free with a qualifying purchase during Sale-a-Bration. Find all about Sale-a-Bration here: https://bit.ly/3GP7dxu
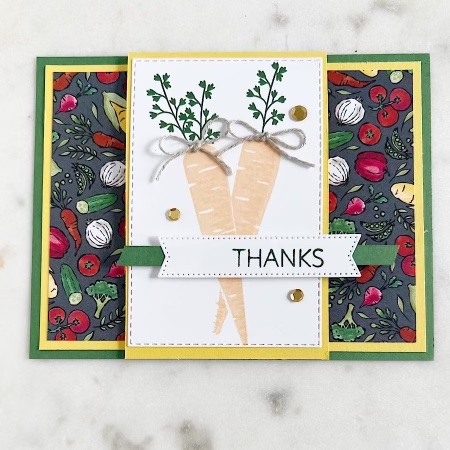
The project I’m sharing with you today is a simple fun-fold card that I made using the Thanks a Bunch stamp set from Stampin’ Up! The Thanks a Bunch stamp set is one of the FREE options during Sale-A-Bration.
Of course, I had to use the Day at the Farm Designer Series Paper for this card. The paper is another FREE Sale-a-Bration option. You have a better view of the veggie-filled pattern when you open the front flap of the card.
Cutting & Scoring Guide
First Layer = 5-1/2″ x 4-1/4″ piece of Garden Green cardstock
Second Layer = 5-1/4″ x 4″ piece of Daffodil Delight cardstock
Third Layer = 5″ x 3-3/4″ piece of Day at the Farm Designer Series Paper
Front Flap = 8-1/2″ x 2-3/4″ scored at 4-1/4″ on the long side
Stamped Layer = 2-1/2″ x 4″ piece of Basic White cardstock
Card Insert = 2-1/4″ x 4″ piece of Basic White cardstock
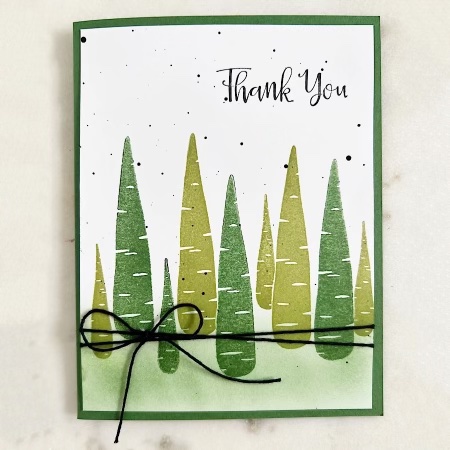
I loved this cute Thanks a Bunch stamp set the first time I saw it. It is perfect for all spring and summertime occasions. But, if you stamp the carrot image upside down as I did on this card, you can create a forest of trees. An option to keep using the stamp set all year long!
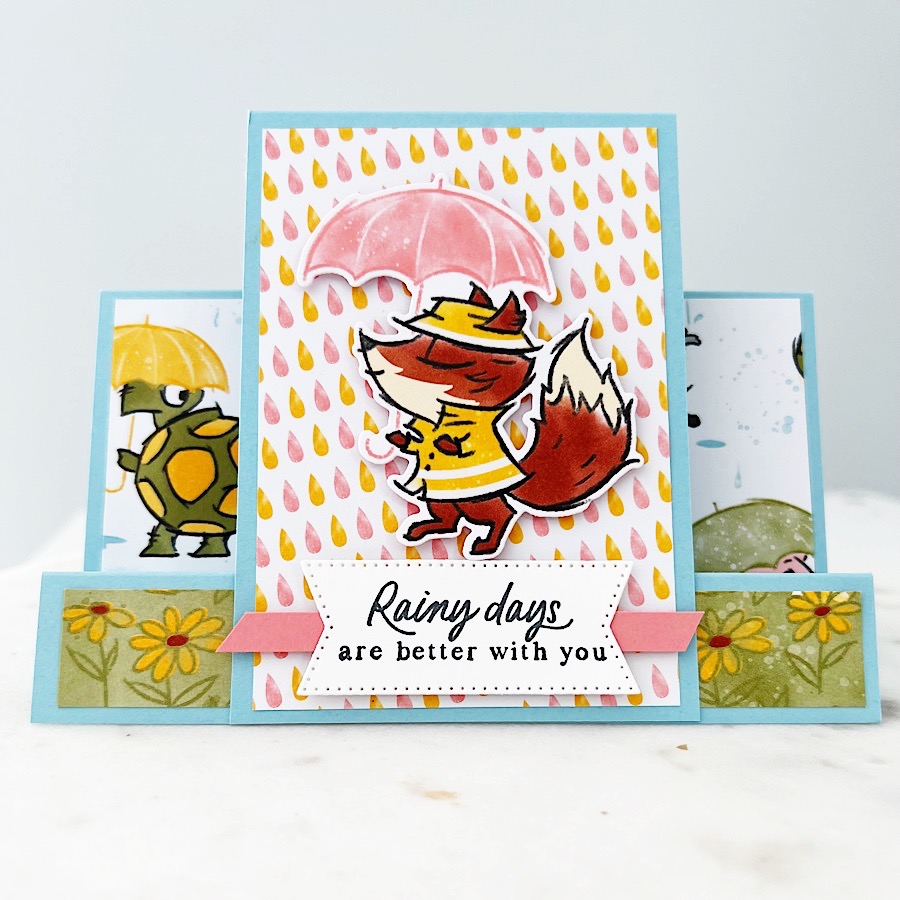
One of my favorite fun-fold cards is a Step-Card. The fold works well when you want to highlight smaller images. I used the new Playing In The Rain Bundle from Stampin’ Up! to create today’s project. I love how the front panel of the step-card highlights the jaunty little fox die-cut.
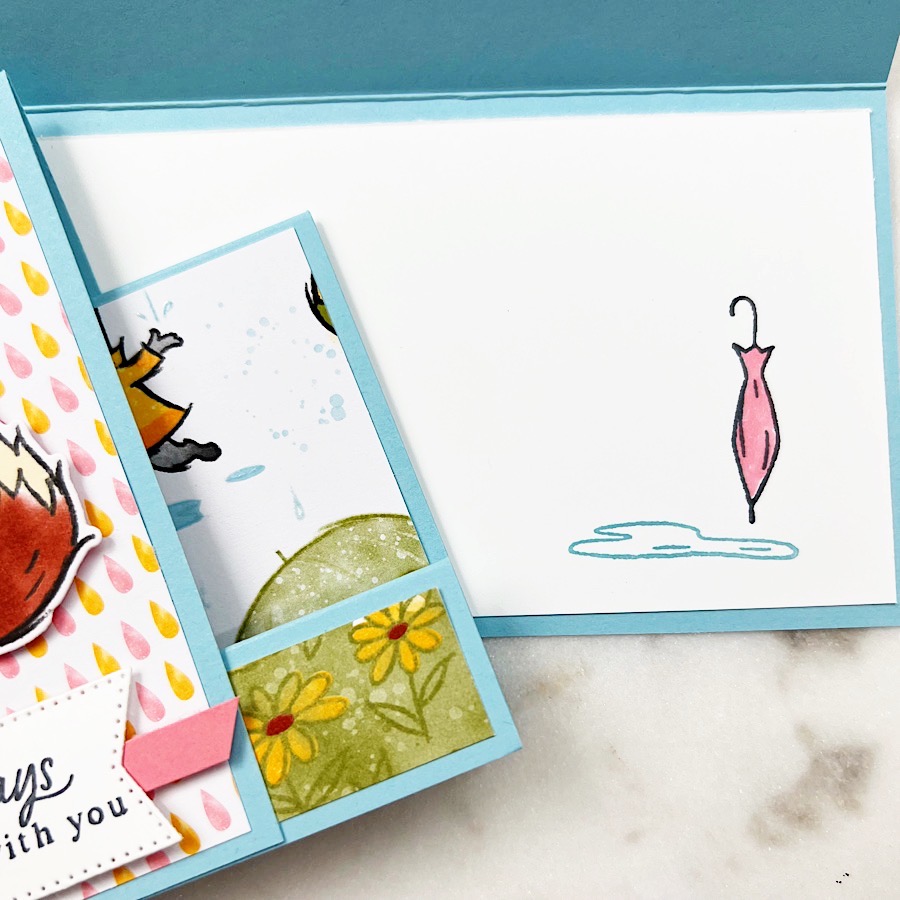
The inside of the card leaves plenty of room for an encouraging note to the recipient. I stamped and colored an umbrella image over a puddle inside the card.
Cutting & Scoring Guide
Card Base = 8″ x 5-1/2″ piece of Balmy Blue cardstock scored at 3″, 6″, and 7″ on the long side.
Front Panel = 3″ x 6″ piece of Balmy Blue cardstock scored at 4-1/4″ on the long side.
Rain or Shine Designer Series Paper = 2-3/4″ x 4″, 2-3/4″ x 5-1/4″, and 3/4″ x 5-1/4″
Card Insert = 2-3/4″ x 5-1/4″ piece of Basic White Cardstock
Sentiment Tag = 1″ x 2-1/4″ piece of Basic White Cardstock and scrap of Flirty Flamingo cardstock.
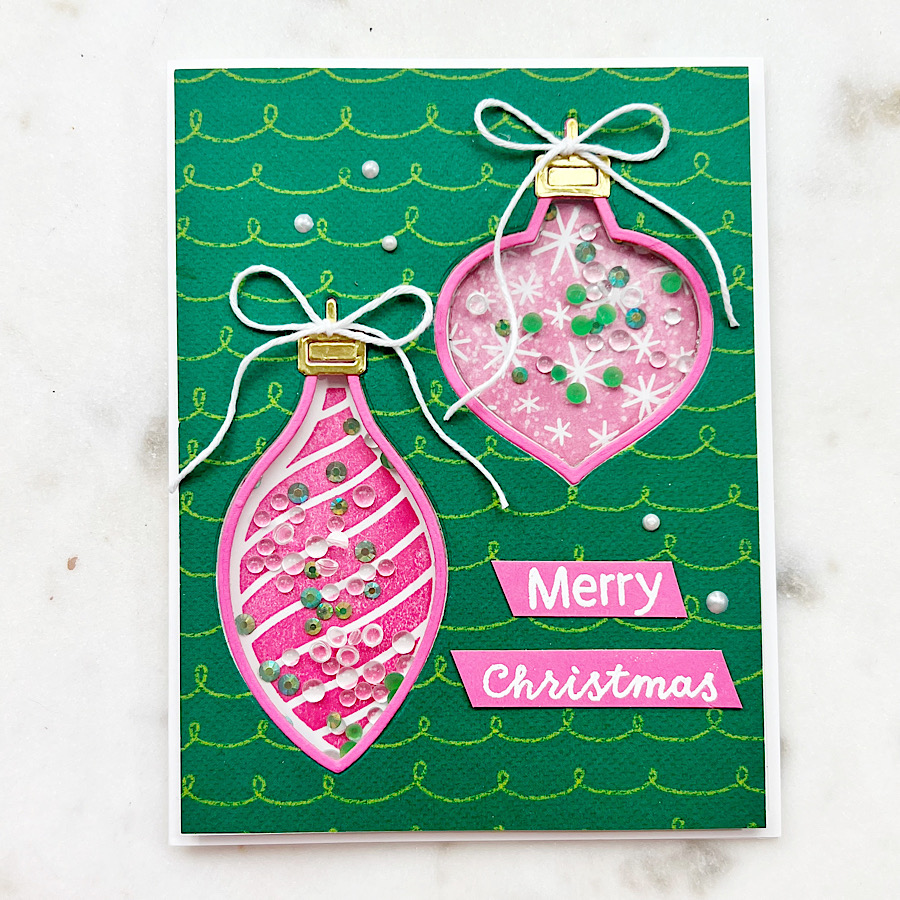
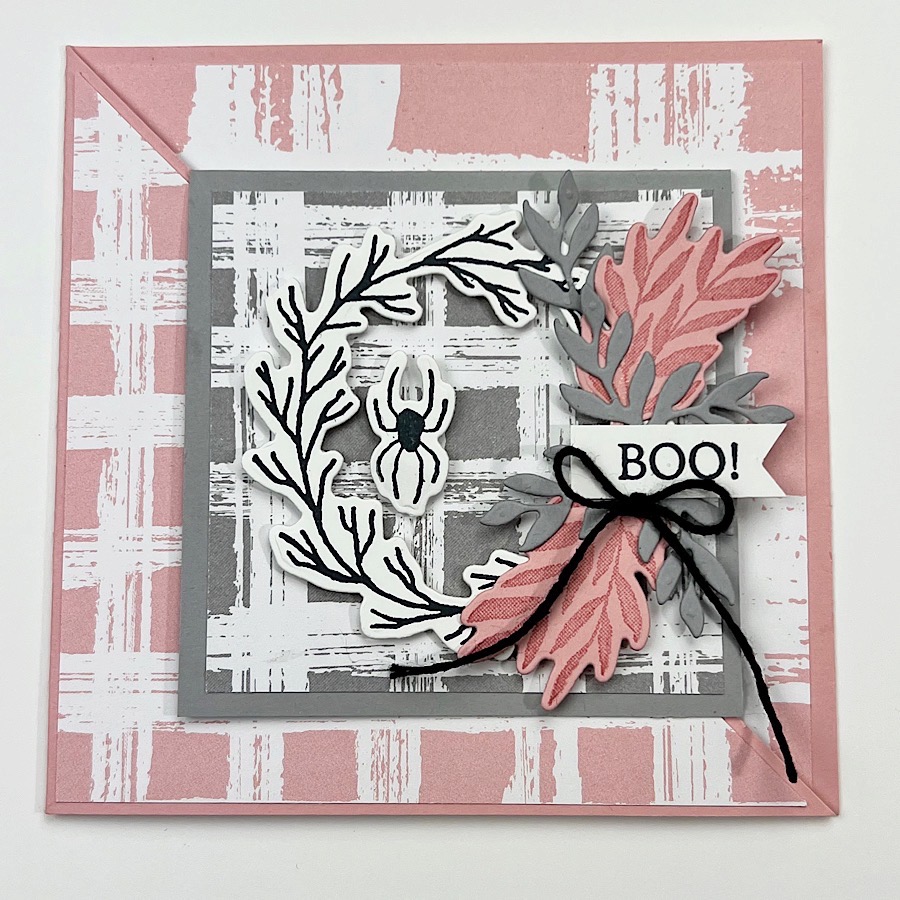
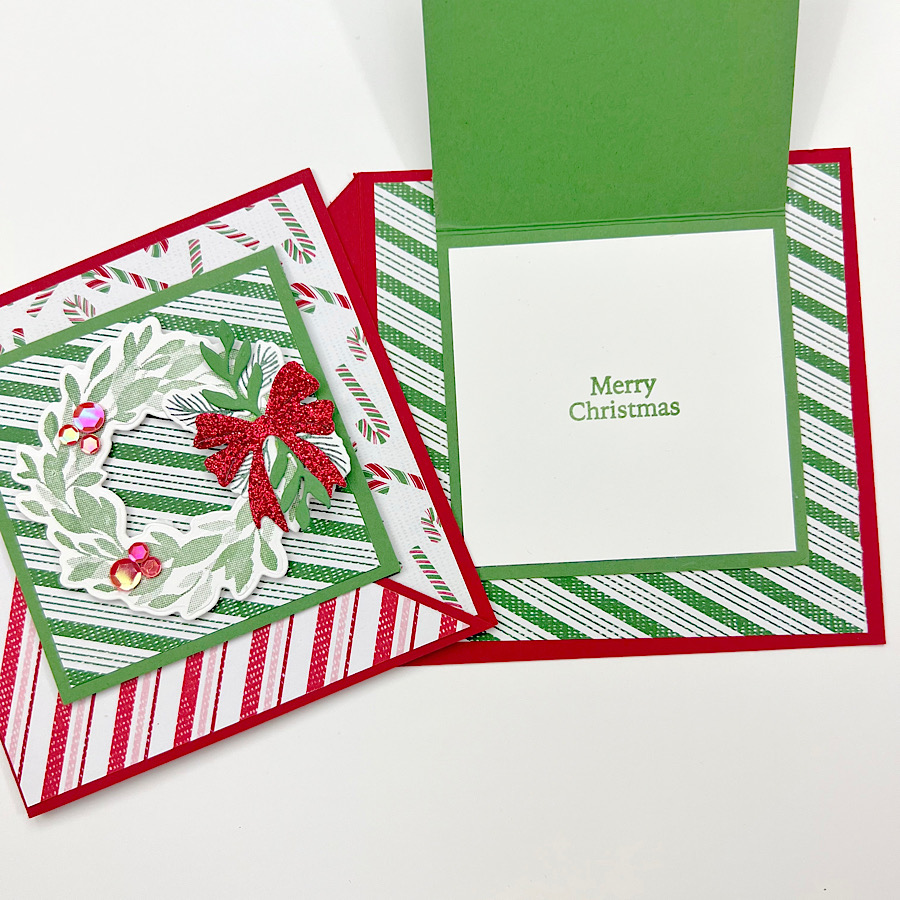
I worked out of my comfort zone and used non-traditional Christmas colors for this card. The Shaded Spruce Designer Series Paper paired with Polished Pink ink and card stock gives the card a whimsical look.
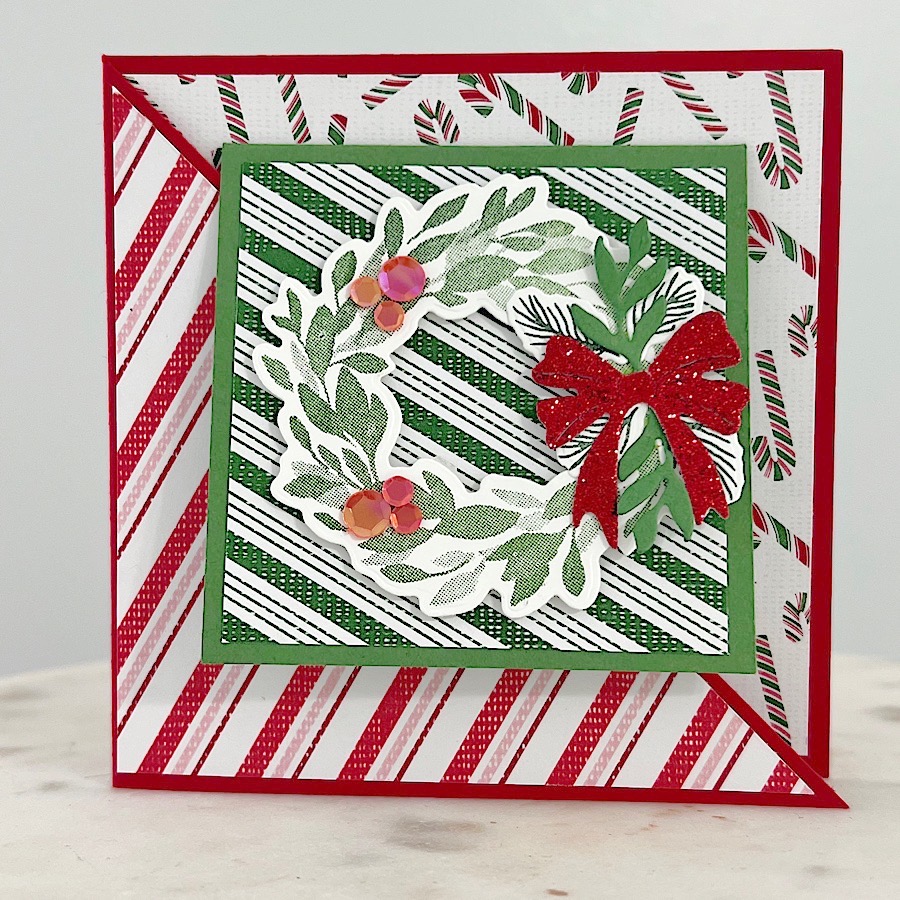
I’m always ready to learn a new fancy fold for my card making. The Cottage Wreaths Fancy-Fold Christmas Card I’m sharing today is a 4-1/4″ x 4-1/4″ square card. I used the Cottage Wreaths Bundle from Stampin’ Up! to decorate the front flap.
I purchased the Cottage Wreaths Bundle because of its versatility. The bundle can be used for all holidays and occasions. Here it is decked out for Halloween.
I’m loving the Real Red Glimmer Paper bow and the sparkly sequins on the wreath. The fancy part of this card is the fold. It’s like a card within a card and the effect was so easy to achieve!
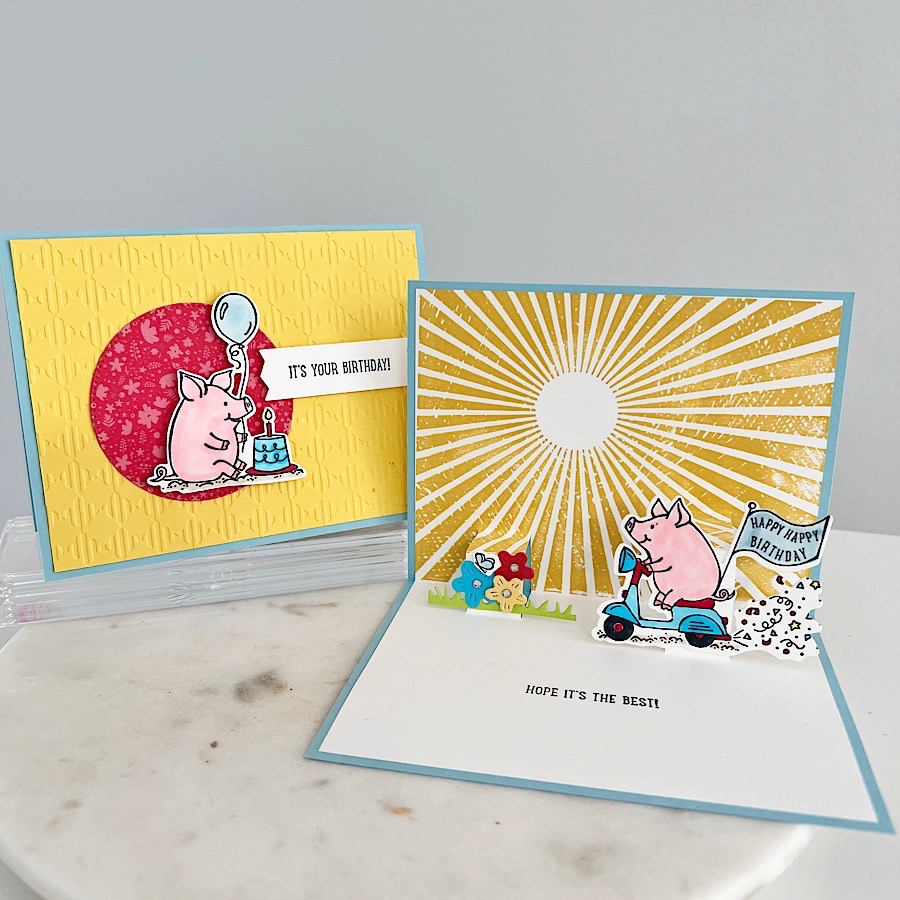
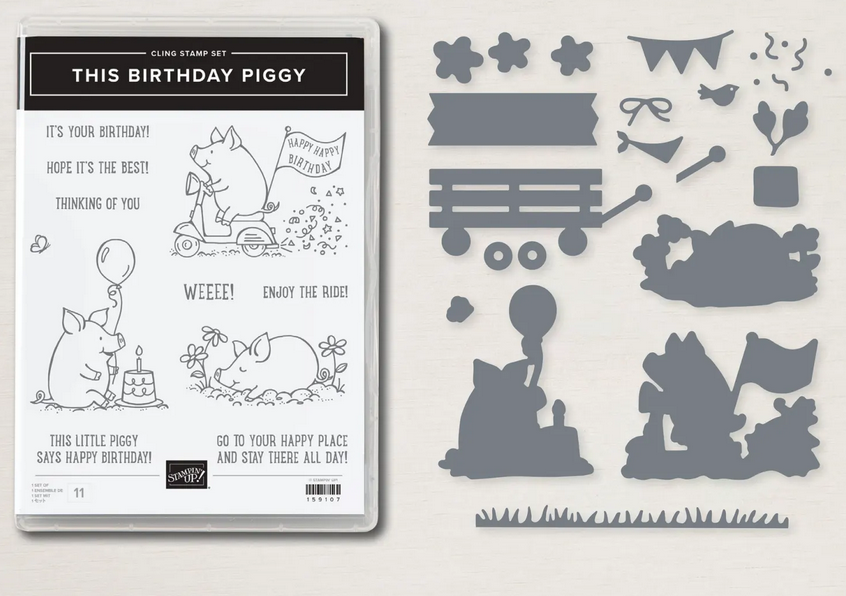
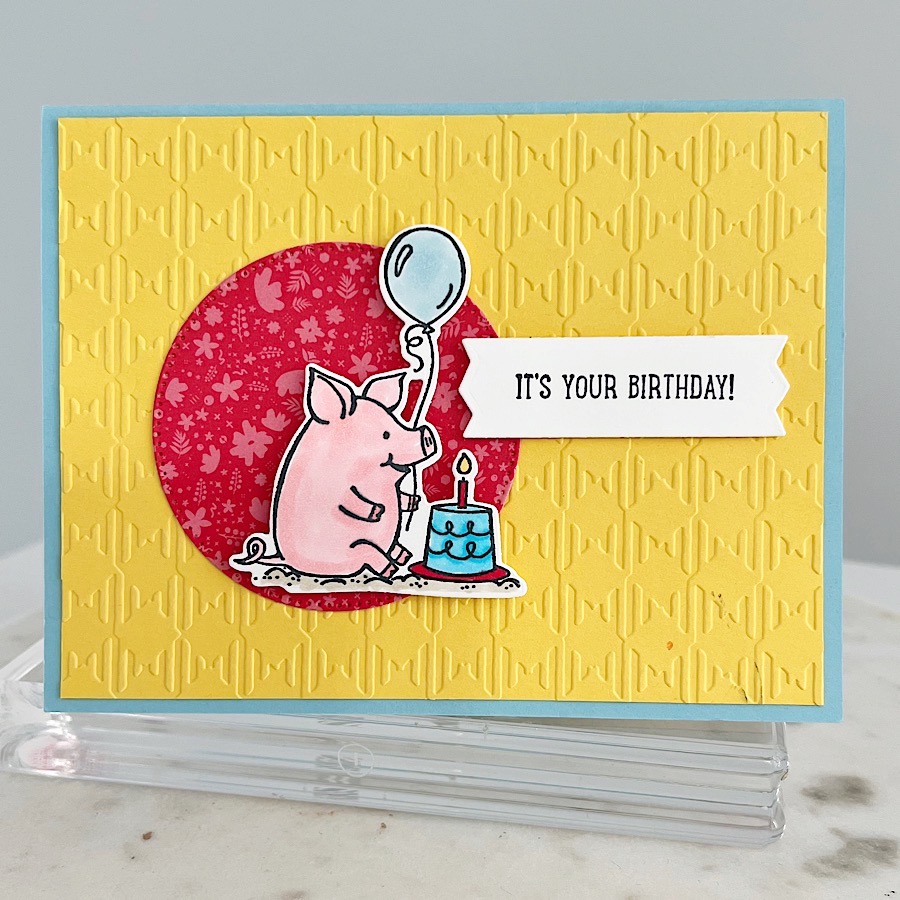
I knew these adorable piggy images would work beautifully on a pop-up card. This pop-up card technique does not require special dies or tools to achieve.
The front of the card is simple with an embossed background, a die-cut image, and a sentiment tag.
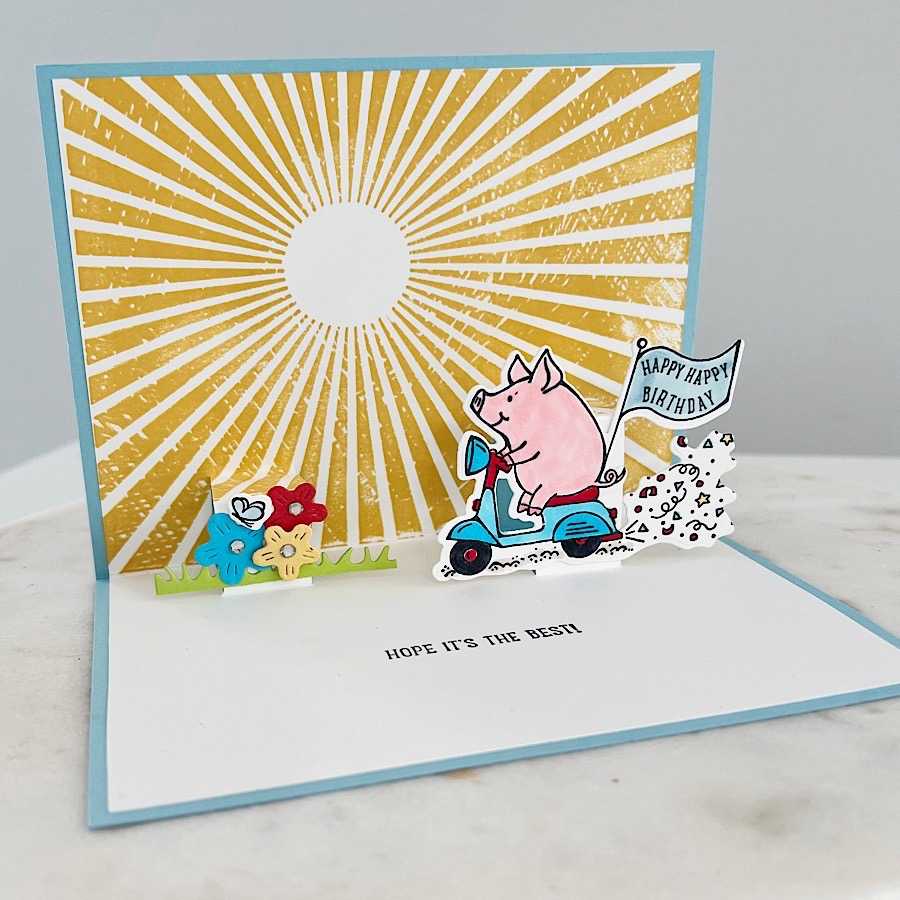
The inside of the card is full of all the fun. What could be more fun than a happy pig racing her scooter past fields of flowers to help someone celebrate her birthday?


")


")
")


 Designer Series Paper")


")


")

 Designer Series Paper")


 Designer Series Paper")


")


 Designer Series Paper")


")


 2020–2022 In Color Ribbon")

")
")


 Designer Series Paper")


")


")


 Designer Series Paper")


")
 Designer Series Paper")


")

 Designer Series Paper")

")
 Designer Series Paper")


")

 Designer Series Paper")
 Glimmer Paper")


")


