
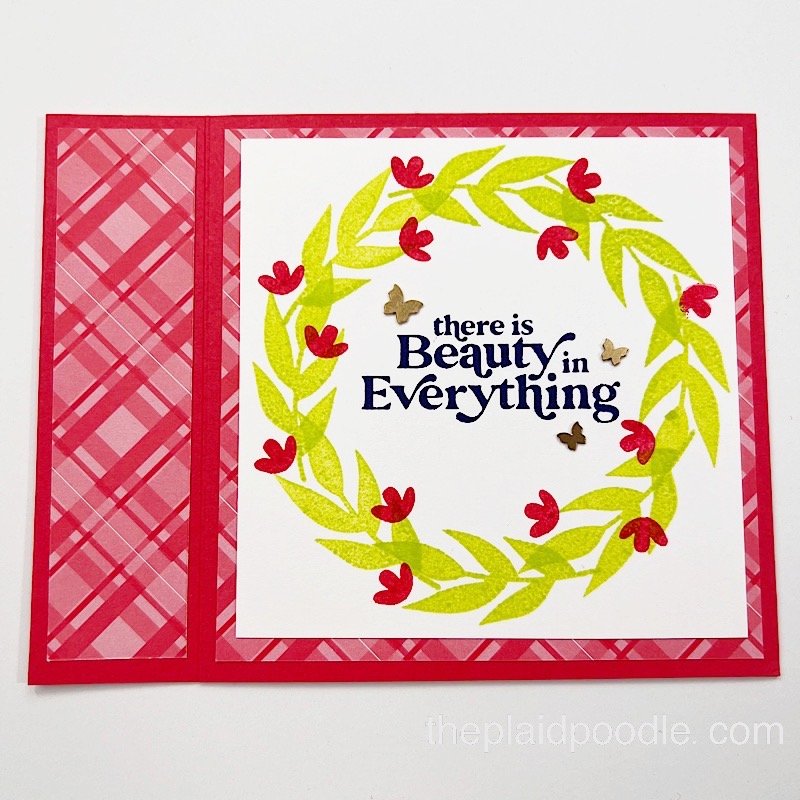
Make a Simply Fabulous Wreath Card
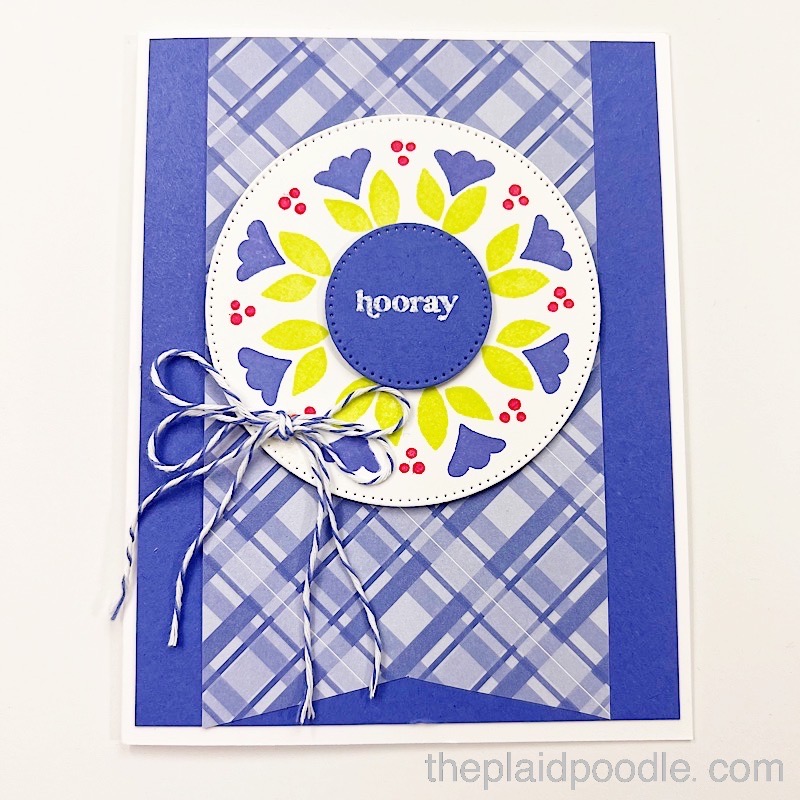
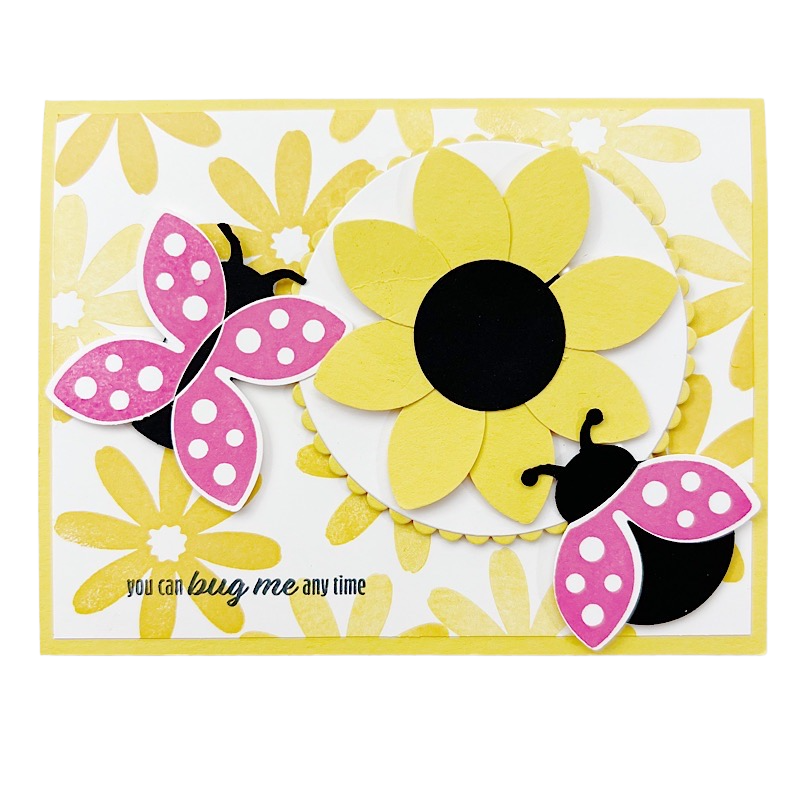
Ok you guys, here’s my second Tutorial Tuesday! I used my Stamparatus, a stamp placement tool, and the Simply Fabulous stamp set to make this cheerful card. This was too fun and too easy to resist sharing.
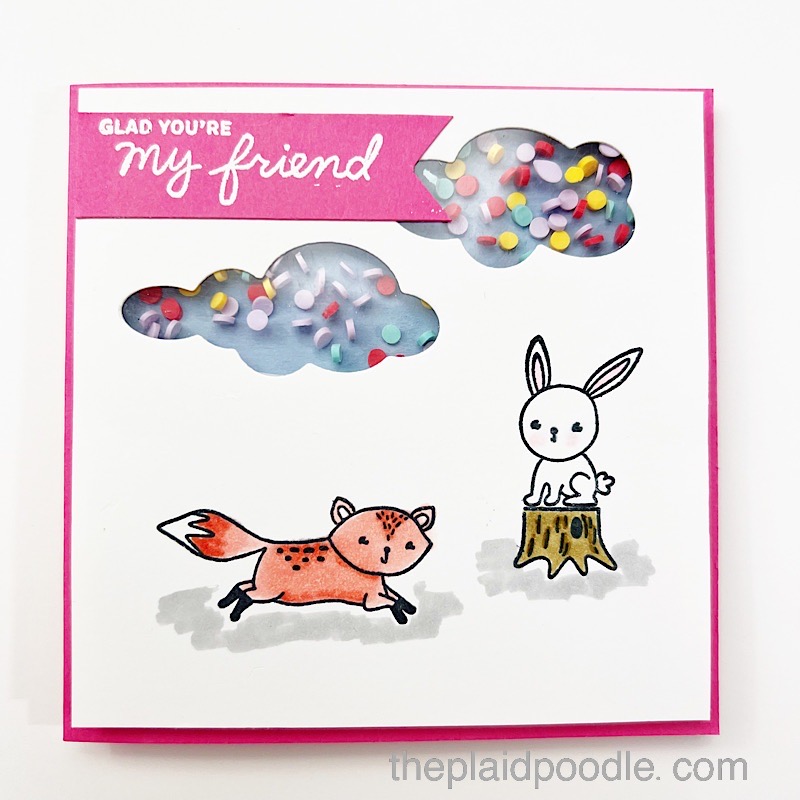
I created the Simply Fabulous card using this sketch for my inspiration. Sketches are great for an inspiration boost, seeing the big picture, and easy placement and measuring.
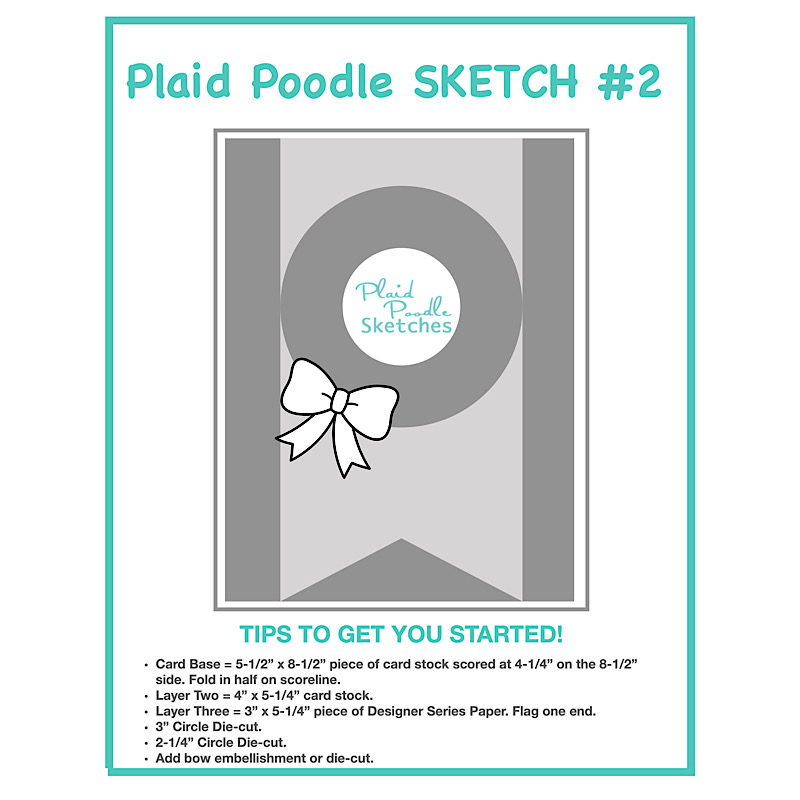
Click on the button below for today’s Free Tuesday Tutorial. Feel free to download and print for your personal use. If you decide to create a card using today’s sketch we would love to see it! Please share it with us on my Facebook Page Here: https://www.facebook.com/theplaidpoodle or share it on your Instagram using #plaidpoodlesketches.
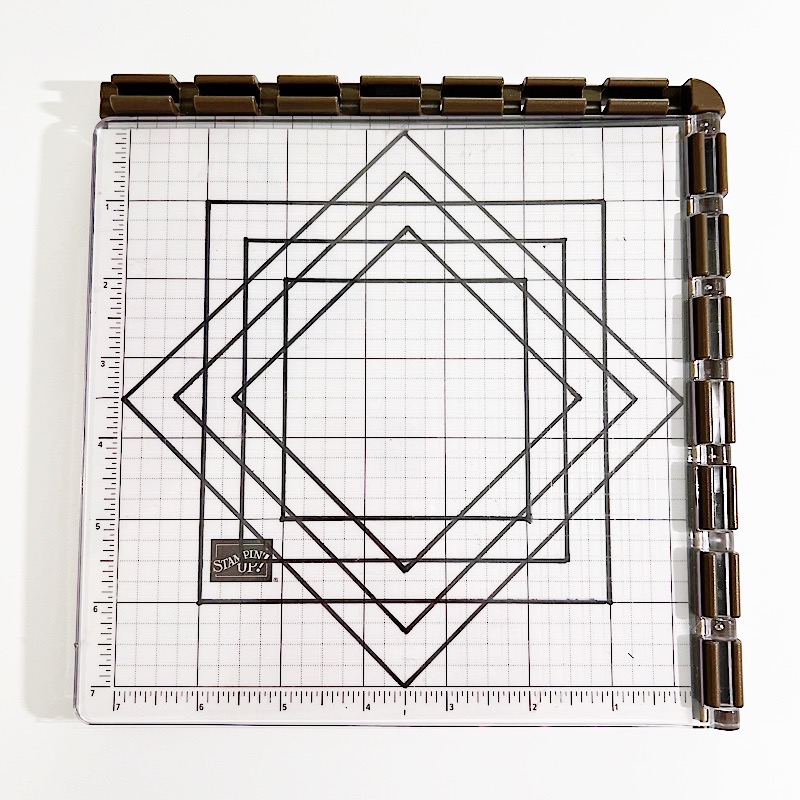
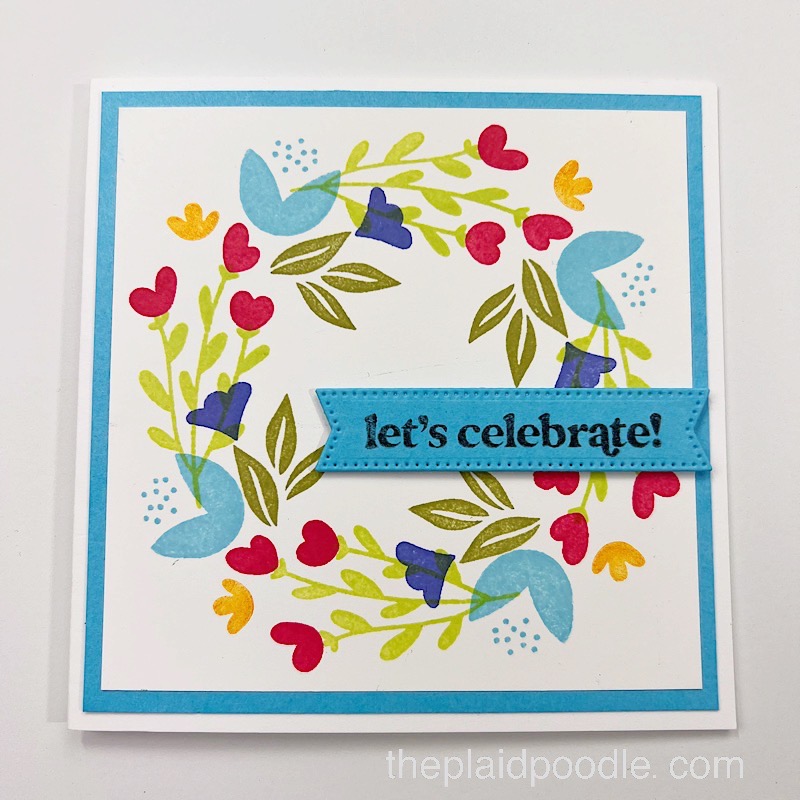
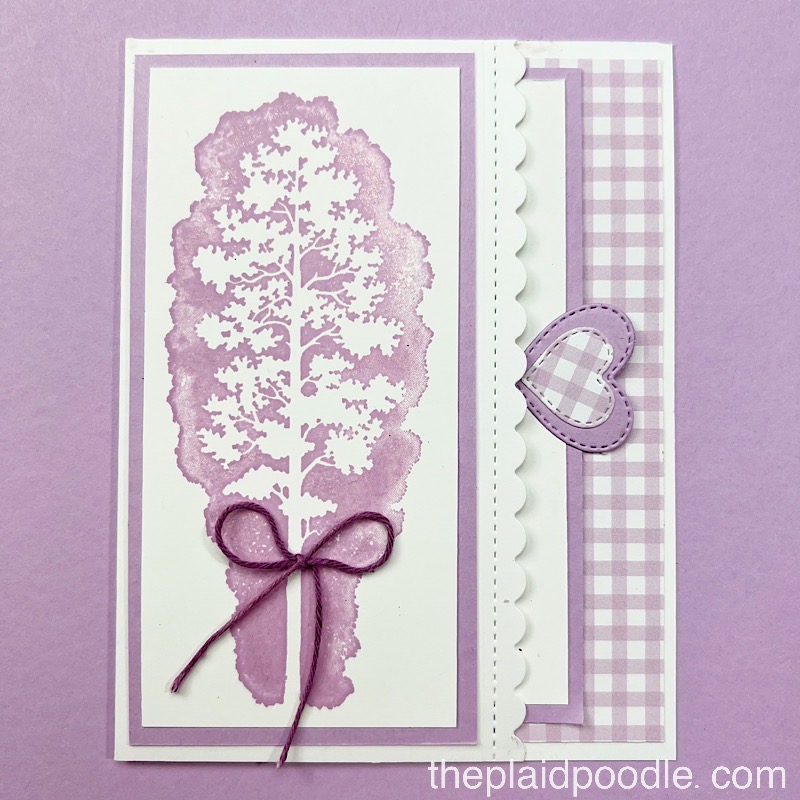
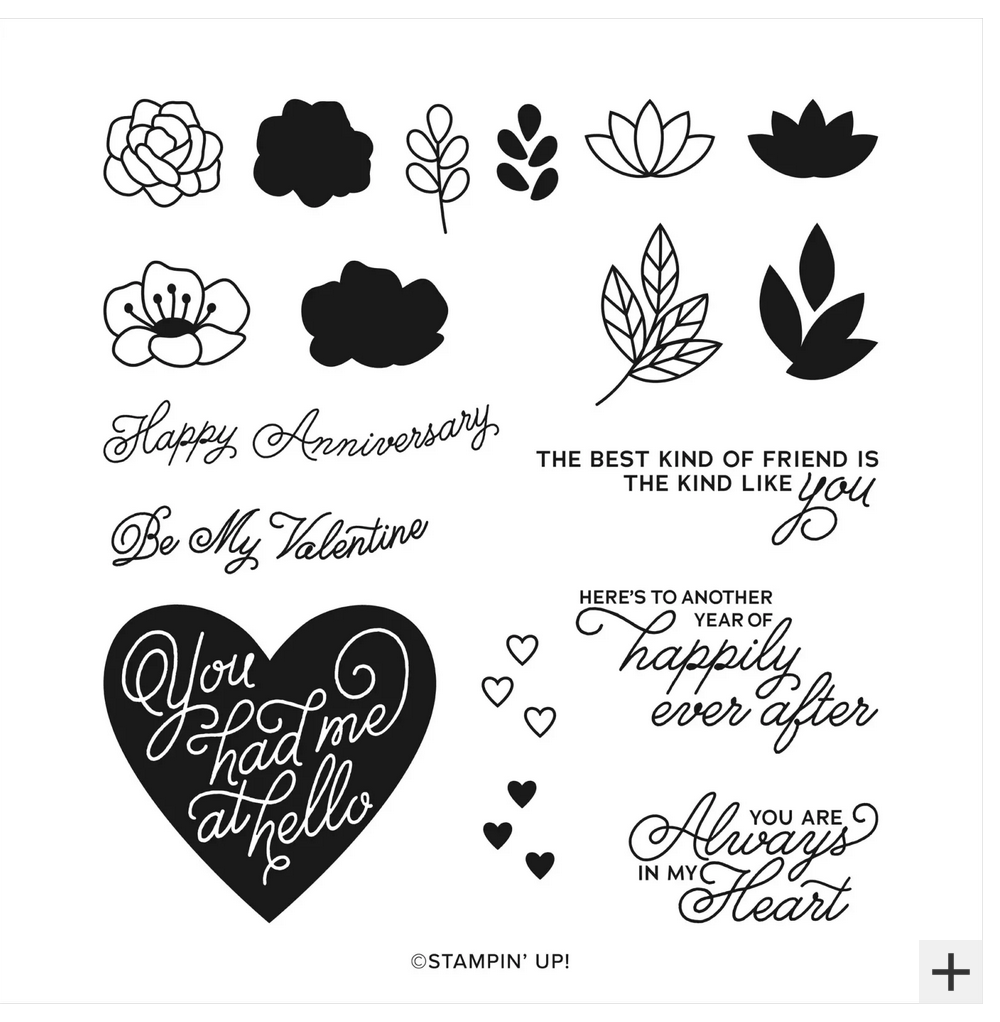
To make my card, I stamped a wreath onto a 3-1/8″ x 3-1/8″ piece of Basic White cardstock using images from the Simply Fabulous stamp set then cut the wreath out with a circle die from the Stylish Shapes Dies; both from Stampin’ Up! To stamp the wreath I used this DIY template with my Stamparatus. I shared how to create your own wreath template in the video below.
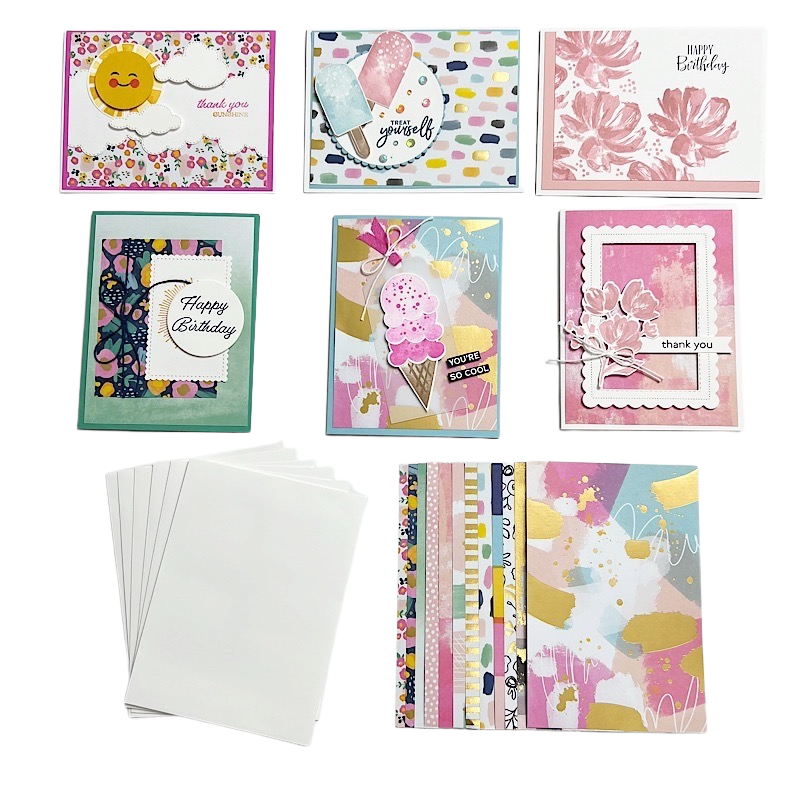
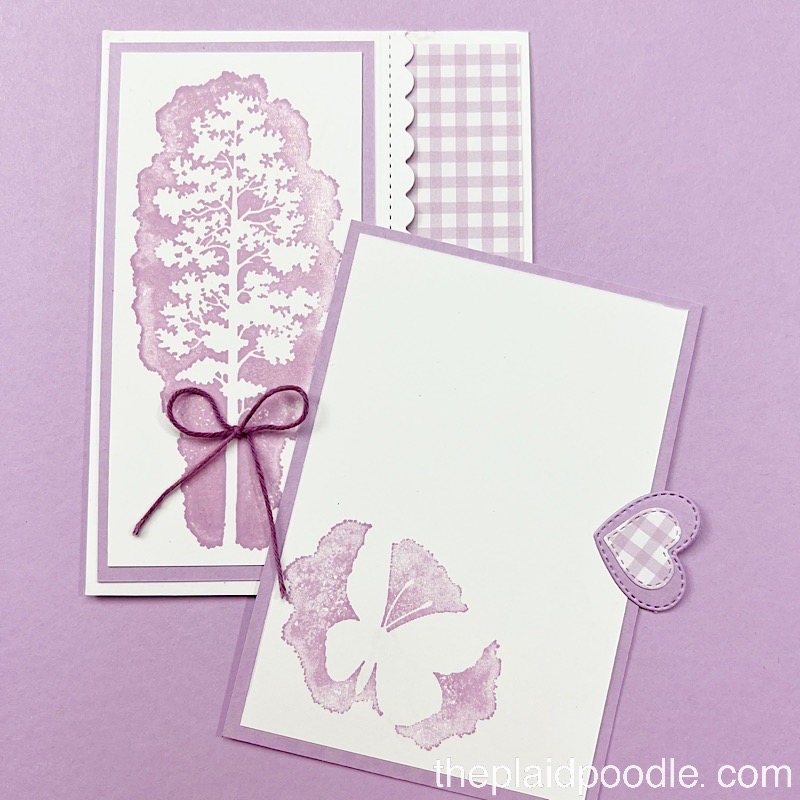
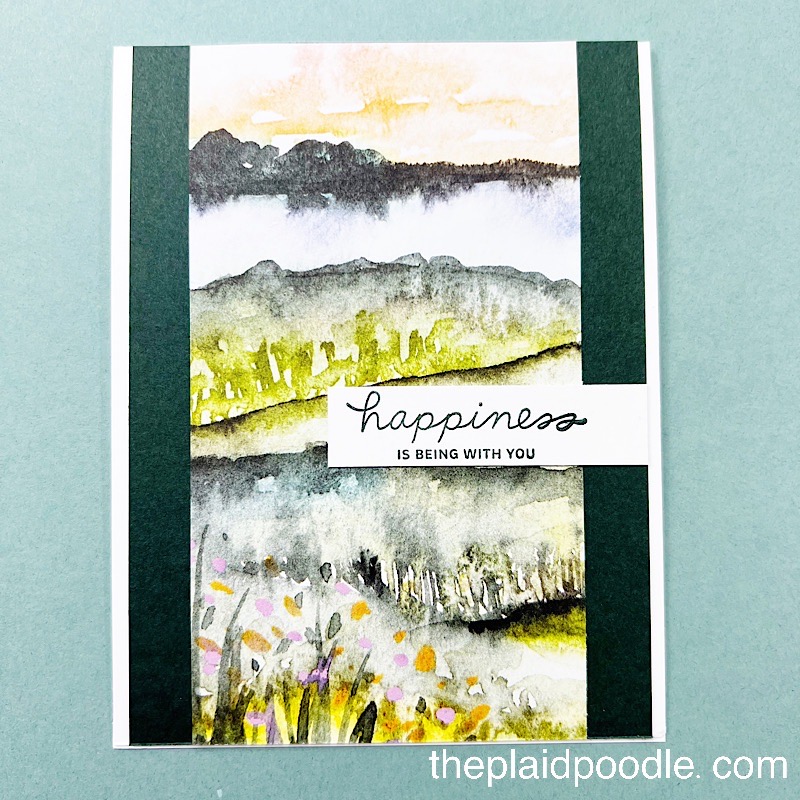
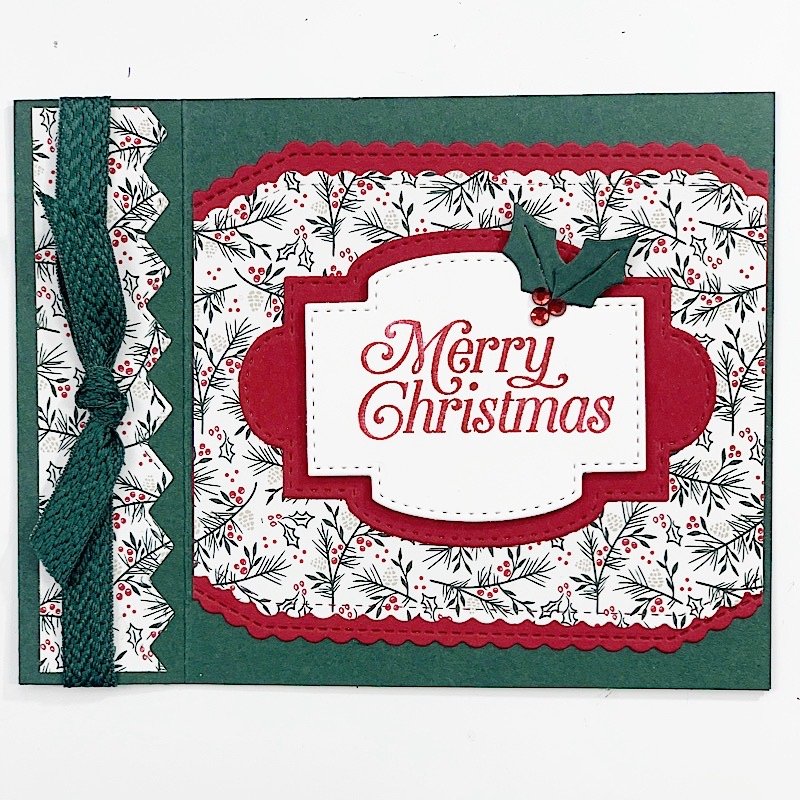
Here are a few more cards I made using the wreath template:

")


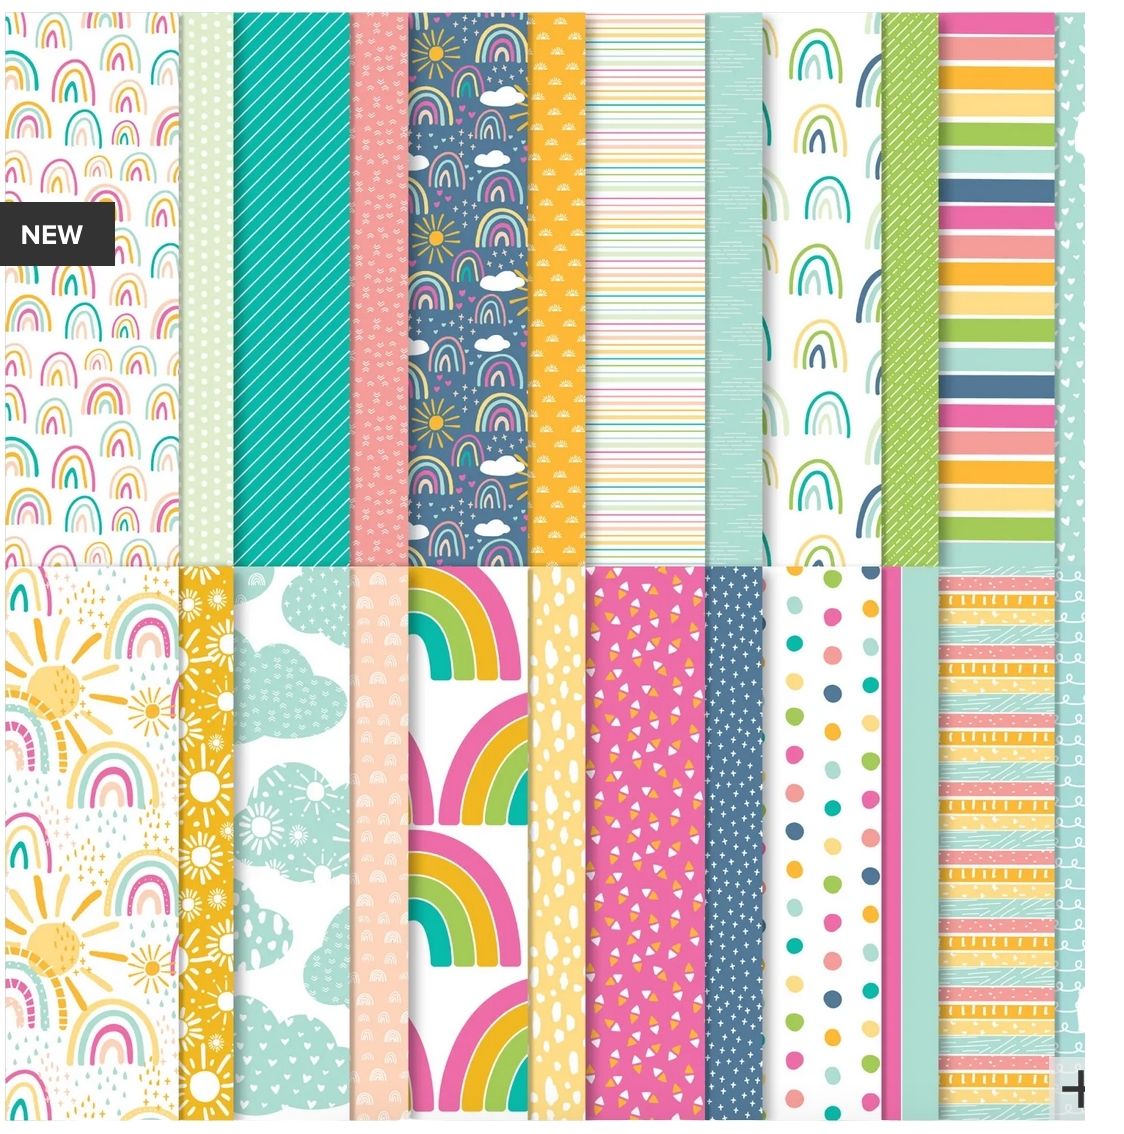
 Designer Series Paper")


")


")
")


 Specialty Designer Series Paper")
 Designer Series Paper")


 Designer Series Paper")


 Designer Series Paper")


 Designer Series Paper")


 Grosgrain Ribbon")


")


")
")


 Gingham Ribbon")


 Designer Series Paper")


")
")


 Designer Series Paper")


")
")
")


 Sheer Ribbon")

")


 Designer Series Paper")

 Chevron Weave Ribbon")
