Fall/Halloween/Thanksgiving

Make a Gorgeous Leaves Crate Treat Holder

Nothing says Autumn like a crate full of mums, apples or pumpkins. How about a crate full of snack mix? The project I’m sharing with you today is a paper crate embellished with fall leaves and filled with snack mix.

Boxes are one of the easiest 3-D paper project to make. The design for this crate starts with a 6″ x 5-1/2″ piece of embossed Early Espresso cardstock from Stampin’ Up!

Scoring & Cutting Guide

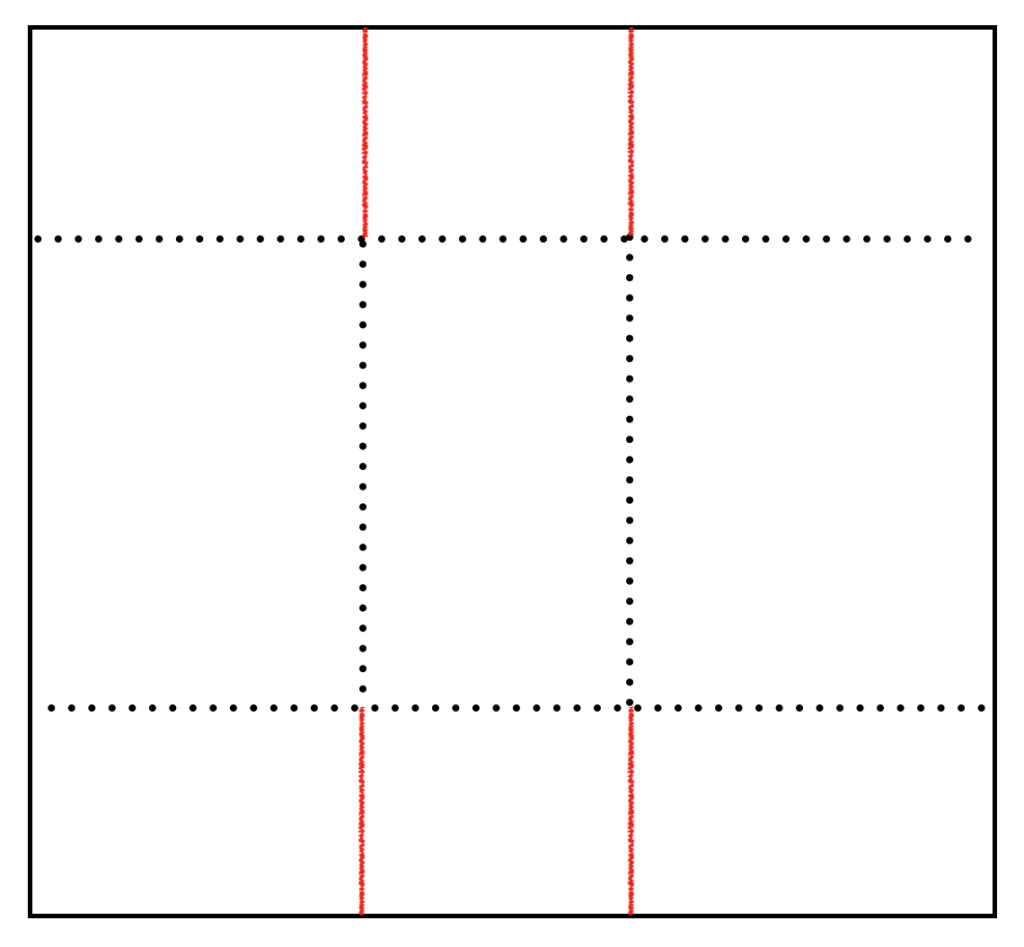
Score 6″ x 5-1/2″ piece of cardstock at 1-1/2″ and 4-1/2″ on 6″ side. Score at 2″ and 3-1/2″ on the 5-1/2″ side. Trim on red lines per diagram.

Video Tutorial

Product List

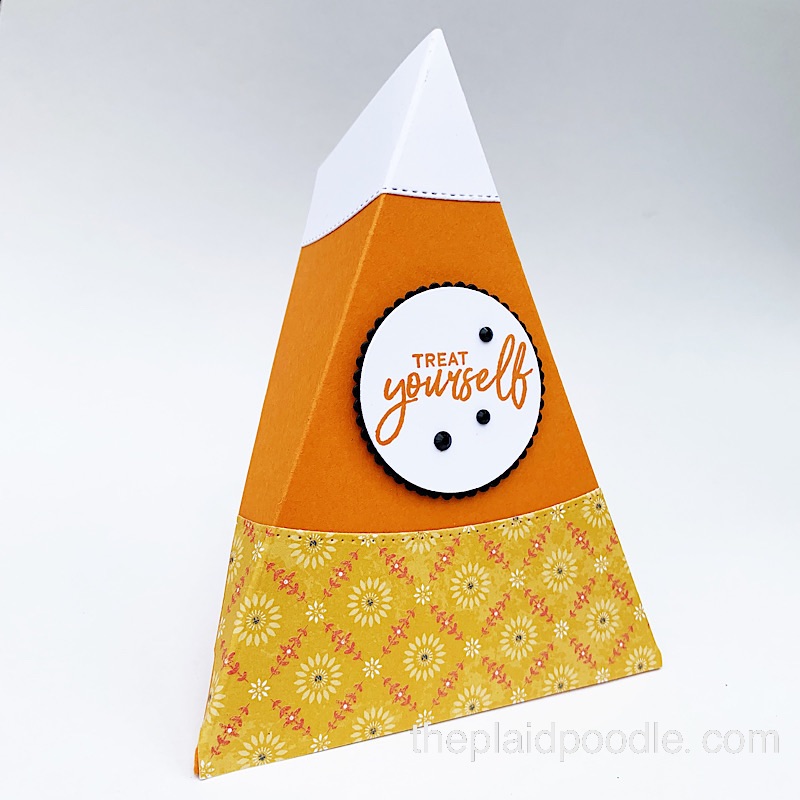
Make a Candy Corn Shaped Treat Box for Halloween!

If you need a sweet treat holder for Halloween I’ve got you covered with today’s project! These triangular shaped boxes are fun to make and depending how you want to embellish them, they don’t require any special tools.

I used a die from the Basic Borders Dies from Stampin’ Up! to achieve those cute stitched edges but you don’t need them to create a candy corn shaped treat box. I explain how to get the look without using dies in this video tutorial:

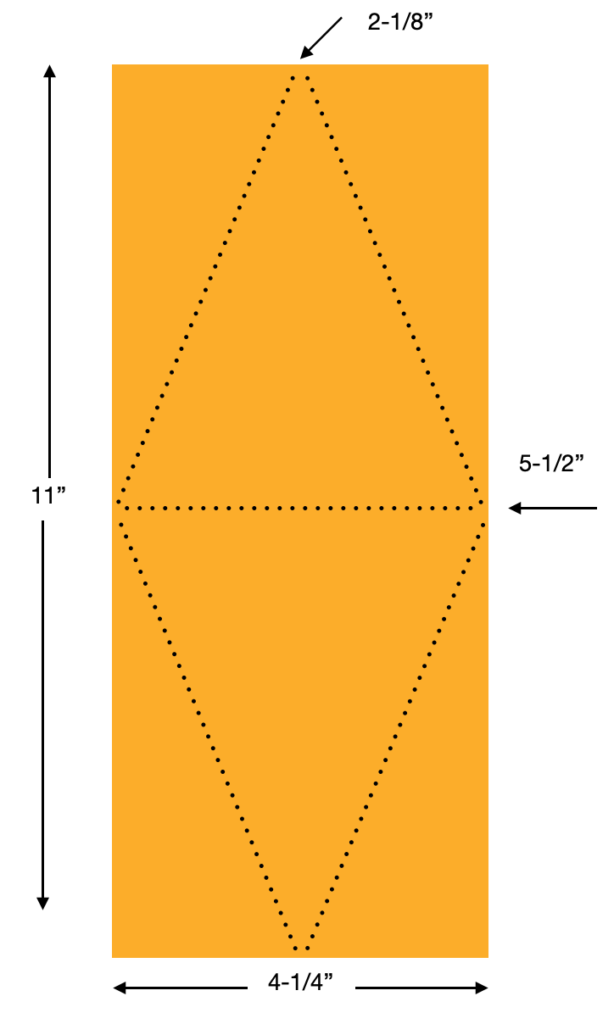
You will need to make several score lines on an 4-1/4″ x 11″ piece of cardstock to create the box. In addition to the tips I shared on the video, here is a diagram that you may find helpful.

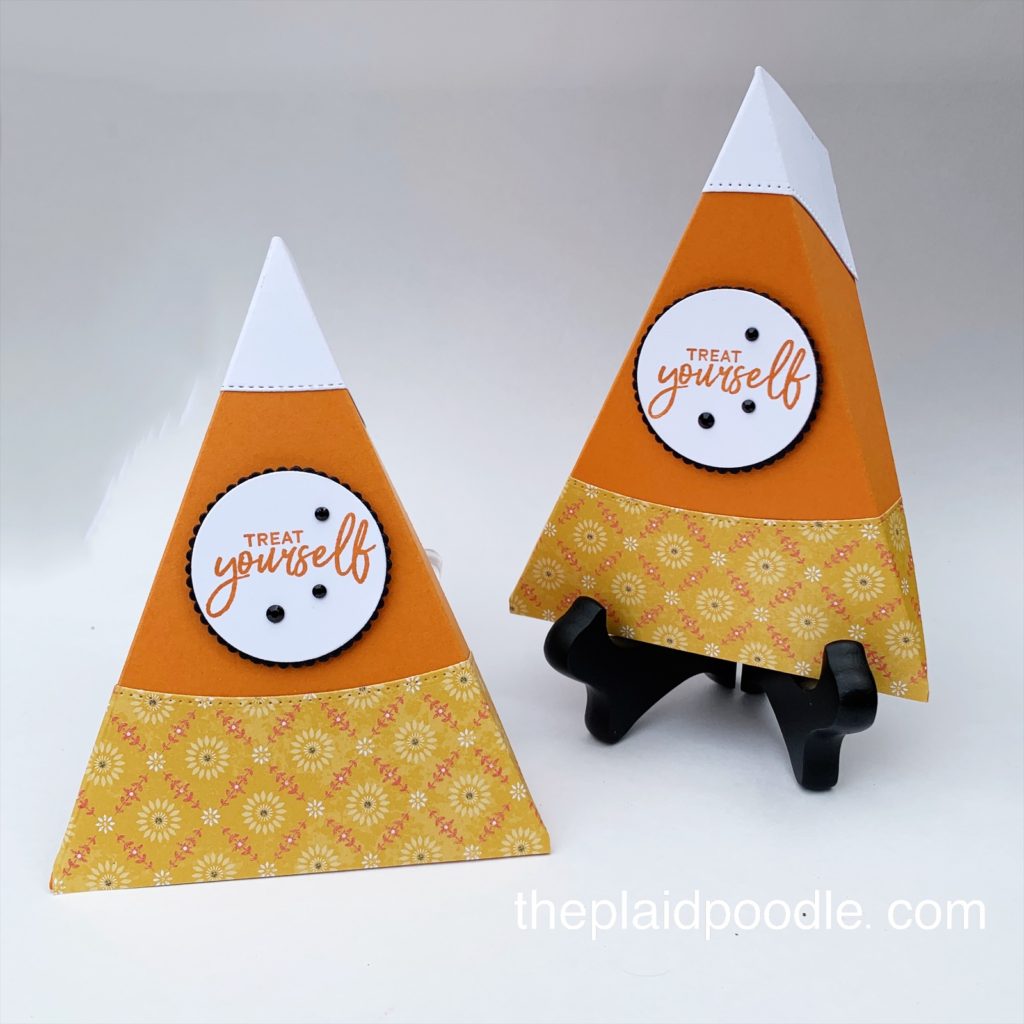
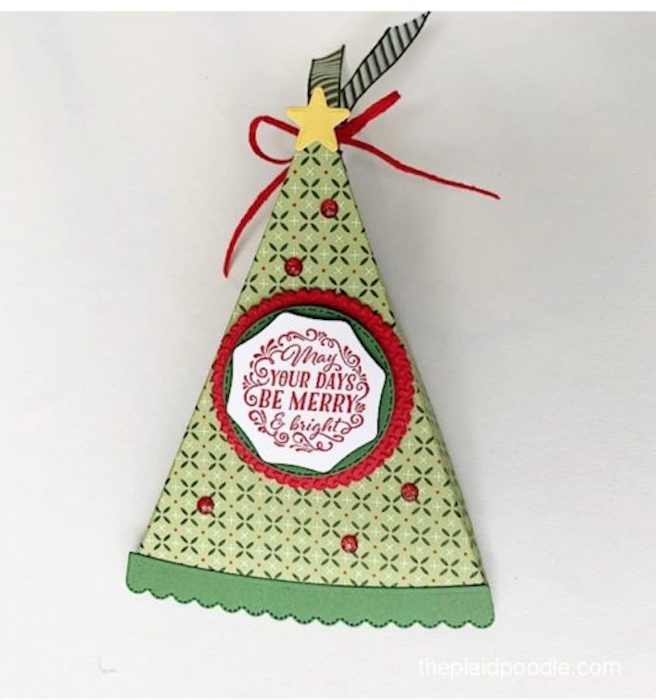
You will find that the triangular shaped box works for most occasions. Here are a few alternatives that I created for Halloween and Christmas:

I hope my Candy Corn Shaped Treat Holder has inspired you to create one of your own. I’m including a supplies list and a cutting guide below to get you started!


Cutting Guide

  • 4-1/4” x 11” piece of Pumpkin Pie cardstock
  • 2” x 4-1/4” piece of Harvest Meadow Designer Series Paper
  • 1-1/2” x 4-1/4” piece of Basic White cardstock
  • 2” x 2” piece of Basic Black cardstock
  • 2” x 2” piece of Basic White cardstock
Product List

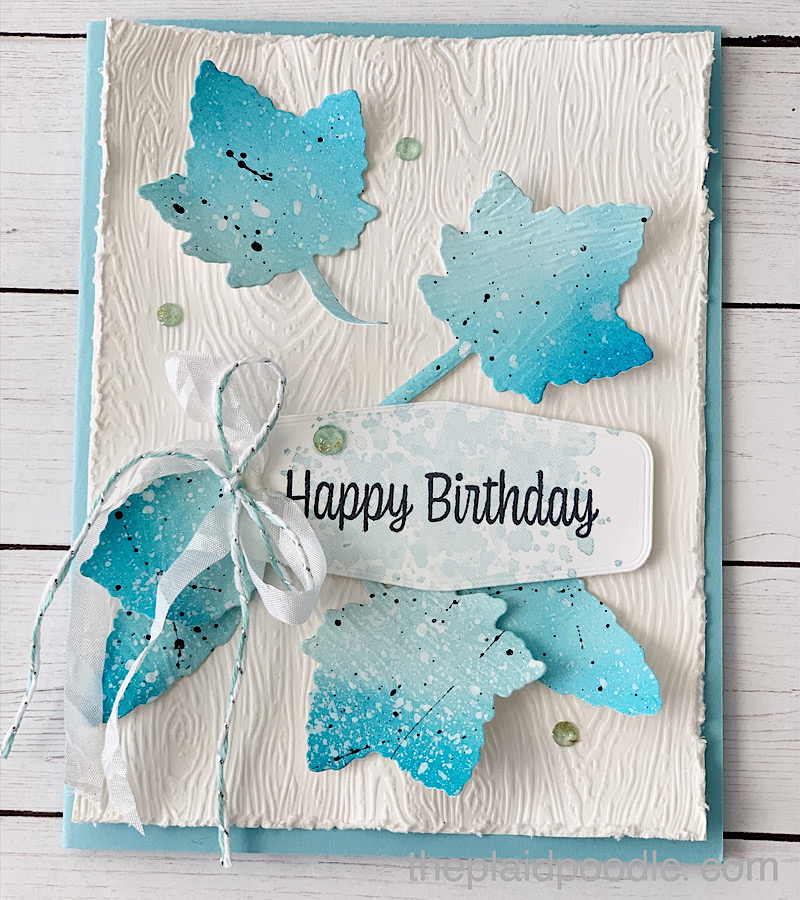
Blend & Splatter for a Gorgeous Leaves Birthday Card

If you like playing with lots of techniques when making a card, this one is for you! This autumn themed card uses non-traditional colors, has dry embossing, ink blending, die-cutting, distressing and splatters!

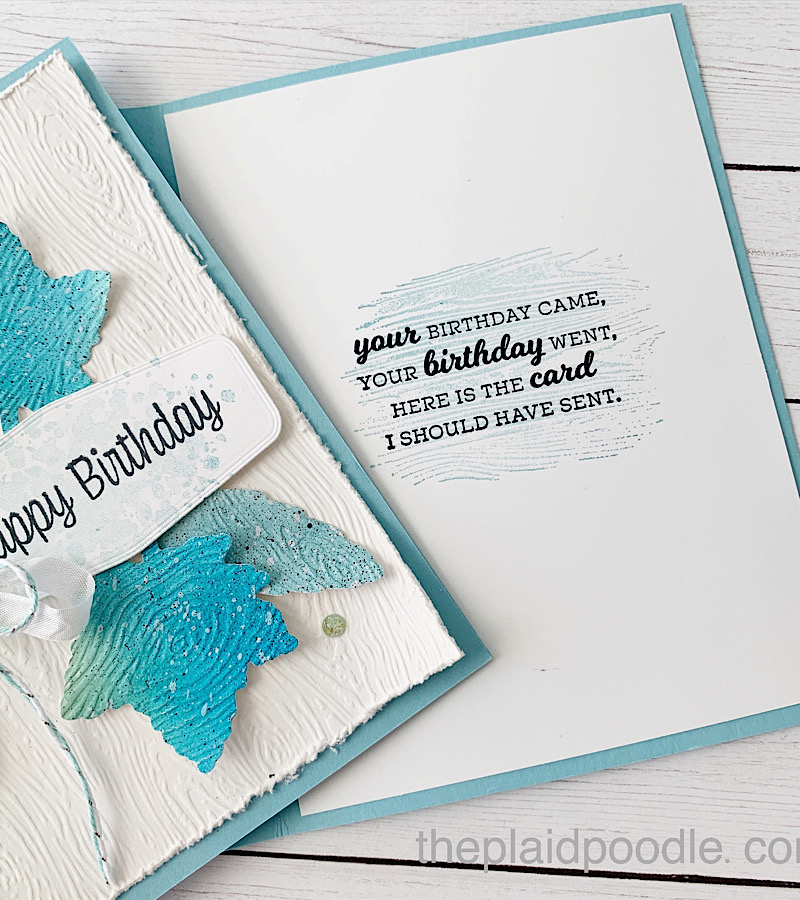
I’m late sending a birthday card to a special someone and the inside sentiment I chose for today’s card is coming to my rescue! The sentiment comes from the In Your Words stamp set from Stampin’ Up!

Product List

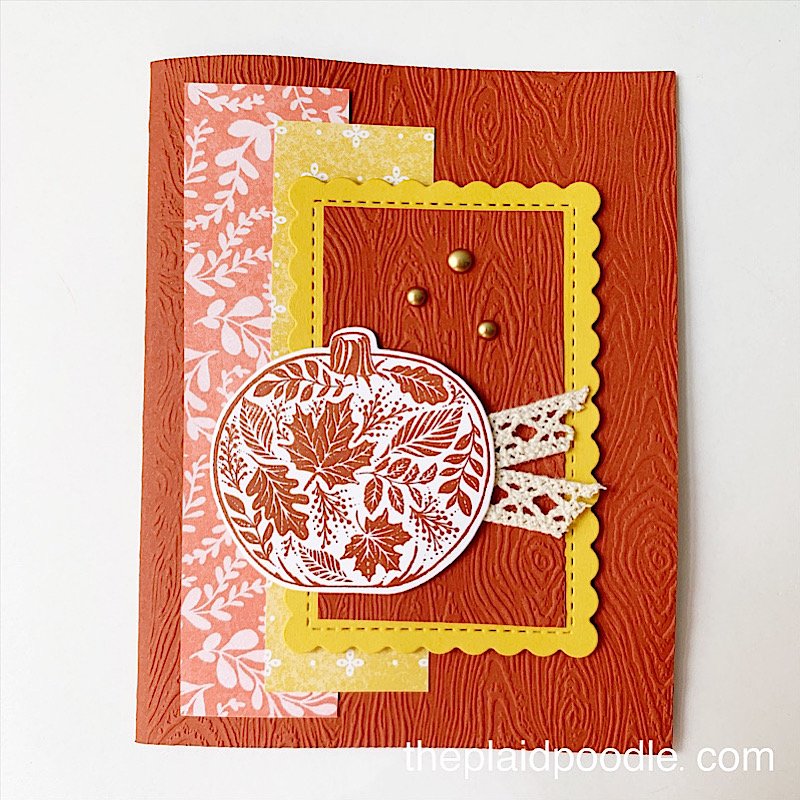
Make a Handmade Card with Pretty Pumpkins

Today was the first day of school for my four grandchildren. Two were excited for the new year and two were a bit sad that summer had come to an end. I’m one of those people that looks forward to and enjoys back-to-school season. When the back-to-school bell rings it’s time to start creating pretty Autumn cards.

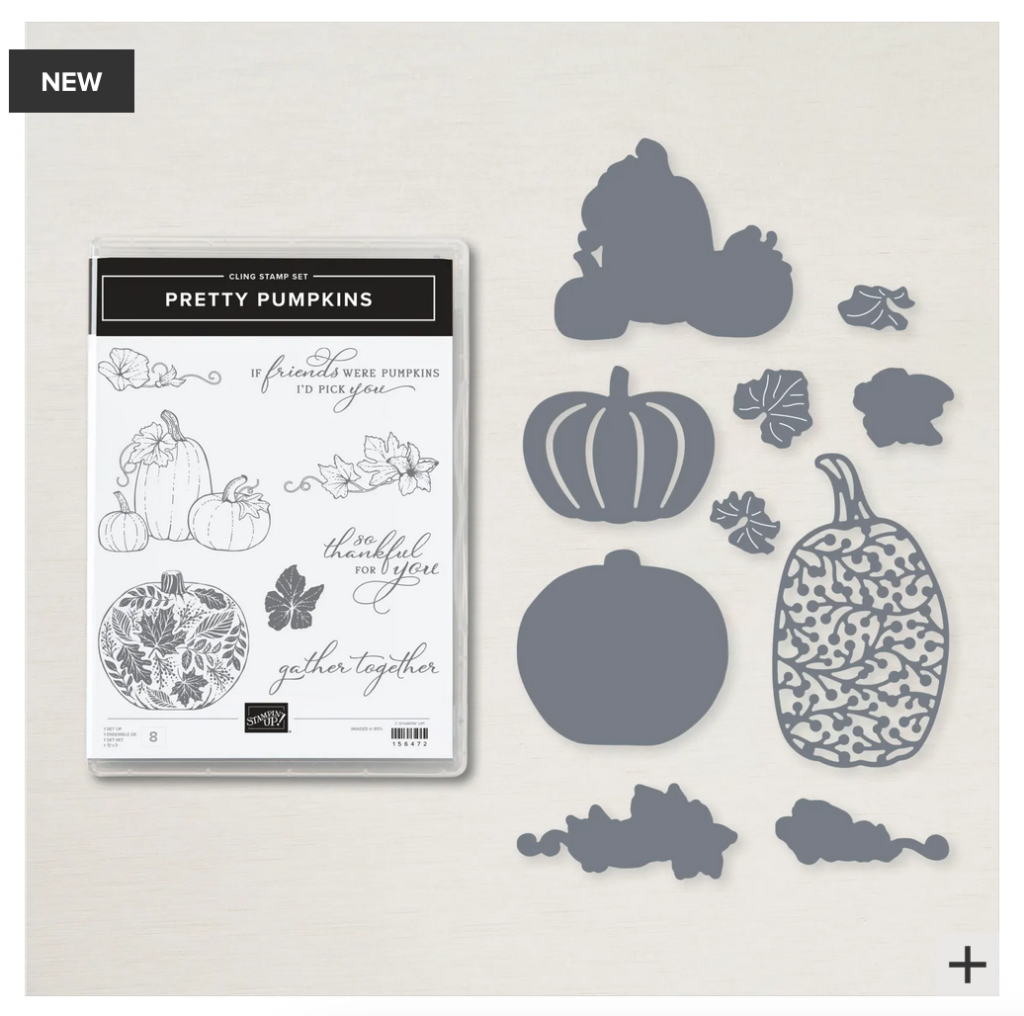
Nothing says Autumn like pumpkins so I chose the Pretty Pumpkins Bundle from Stampin’ Up! for today’s card. The new Harvest Meadow Designer Series Paper paired perfectly with the bundle. All the pretty pumpkin images to stamp and coordinating dies in this bundle are perfect for all my fall paper crafting projects.

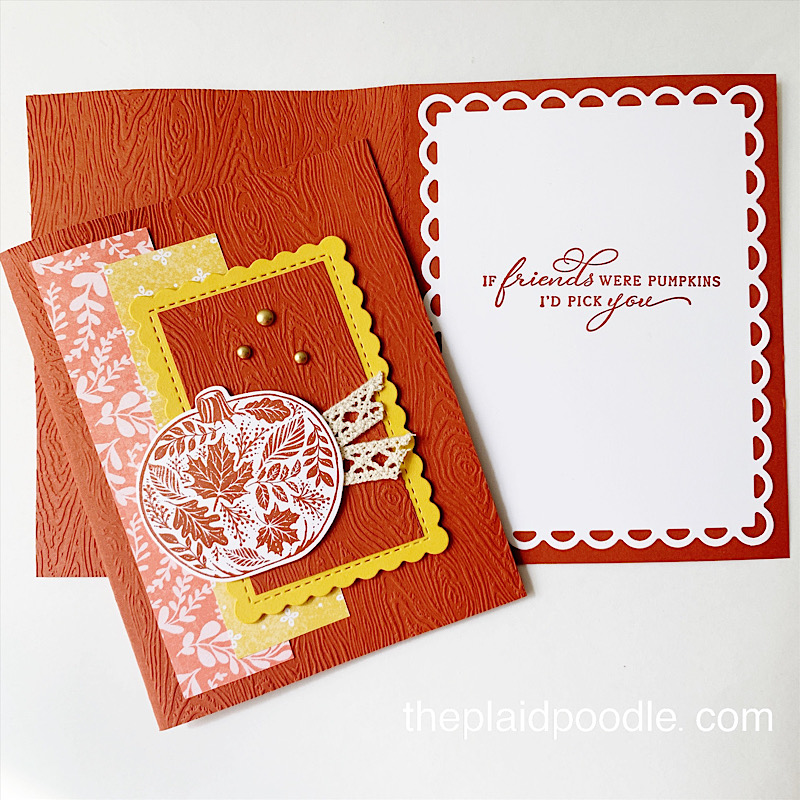
I started today’s card design by using the same map as the recent Plaid Poodle Sketch I shared on this post. To add texture and interest to the card I used the new Timber 3-D Embossing Folder and Diamond Weave Ribbon. I also thought use a few Brushed Metallic Dots to add a little shine to the card front.

It was a refreshing change to use the deeper, regal colors Autumn reminds of of. For today’s project I used Cajun Craze and Bumblebee cardstocks and inks. And, because I did not stamp a sentiment onto the card front, I decided to make the card insert a little fancy by using a Scalloped Contours die-cut.

Video Tutorial


Product List

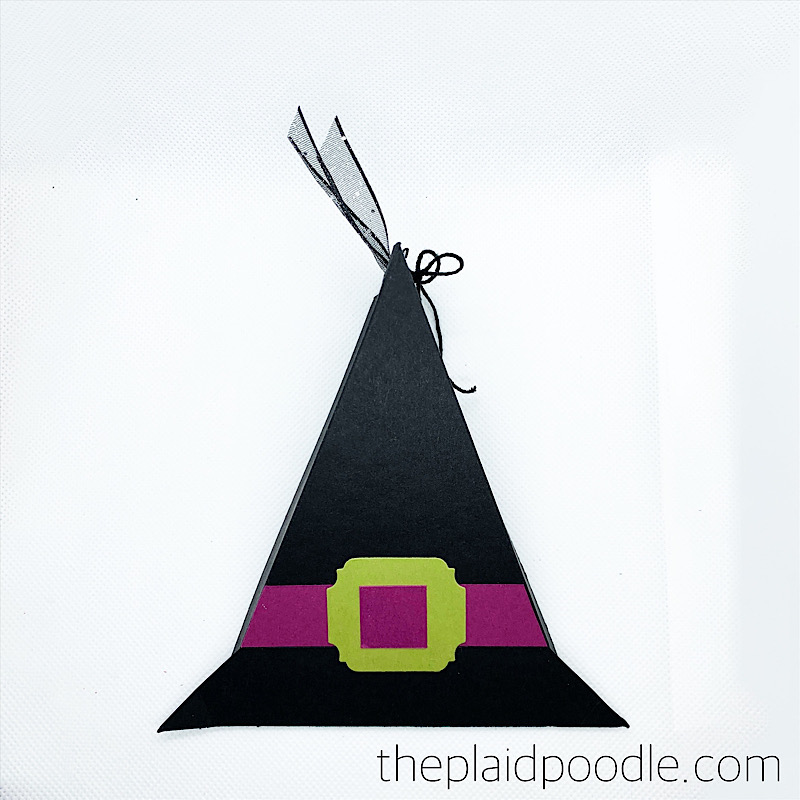
Halloween Witches Hat Treat Holder

We’re on the final countdown to Halloween and if you need a last minute project, today’s Halloween Witches Hat treat holder is perfect! It’s quick to put together and, besides a paper trimmer, can be completed without any special tools.

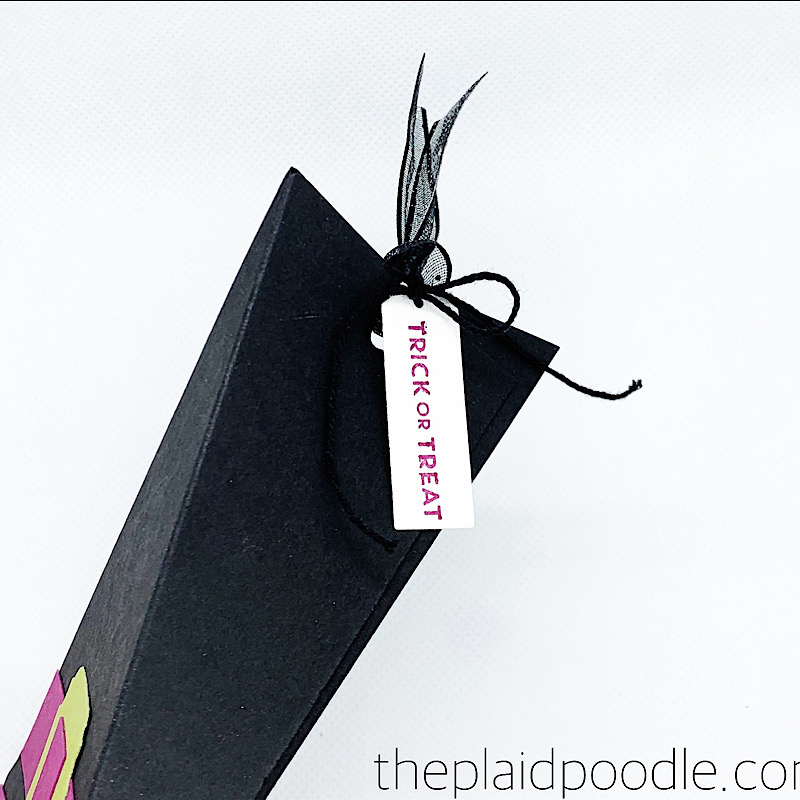
The photo doesn’t represent the size of the Halloween witches hat treat holder well. It’s really pretty ample and would hold several mini candies. At it’s widest point the treat holder is almost 2″ wide. Here is a view from the side showing the stamped tag I tied onto the witches hat.

I die-cut the buckle on the witches hat using a die from the Ornate Frames dies but in a pinch you could easily cut a 1-1/2″ x 1-1/2″ piece of card stock to use for the buckle.

Paper Cutting Guide

Basic Black Cardstock = 4-1/4” x 11” (hat), 5-1/2” x 1” (brim)
Rich Razzleberry Cardstock = 3/4” x 4”
Old Olive Cardstock = 2” x 2”
Whisper White Cardstock = scrap

You will be able to get two Halloween Witches Hat Treat Holders out of one 8-1/2″ x 11″ piece of card stock. Watch the replay from my Make-it-Monday Facebook Live to learn how to score the card stock to get the hat shape.

I think these spooky treat holders are so cute and hope you are inspired to make a few of your own this Halloween. To learn more about, or to purchase any of the supplies I used in this project click on the images below.

Product List

Celebrations Tidings Home Decor Project

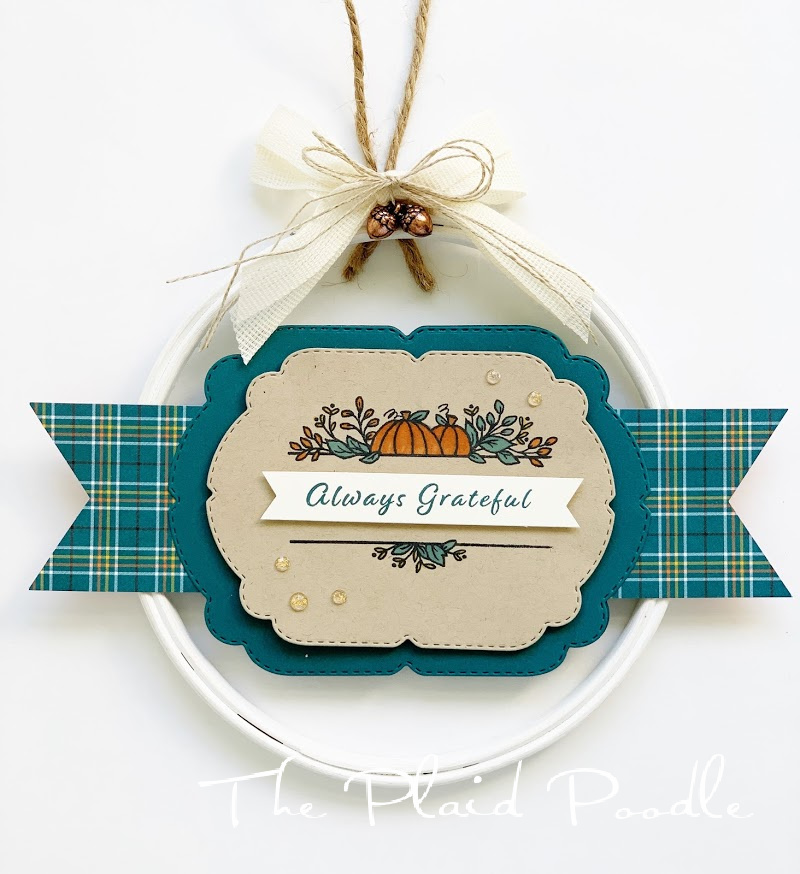
The inspiration for today’s Celebration Tidings Home Decor project came from Yvonne Spikmans of The Creative Teacup. Once I saw Yvonne’s embroidery hoop home decor project I knew I wanted to make one for myself.

To make my version I painted a 6″ embroidery hoop with white craft paint and cut the following papers:

  • Plaid Tidings 6″ x 6″ Designer Series Paper = 2″ x 6″
  • Pretty Peacock Cardstock = 1-7/8″ x 6-1/2″, two pieces 5″ x 5″ each
  • Crumb Cake Cardstock = 5″ x 4″
  • Very Vanilla Cardstock = 3/8″ x 3-1/2″

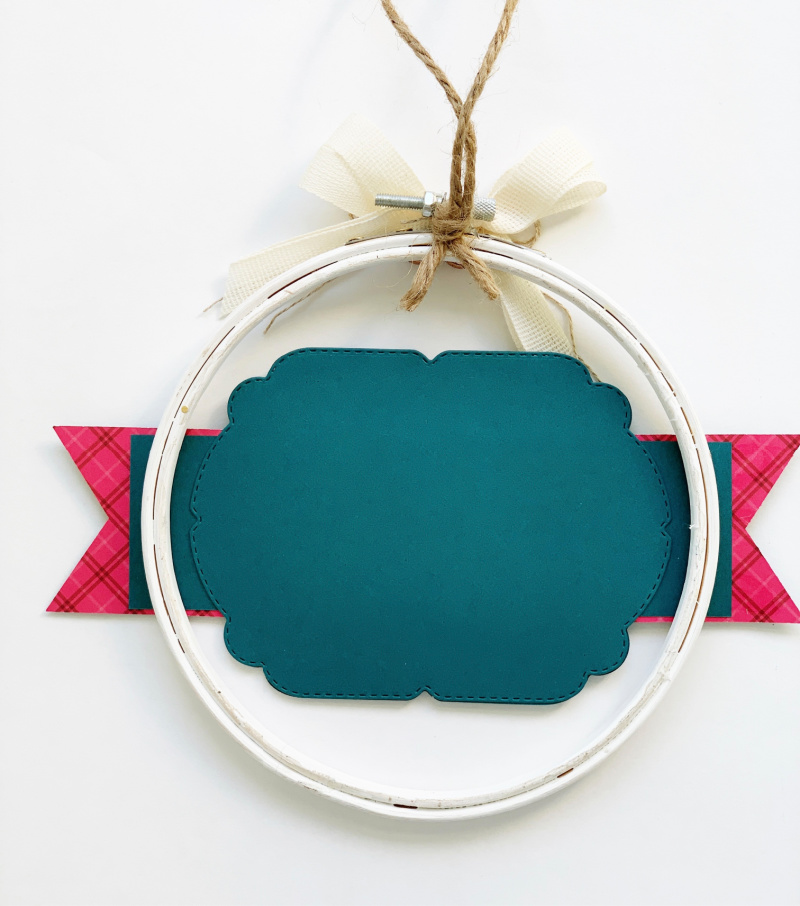
I adhered the 1-7/8″ x 6-1/2″ strip of Pretty Peacock Designer Series Paper to the hoop using MultiPurpose Liquid Glue. Next, I cut the 2″ x 6″ piece of Plaid Tidings Designer Series Paper in half and punched one end of each 3″ x 2″ piece using the Triple Banner Punch. The flagged Designer Series Paper was then adhered to each end of the strip of Pretty Peacock cardstock on the hoop.

I cut a label from from each 5″ x 5″ piece of Pretty Peacock cardstock with the second largest die from the Celebration Labels Dies using my die-cutting machine. I adhered one die-cut to the cardstock on the front of the hoop using Multi-Purpose Liquid Glue.

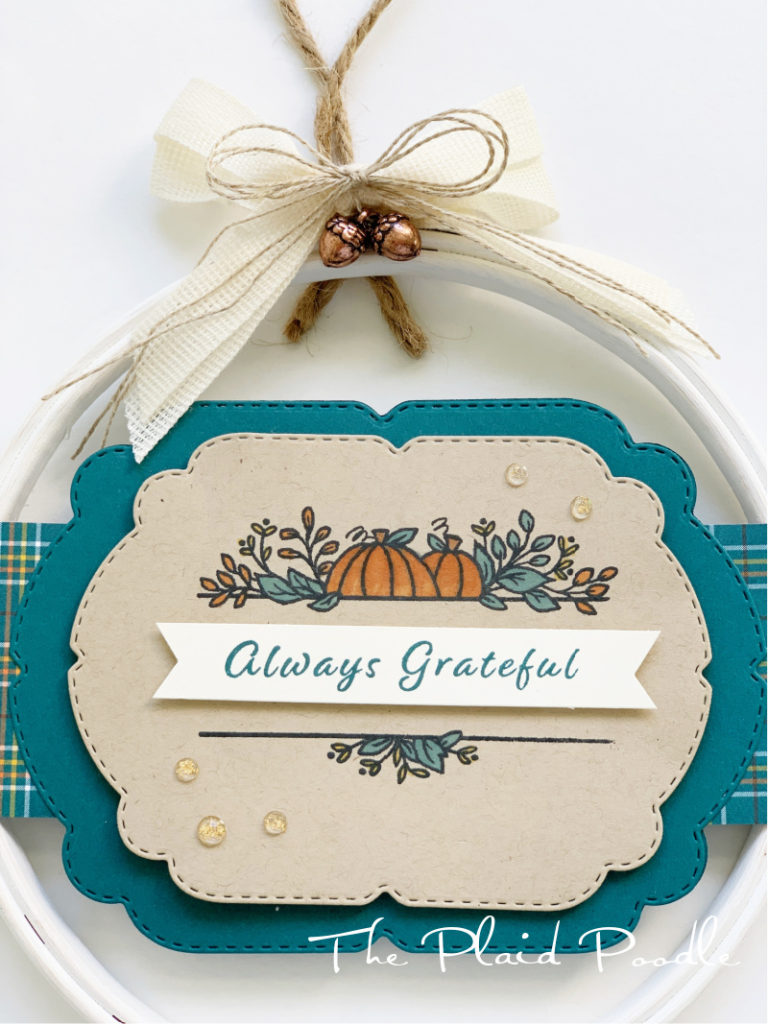
Next I cut a label from the 5″ x 4″ piece of Crumb Cake cardstock with the third largest die from the Celebration Labels Dies. I stamped images from the Celebration Tidings Stamp Set onto the die-cut using Memento Ink and colored the images using Stampin’ Blends. I adhered this label to the Pretty Peacock label on the hoop using Stampin’ Dimensionals.

To complete the front of the project I stamped the sentiment onto a 3/8″ x 3-1/2″ piece of Very Vanilla cardstock with Pretty Peacock ink, punched each end of the tag using the Triple Banner Punch, then adhered the tag to the project using Stampin’ Dimensionals.

The project needed a little fancy so I added five Wonderful Gems, a bow made with trim from the Forever Greenery Trim Combo, a Linen Thread double bow and two Acorn Trinkets.

Finally I adhered the second Pretty Peacock die-cut label to the back of the front label on the hoop to cover up the situation on the back of the project and added a hanger with a length of jute twine.

Product List

This sweet little Celebration Tidings Home Decor project would look lovely in your home this autumn season. They would also make the nicest hostess or “thinking of you” gifts.
Halloween Z-Fold Card

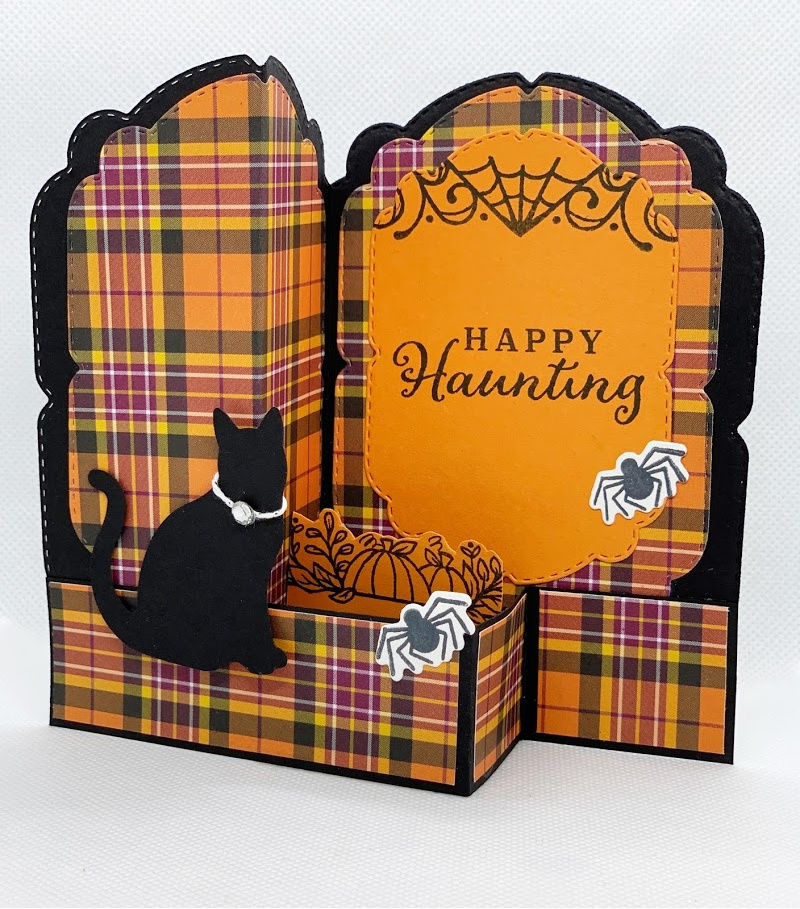
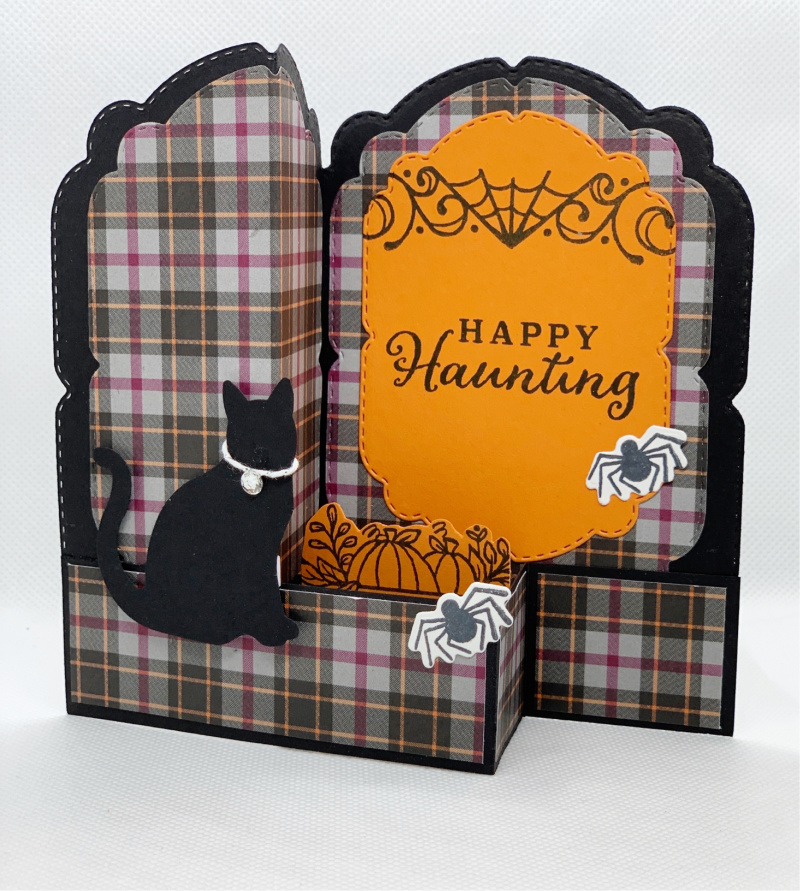
I haven’t made many Halloween cards this year so I put my thinking cap on and came up with this Halloween z-fold card made using the Celebration Tidings Bundle from Stampin’ Up!

The card base for this Halloween z-fold card is shaped using the Celebration Labels Dies from Stampin’ Up! I thought it made the card have a headstone shape. Super spooky for Halloween! Watch this video tutorial to see how I cut the card base out.

The colors in the Plaid Tidings Designer Series Paper were made for Halloween projects so I grabbed them for my cards. I made one card with the Smokey Slate background print and one with the Pumpkin Pie background print.

There is an extra tab in the center of the z-fold card to adhere an additional image onto. I stamped the pumpkin patch image from the Celebration Tidings stamp set onto Pumpkin Pie cardstock with Memento Tuxedo Black ink then trimmed and fussy cut it out. It appears my ritzy kitty is sitting in the middle of a pumpkin patch.

Paper Cutting/Scoring Guide & Supply List

  • Card Base = 8-1/2″ x 5-1/2″ piece of Basic Black card stock scored at 4-1/4″ on the 8-1/2″ side
  • Bridge = 7″ x 1-1/4″ piece of Basic Black card stock scored at 3-5/8″ x 5-3/16″ on the 7″ side.
  • Tab Insert = 1″ x 2-3/4″ piece of Basic Black card stock scored at 1/2″ and 2-1/4″
  • Plaid Tidings Designer Series Paper = two pieces 5″ x 3-1/2″ each, 1-1/8″ x 3-1/2″, 1-1/8″ x 1-3/8″, 1-1/8″ x 1-1/2″
  • Cat = scrap of Basic Black card stock
  • Spiders = scrap of Whisper White card stock
Product List
Silver Baker's Twine
Silver Baker’s Twine

Thanks for stopping by my little corner of the web. Hopefully my Halloween Z-fold card has inspired you to make one of your own. Please contact me if I can answer any questions or assist you with your paper crafting needs.

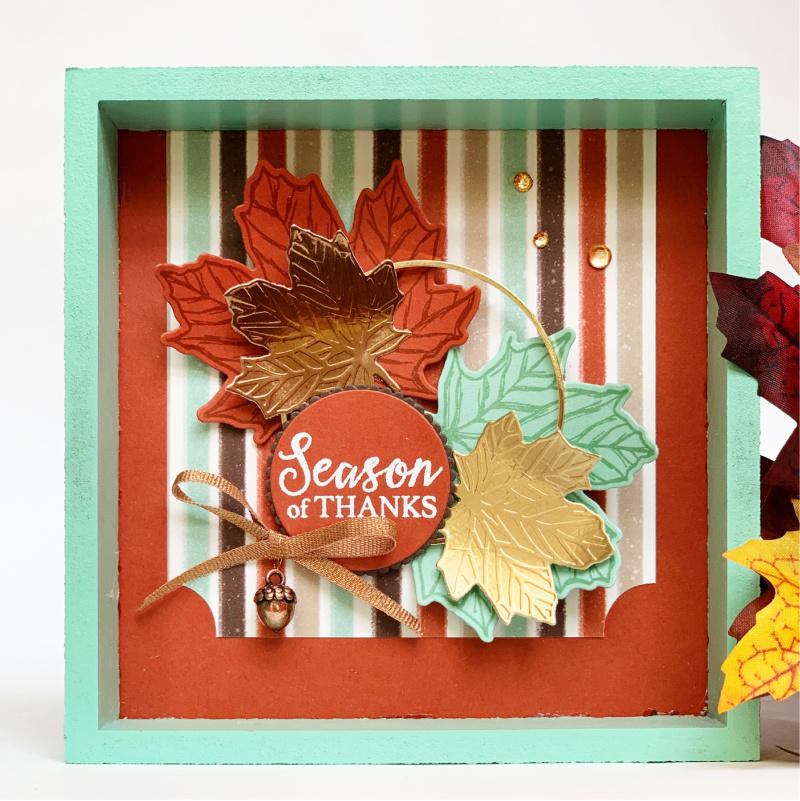
DIY Dollar Tree Autumn Home Decor

I’m so excited to share with you today’s DIY Dollar Tree autumn home decor project! It’s super easy to make and will look great tucked on a table somewhere in my home this Fall season.

The frame was purchased from Dollar Tree. It looked like this before my enhancements.

Cute if you’re my 5-year old granddaughter but I had something else in mind. To begin with I removed the backing of the frame and peeled off the unicorn paper. The little foam flowers were salvageable and will be put away for a future project.

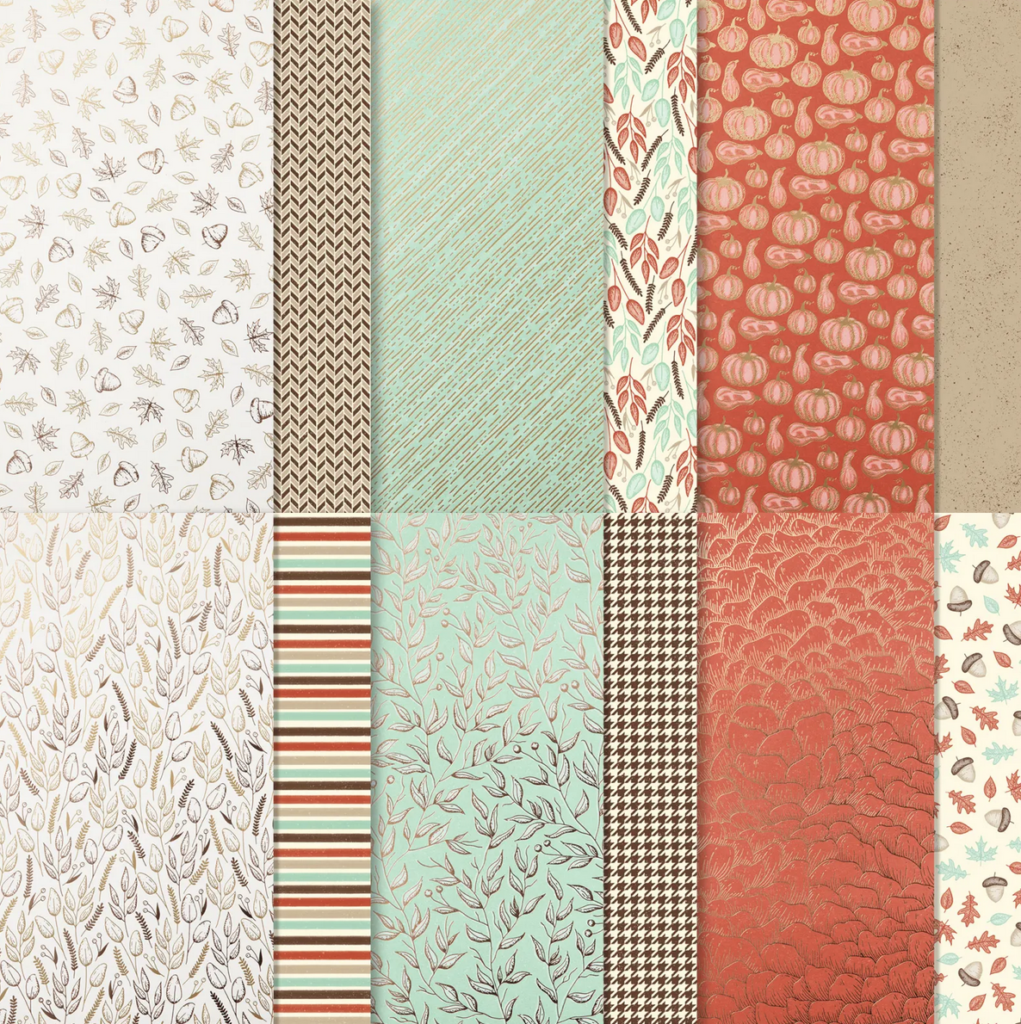
I thought I would probably need to repaint the frame but the color coordinated perfectly with the Mint Macaron from the Gilded Autumn Specialty Designer Series Paper from Stampin’ Up!

How many times have you seen or made a card and thought, “That’s pretty enough to frame”? That’s exactly what I did with today’s project. I hope I inspired you to make your own DIY Dollar Tree autumn home decor project!

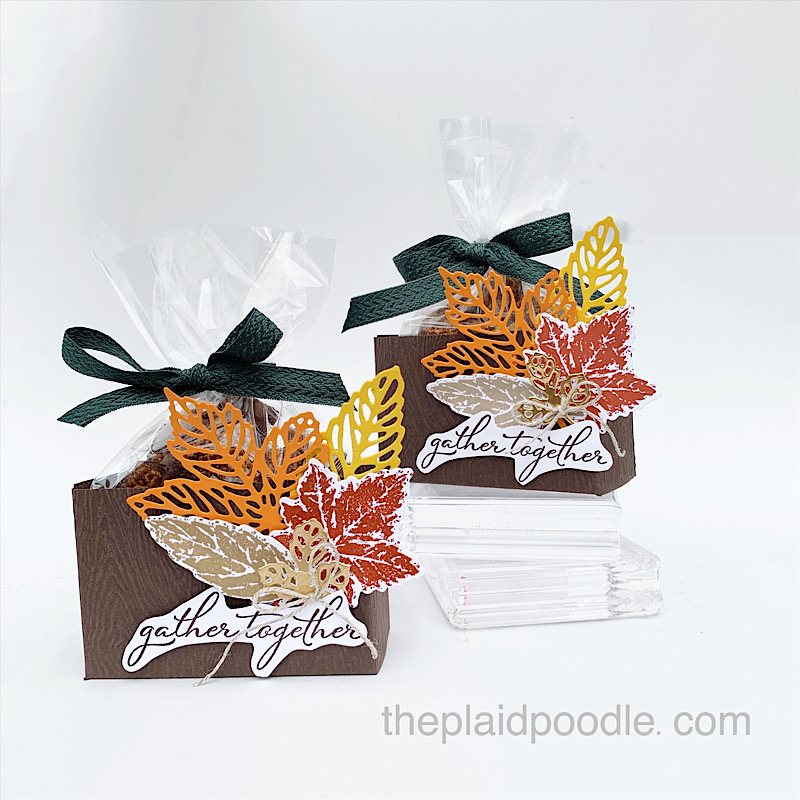
Gather Together Autumn Treat Holder

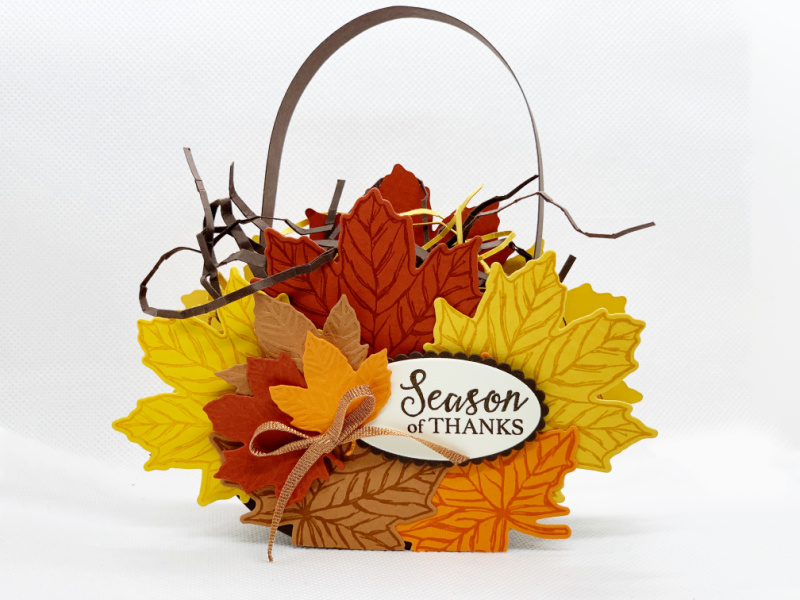
Today’s project, the Gather Together Autumn Treat Holder, is a WOW project and I am so excited to share it with you!!!

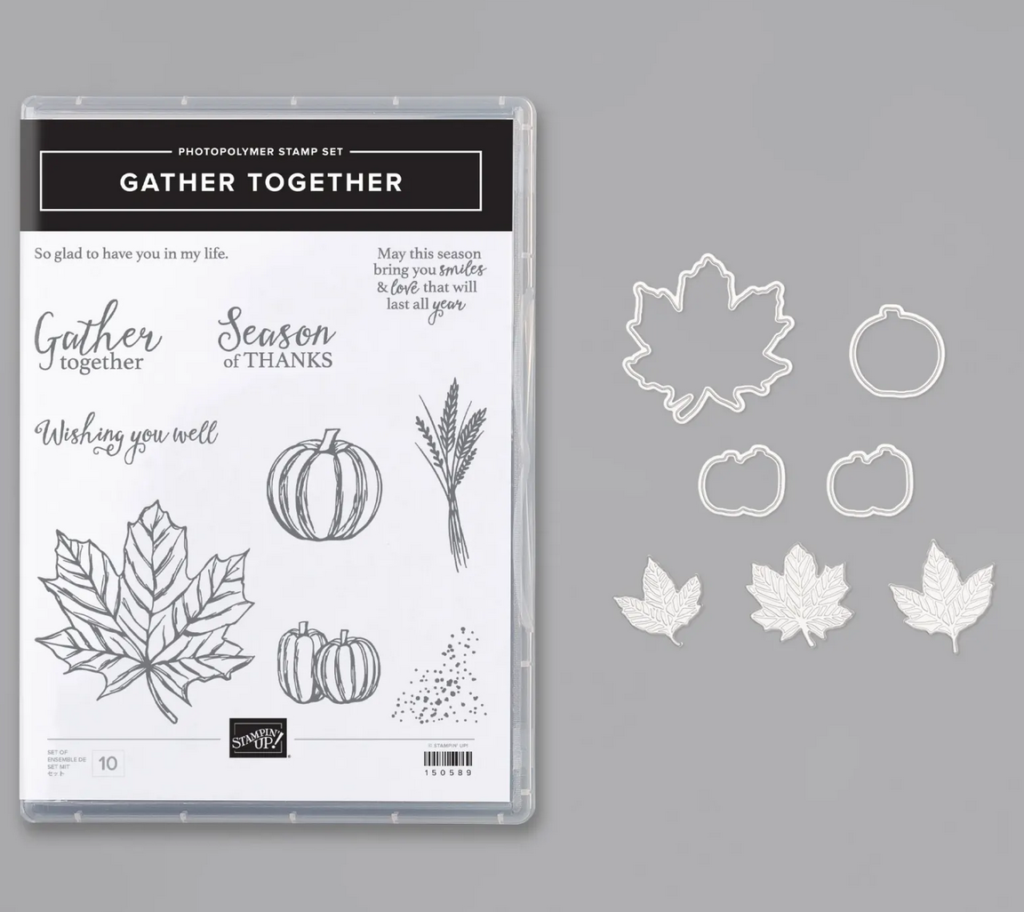
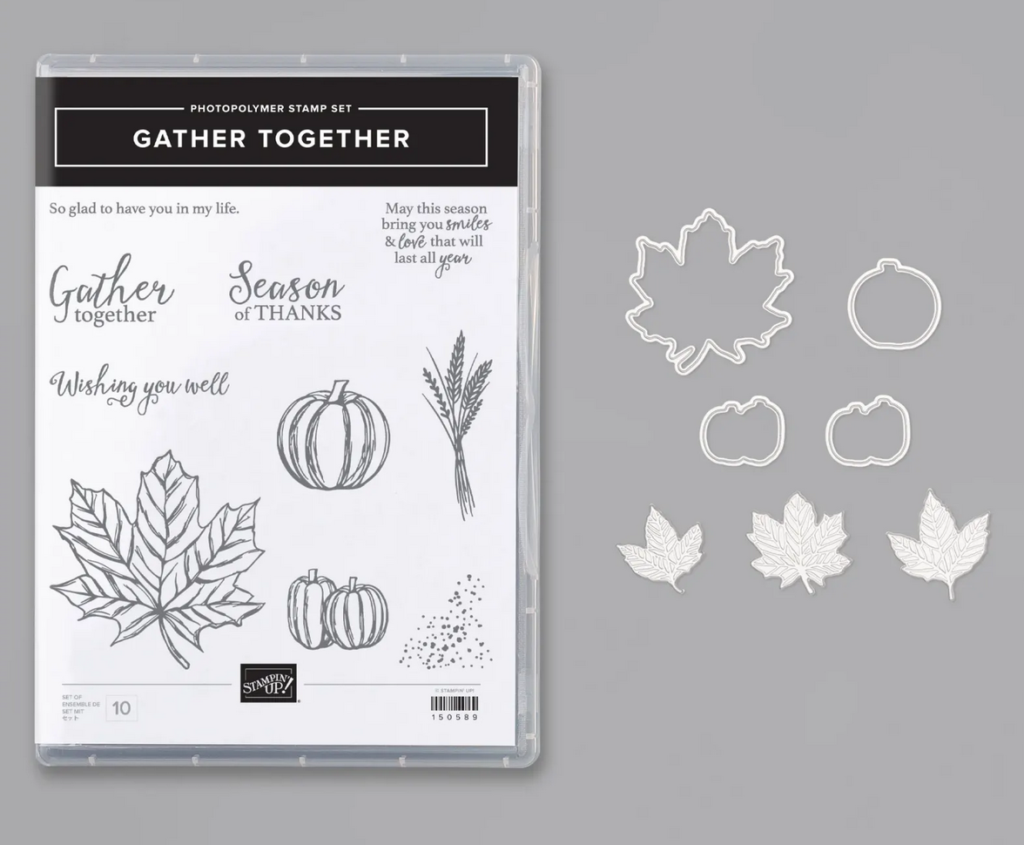
Can you imagine setting one of these at each place setting this Thanksgiving? I can and that’s exactly what I’m going to do! These sweet little treat holders would also make great hostess or teacher gifts. To make the Gather Together Autumn Treat Holder I used the Gather Together bundle from Stampin’ Up!

Cutting & Scoring Guide

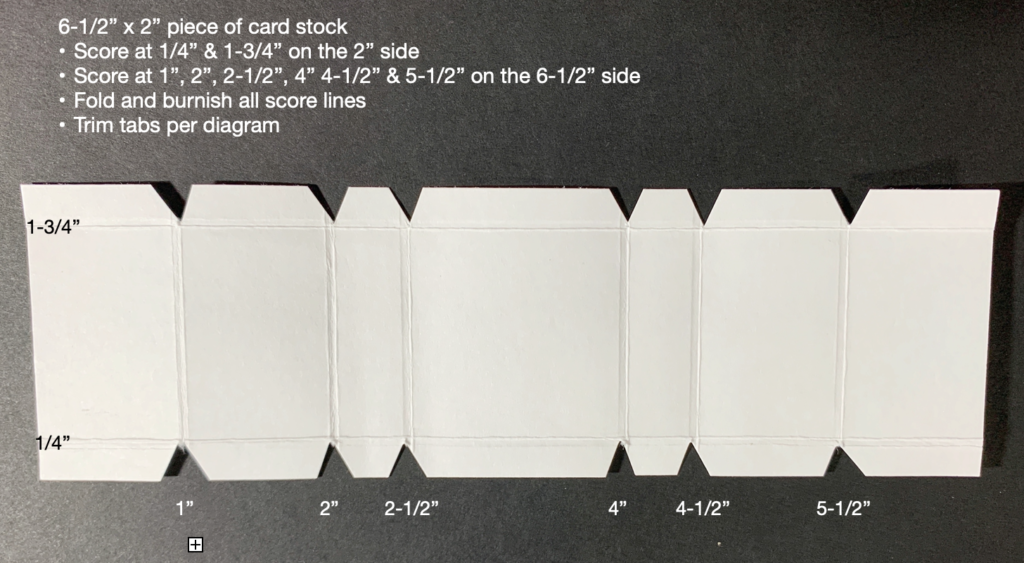
  • Early Espresso Cardstock = 7″ x 4″ (oval die-cuts), 6-1/2″ x 2″ (basket), 1-1/2″ x 2-1/2″ (sentiment tag)
  • Cajun Craze, Bumblebee, Crushed Curry, Pumpkin Pie & Cinnamon Cider cardstock = 5-1/2″ x 2-3/4″ (stamped leaves), scraps (embossed leaves)
  • Very Vanilla = 1-1/2″ x 2-1/2″
Product List

I hope you enjoyed the Gather Together Autumn Treat Holder and that it inspired you to make one yourself. Please reach out to me if I can help you with any of your paper crafting needs.

Gather Together Die-Cut Card

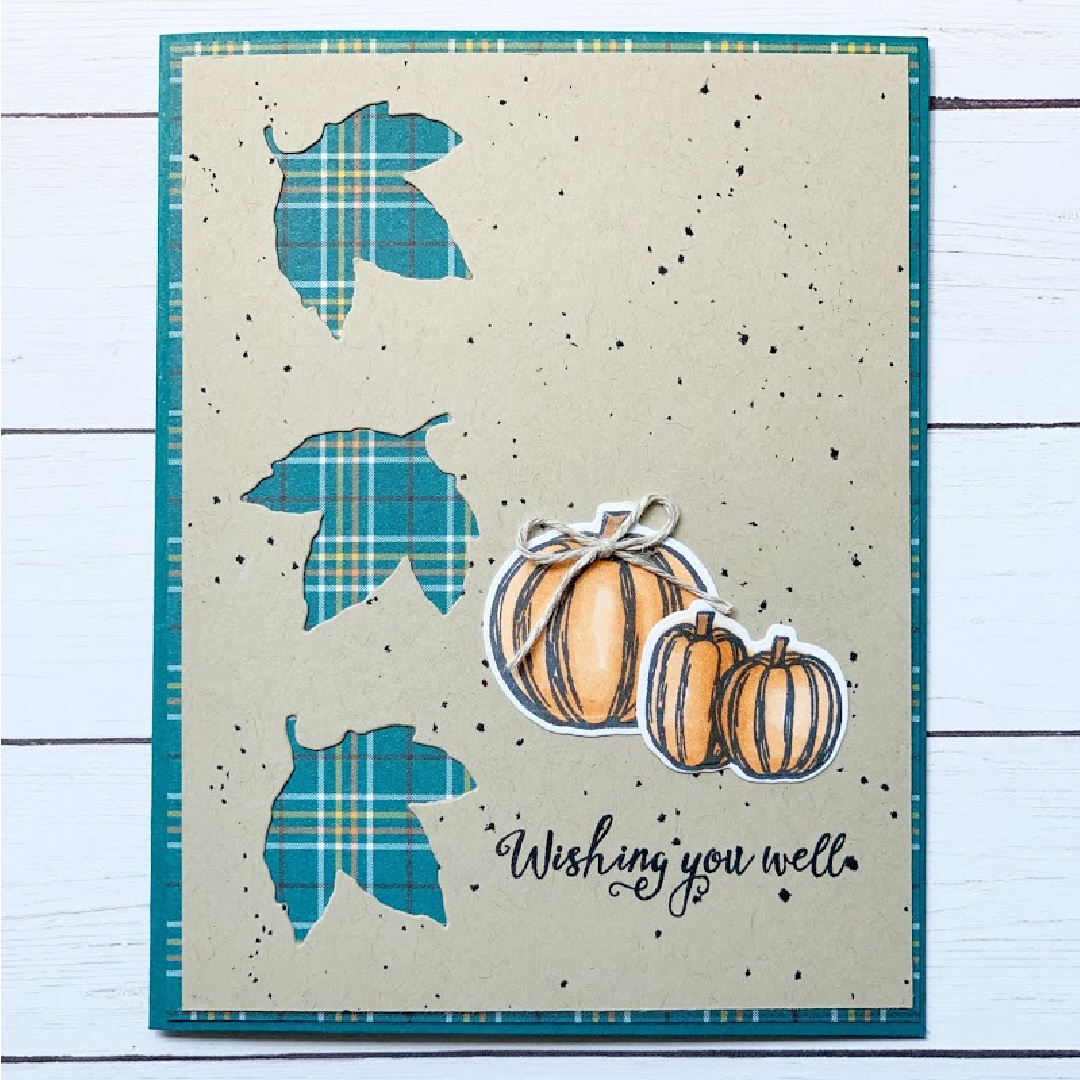
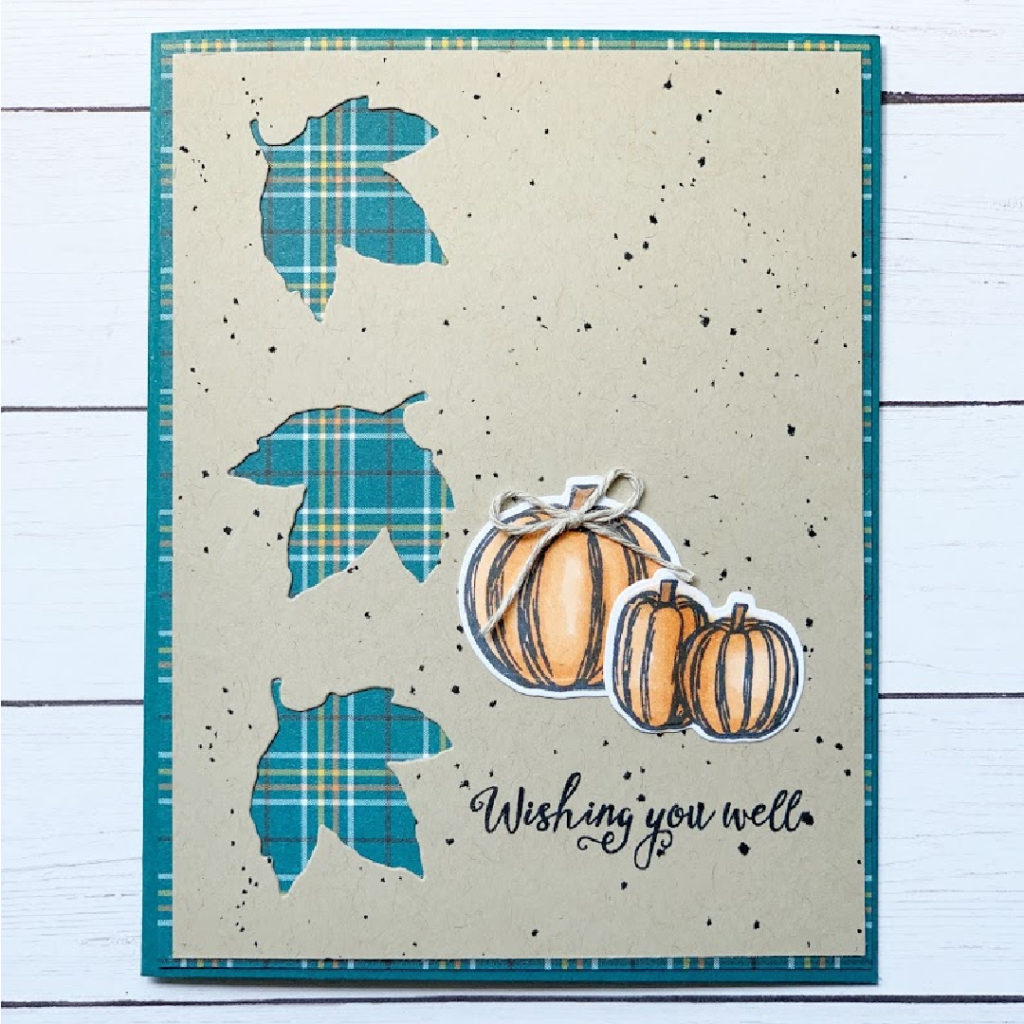
The autumn season is fast approaching and I’ve been playing around with some of the stamp bundles from the Holiday Mini catalog from Stampin’ Up! Nothing says autumn like falling leaves and pumpkins! Today’s project has both!

I used the Gather Together Bundle to make this Gather Together die-cut card. Leaves and pumpkins never go out of style so this bundle will be used years from now.

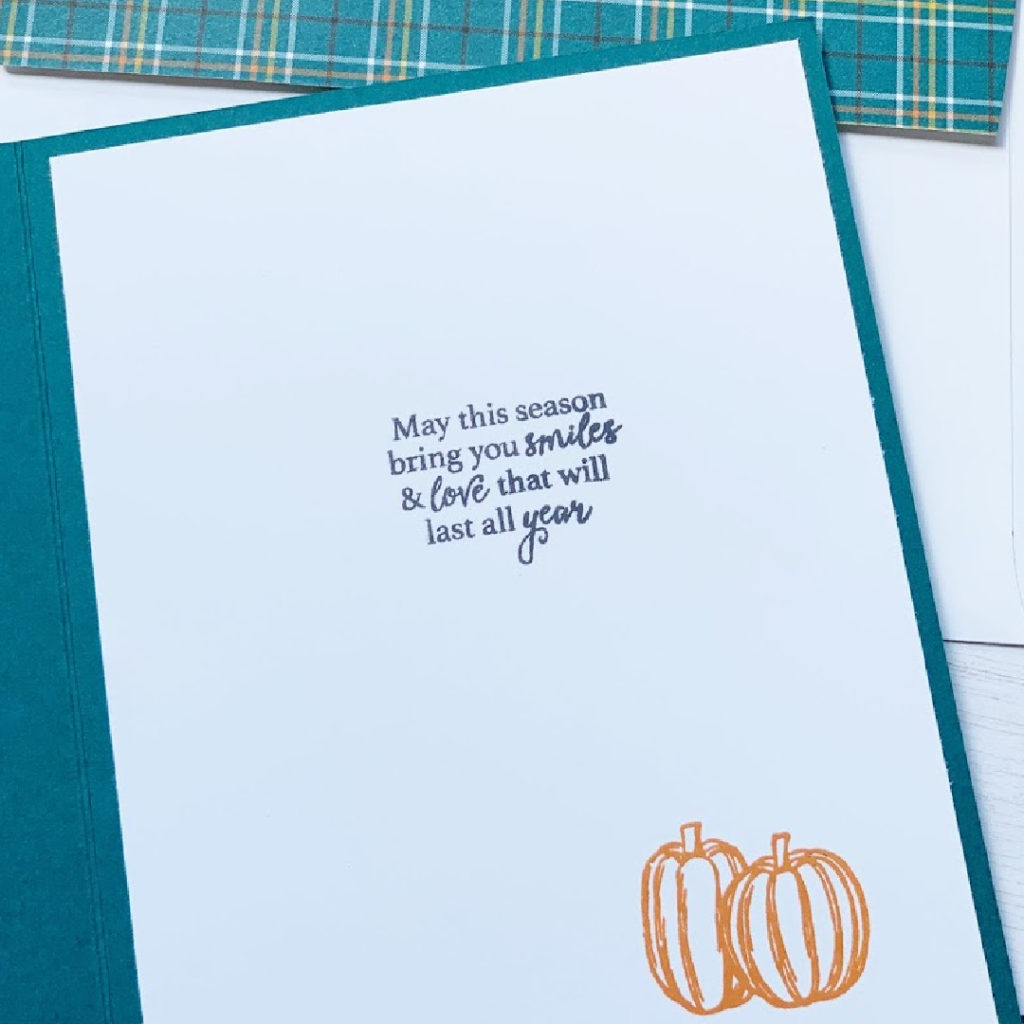
The inside verse on my card is so sweet.

Watch the replay of my Coffee & a Card Facebook Live to see how easy this Gather Together die-cut card is to make.

Paper Cutting Guide:

  • Card Base = 8-1/2″ x 5-1/2″ piece of pretty Peacock cardstock scored at 4-1/4″
  • Plaid Tidings Designer Series Paper = 5-3/8″ x 4-1/8″
  • Crumb Cake cardstock = 5-1/4″ x 4″
  • Whisper White = 3″ x 2″ and 5-1/4″ x 4″
Product List
Pumpkin Pie Classic Stampin' Pad
Pumpkin Pie Classic Stampin’ Pad

Make a Halloween Shaker Card

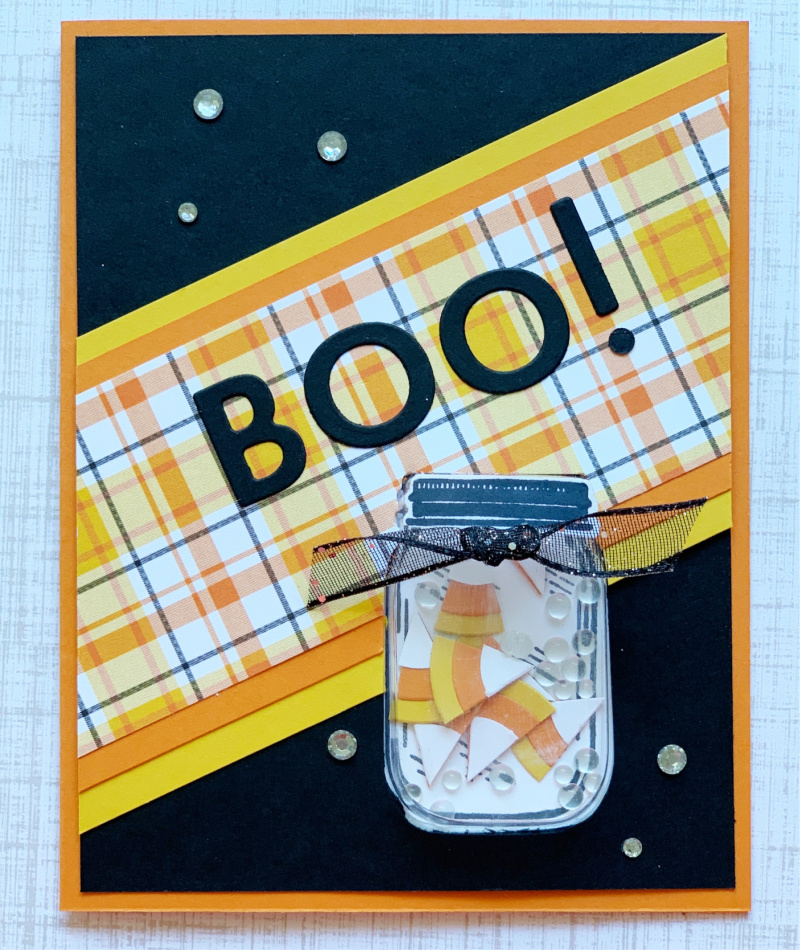
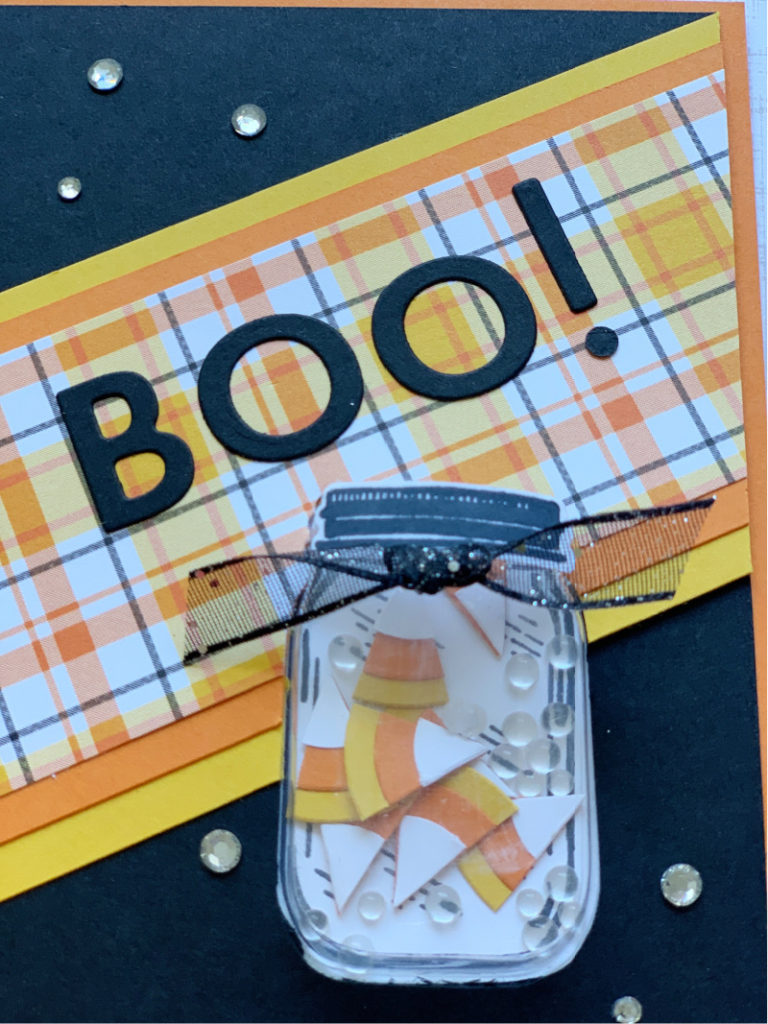
The card I’m sharing today is a Halloween shaker card! If you scroll down this post to watch the video tutorial below, I show how to create this adorable little card including the sweet candy corn confetti! I also share a great tip for getting those tiny die-cuts lined up properly and adhered to your card front exactly where you want them.

Isn’t the card bootiful?! The colors used in the card are pulled form the piece of Plaid Tidings Designer Series Paper; Pumpkin Pie (of course), Basic Black and Crushed Curry.

Of course the Jar Punch and Mason Jar Shaker Dome is the center of attention on this card but the Glittered Organdy Ribbon knot ties everything together and the Rhinestone Basic Jewels were a good pick to finish the card.

Cutting Guide

  • Card Base = 8-1/2″ x 5-1/2″ piece of Pumpkin Pie card stock scored at 4-1/4″ on the 8-1/2″ side then folded in half.
  • Basic Black = 5-1/4″ x 4″ and a scrap for BOO! die-cuts.
  • Crushed Curry = 6″ x 2-3/4″
  • Pumpkin Pie = 6″ x 2-3/8″
  • Designer Series Paper = 6″ x 2″
  • Whisper White = 4″ x 2″ for jar & mason jar lid image and scrap for shaker dome backing
Product List

Halloween cards are so much fun to make and adding a shaker element to them is fangtastic! I hope today’s project inspired you to create a shaker card of your own.

If you counted how many Halloween phrases I used in today’s post along with a few puns and ended up with four, you are correct. I guess I was feeling a little goulish!

Make Two Cards with Celebration Tidings

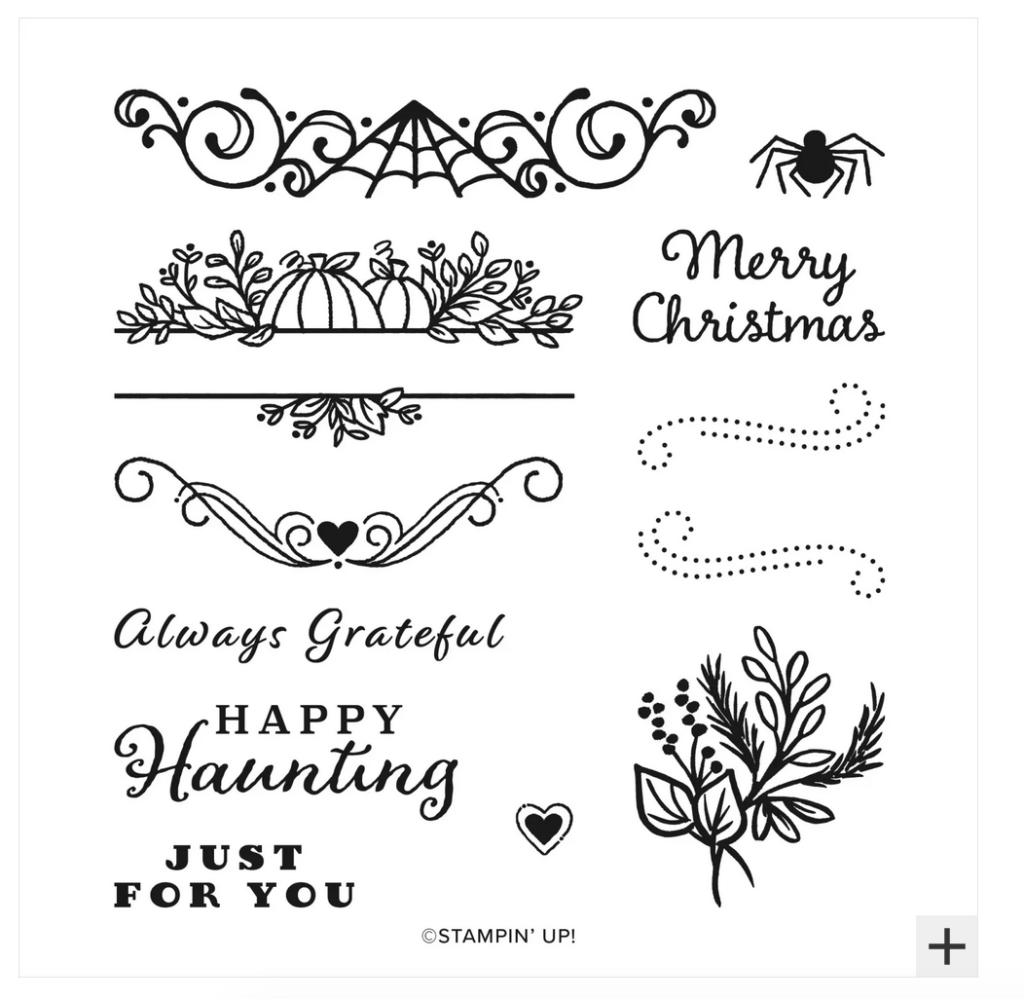
I’m always on the lookout for stamp sets that can be used for more than one occasion and the stamp set I used in today’s cards does just that! I made two cards using the Celebration Tidings stamp set from Stampin’ Up! in this week’s Coffee & a Card Facebook Live.

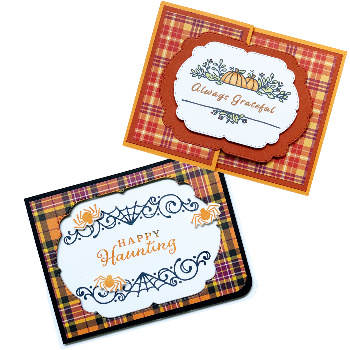
Look at all those holidays included in one stamp set! I consider it a great value. These are the two cards we made during the Live.

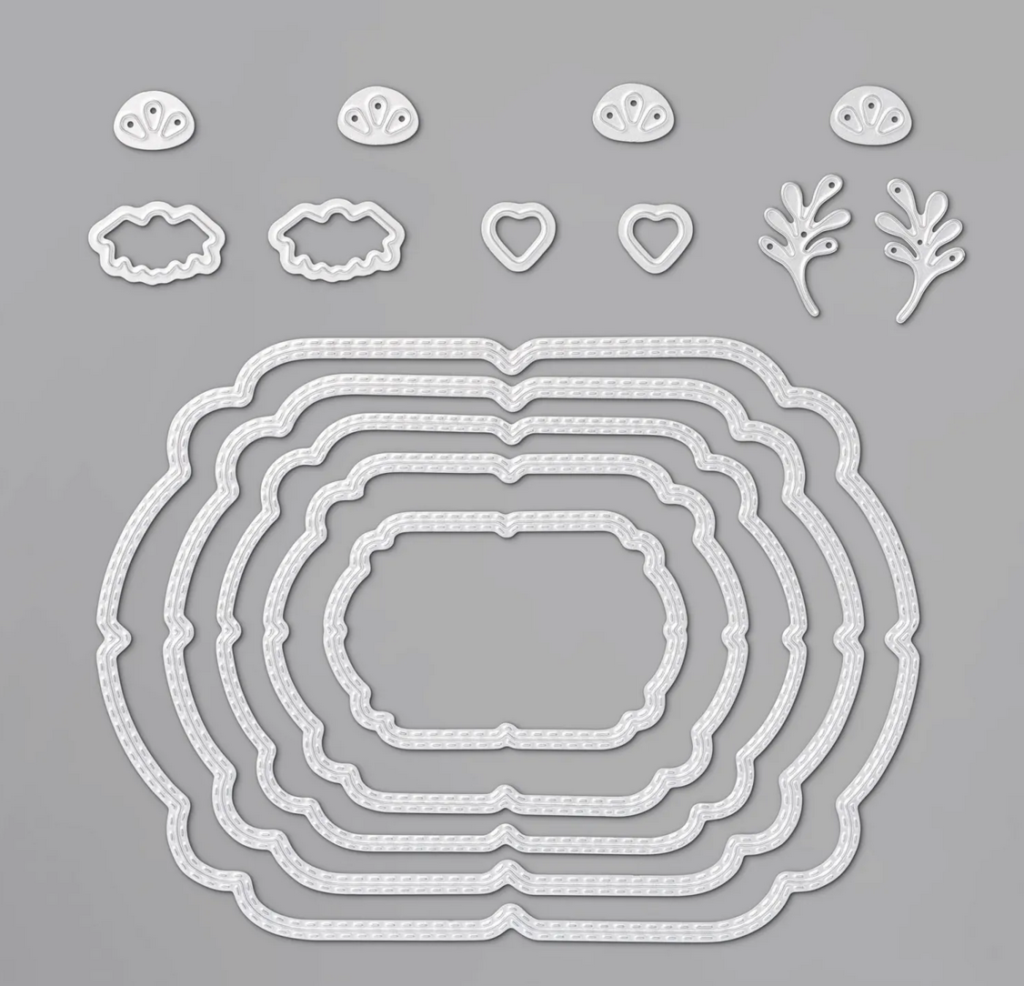
The plaid patterned, Plaid Tidings Designer Series Paper worked for this project like a Pumpkin Spice Latte works on a chilly day. I also used the Celebration Labels Dies that coordinate with the stamp set (save 10% when you purchase the stamp set and dies together).

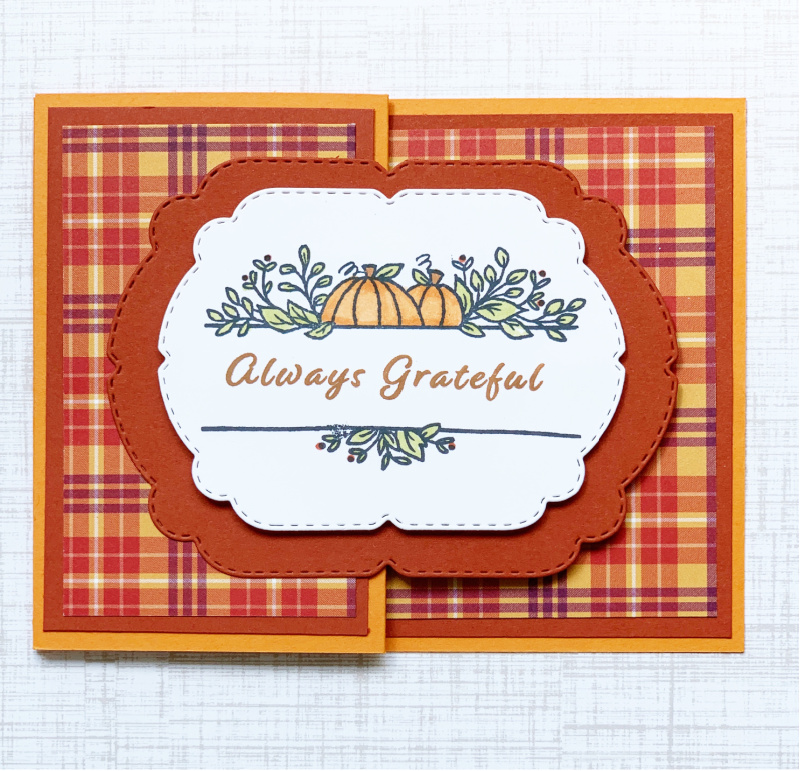
This first autumn inspired card is a simple Z-fold card with lots of yummy layers.

  • Card Base = 11″ x 4-1/4″ piece of Pumpkin Pie cardstock scored at 2-3/4″ & 5-1/2″ on the 11″ side. Fold on card lines to create card base.
  • Cajun Craze = 5-1/4″ x 4″, 4″ x 2-1/2″, 5″ x 4″ (die-cut)
  • Plaid Tidings Designer Series Paper = 5″ x 3-3/4″, 3-3/4″ x 2-1/4″
  • Whisper White = two pieces 4-1/4″ x 3-1/4″ each

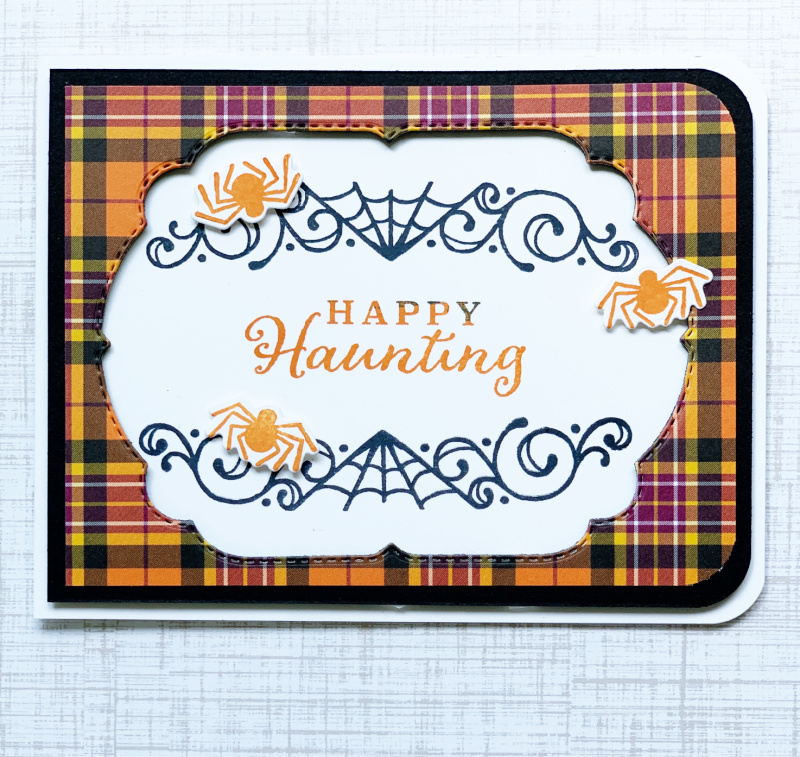
This next card is a window card. If I had added a window sheet under the top layer it would make an awesome shaker card.

  • Card Base = 11″ x 4-1/4″ scored at 5-1/2″. Fold on score line to create card base.
  • Basic Black = 5-1/4″ x 4″
  • Plaid Tidings Designer Series Paper = 5″ x 3-3/4″
  • Whisper White = scrap for spider die-cuts

For all the fun details and a step by step tutorial watch the video replay.

Product List

Summer is winding down and it’s a great time to start planning autumn projects. I hope you enjoyed the two cards made with the Celebration Tidings Bundle. If you’re interested in more projects like these take a look at the new Holiday Mini Catalog and let me know if you have any questions!
Make a Beautiful Autumn Card

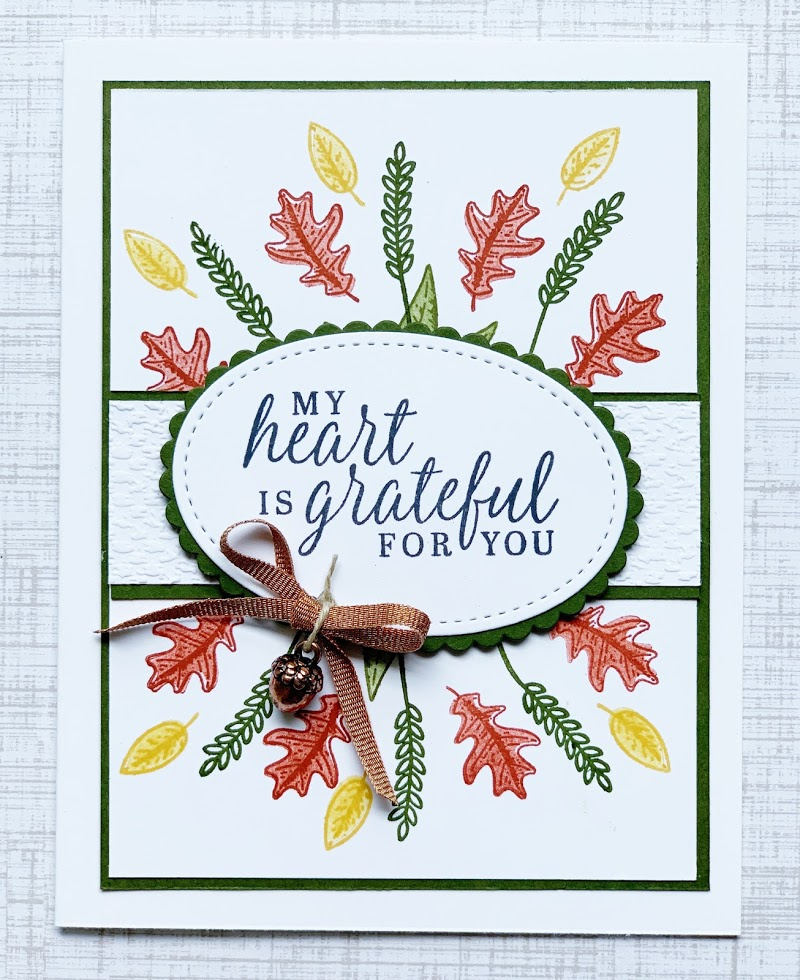
I demonstrated how to make a beautiful autumn card using the Beautiful Autumn stamp set from Stampin’ Up! today during my Coffee & a Card Facebook Live.

I used autumnal colors for the card and stamped them onto Whisper White card stock. I think using the white background gives this card a crisp and modern vibe.

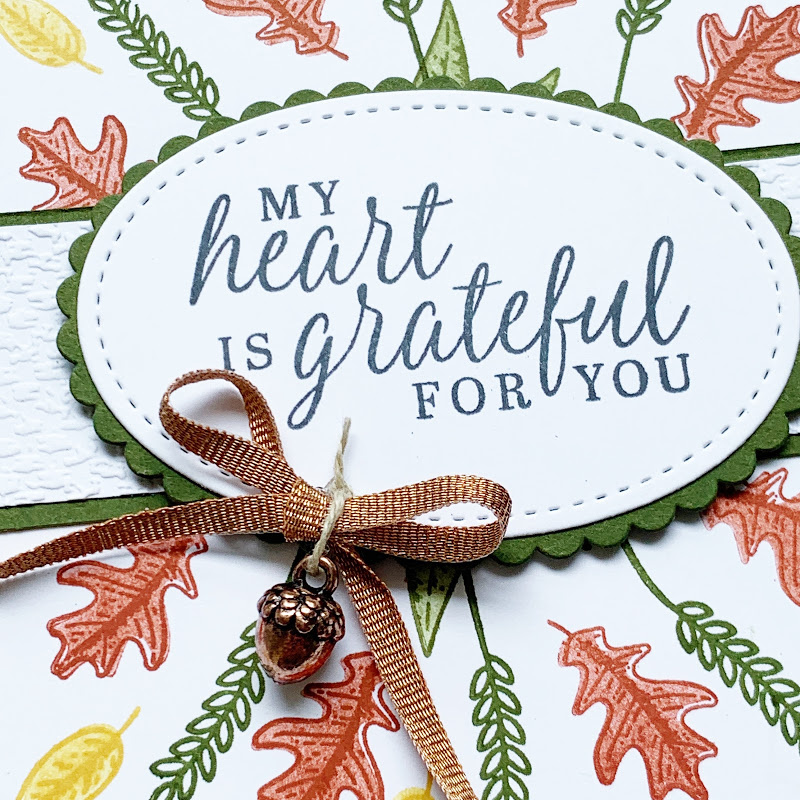
There’s lots of layers and a peek of texture from the embossed center band. My favorite thing about the card is the metallic ribbon with the acorn trinket attached.

Here is the replay from today’s Facebook Live, a list of products used and the paper dimensions:

Product List

DIMENSIONS:

  • THICK WHISPER WHITE: 8-1/2″ x 5-1/2″ scored at 4-1/4″ fold on score line to create card base.
  • MOSSY MEADOW: First layer = 3-3/4″ x 5″, Scallop circle = 3-1/4″ x 2-1/4″, Center strip = 1-1/4″ x 3-5/8″
  • WHISPER WHITE: Stamped layer = 3-5/8″ x 4-7/8″, Stitched circle = 3-1/4″ x 2-1/4″, Embossed strip = 1-1/8″ x 3-5/8″

I hope this has inspired you to make a beautiful autumn card yourself!

Cauldron Bubble Halloween Lanterns

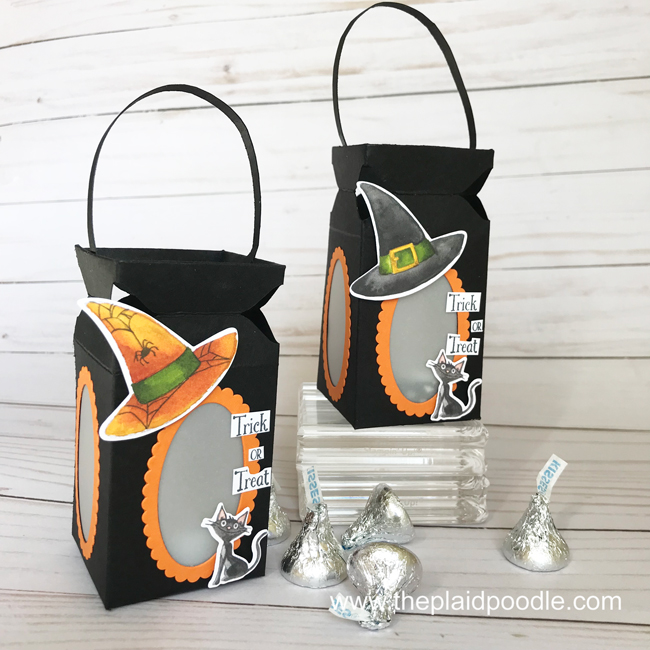
I participated in a vendor fair this fall and one of the items at my booth were these cute Halloween Lanterns.

Aren’t they sweet?  I placed a small, cellophane bag with chocolate kisses inside the lanterns for gifting along with a flameless tealight candle.  When you remove the candy and insert the flameless candle the lanterns really glow!  I show the lanterns in action at the end of my video tutorial below.

This project is probably considered intermediate skill required but only because of the tools used and the folds required.  It really is a pretty simple and straight forward project to complete.  I’ve included the card stock dimensions along with a list of the products used to create these lanterns below.

Project Recipe

  • Basic Black card stock = 8-1/2″ x 6″ scored on the 8-1/2″ side at 2″, 4″, 6″ and 8″.  Score on the 6″ side at 1/4″, 7/8″, 1-1/2″ and 4-1/4″
  • Basic Black card stock = 6-1/2″ x 1/4″ (lantern handle)
  • Vellum = four pieces 2-1/2″ x 1-3/4″ each
  • Pumpkin Pie card stock = 7-1/2″ x 3-1/2″
  • Toil & Trouble Designer Series Paper (witches hat and cat die-cut)
  • Whisper White card stock = scrap

Product List

Thank you for stopping by my blog today!  It would be my pleasure to assist you with your paper crafting needs.  Click on the button below to contact me.

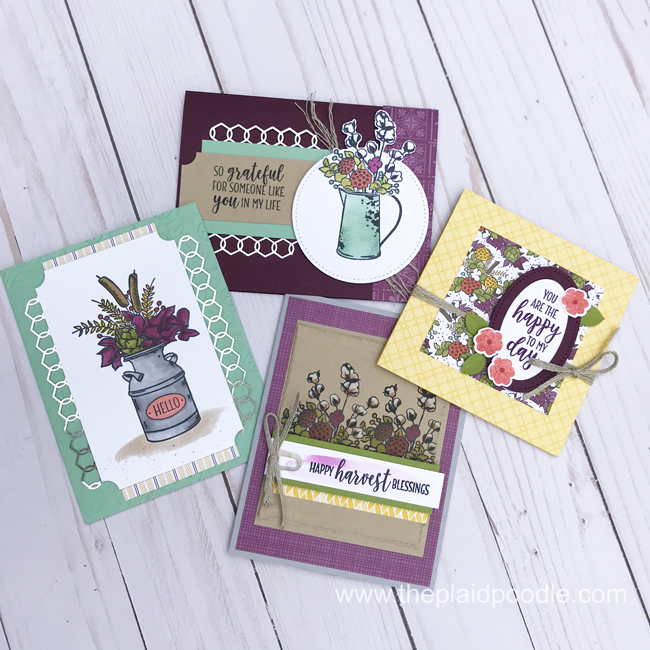
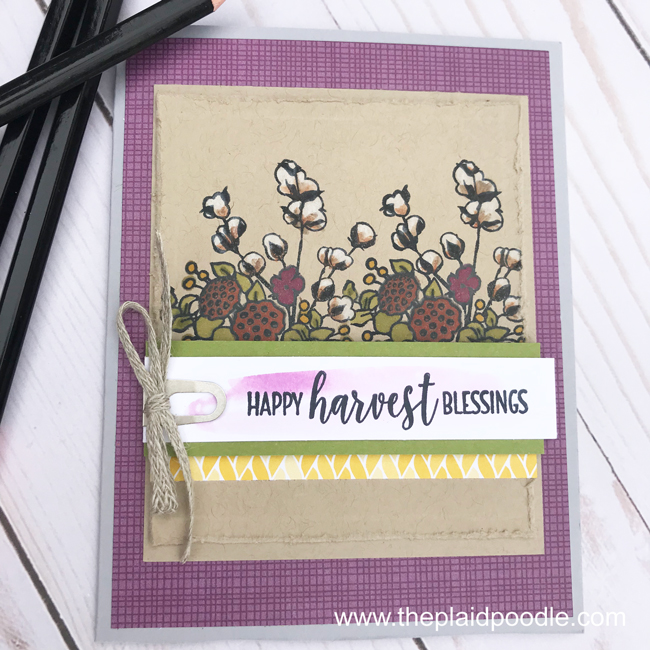
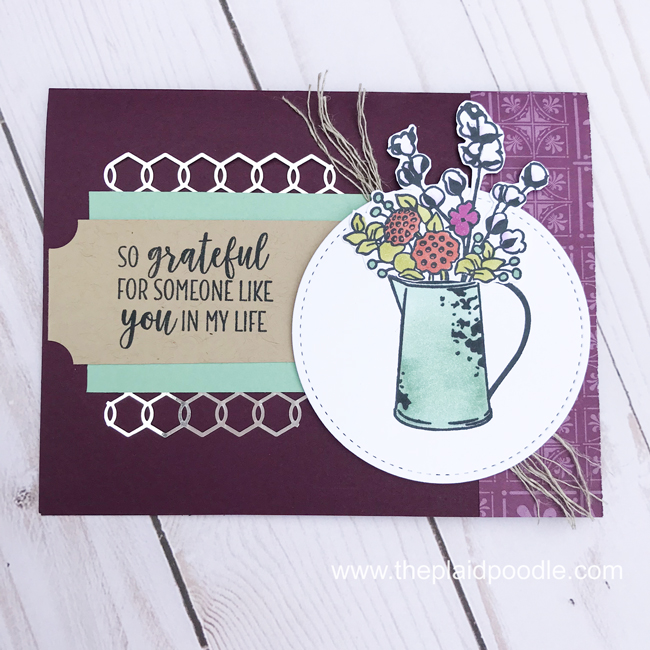
Stampin’ Up! Country Lane Suite

The cards I’m sharing with you today were made using products from the Country Lane Suite by Stampin’ Up!  I’m a city girl but these cards create the feel of country comfort wherever you live!  I created these cards by copying the samples on page 42 of the 2018 Holiday Catalog.

The sweet enamel pitcher, the milk can and the fall foliage photopolymer stamps in this set takes us back to a simpler time.  The colors used, like Blackberry Bliss, Cajun Craze and Crushed Curry, are perfect for the Fall Season that we are in right now.  The country imagery on the Country Lane Designer Series Paper is right on-trend.

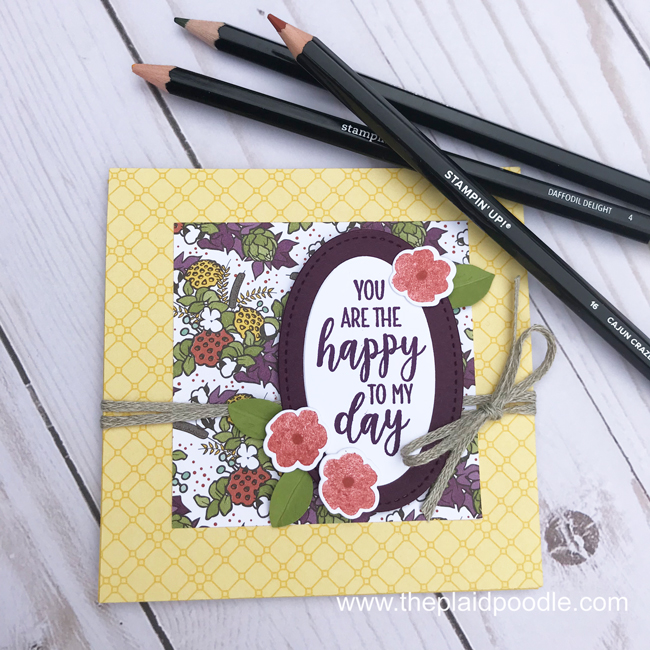
In addition to the products from the Country Lane Suite, I stamped the flower images for this sweet 4-1/4″ x 4-1/4″ note card with a stamp from the Jar of Love stamp set and cut them out with the coordinating Everyday Jars Framelits.  The leaves were punched from a scrap of Old Olive with the Leaf Punch.  One of my favorite elements in this little note card is the 3/16″ Braided Linen Trim.  It really ties the whole card together – lol!

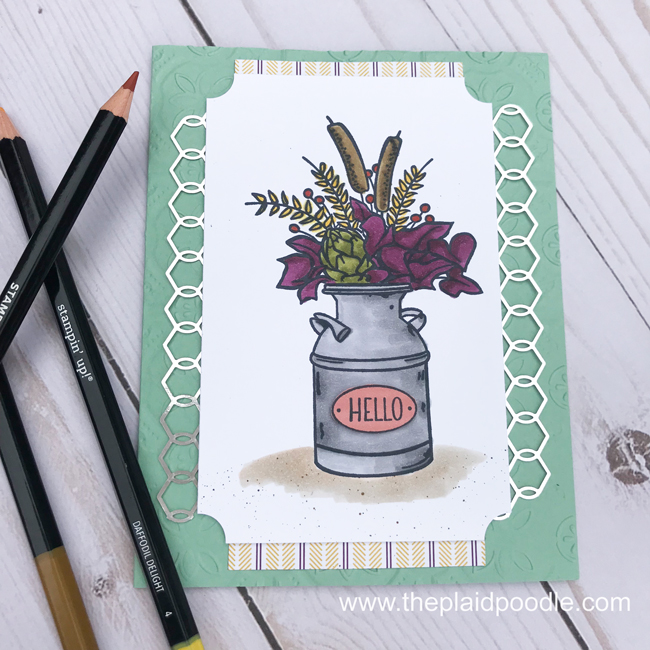
This next card is the type of card I send out most.  The sentiment is appropriate to send to anyone for any occasion.  The milk can is just too cute and the texture from the Tin Tile Dynamic Textured Impressions Embossing Folder is beautiful!

The Gray Granite card base on this next card is not something I would have chosen myself but it totally works.  That’s what is so great about the Stampin’ Up! catalogs.  The catalogs are full of samples and ideas to push us out of our creative boxes and try something new.  I would be happy to send a catalog out to you.  Click on the Catalog link in the menu above for details.

My last card uses the Braided Linen Trim again.  I used a paper piercer to unravel the ends of the trim.  I used a 3/4″ Circle Punch to notch out the corners of the Crumb Cake rectangle that the sentiment is stamped on.

Product List

Jar Of Love Photopolymer Bundle

Jar Of Love Photopolymer Bundle
[142342]

If you have any questions about the projects in today’s post please feel free to contact me by clicking on the button below: