
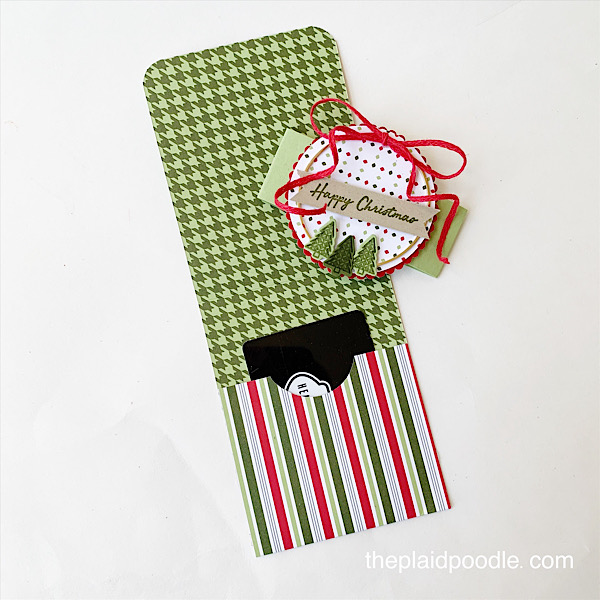
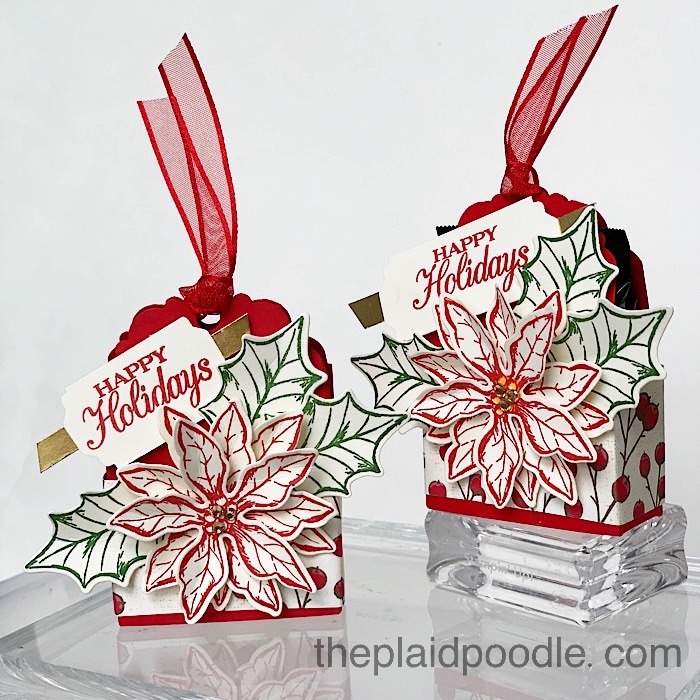
Make a St. Patrick’s Day Rainbow Treat Basket
Do you celebrate St. Patrick’s Day? Isn’t there a saying that everyone is Irish on St. Patrick’s Day? Because I’m always looking for something to celebrate I decided to do something for the luck of the Irish this week!
Nothing says, “Irish” like a pot of gold at the end of a rainbow as well as shamrocks. With that in mind I made this cute St. Patrick’s Day Rainbow Treat Basket during my Make-it-Monday Facebook Live today.
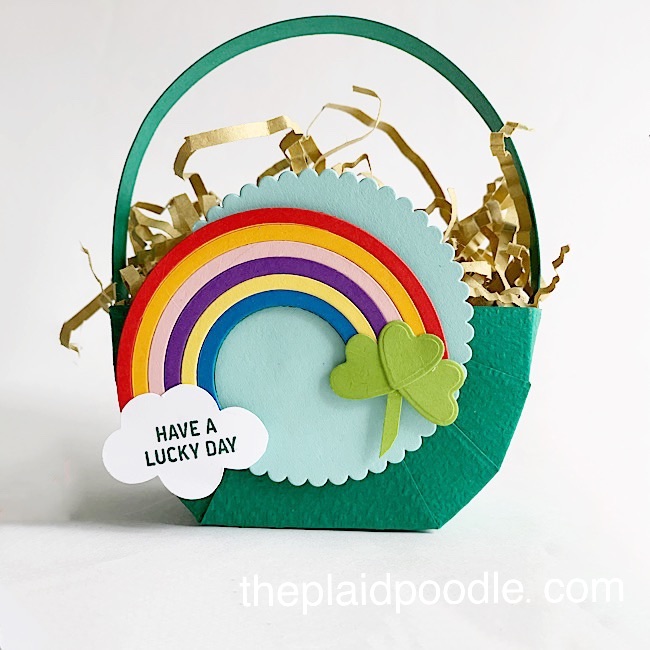
When I first envisioned making this project I thought of making the basket using Basic Black card stock creating a “pot of gold” at the end of the rainbow. But because it’s been pretty dreary here I wanted to use some color and ended up choosing Shaded Spruce card stock for the basket instead.
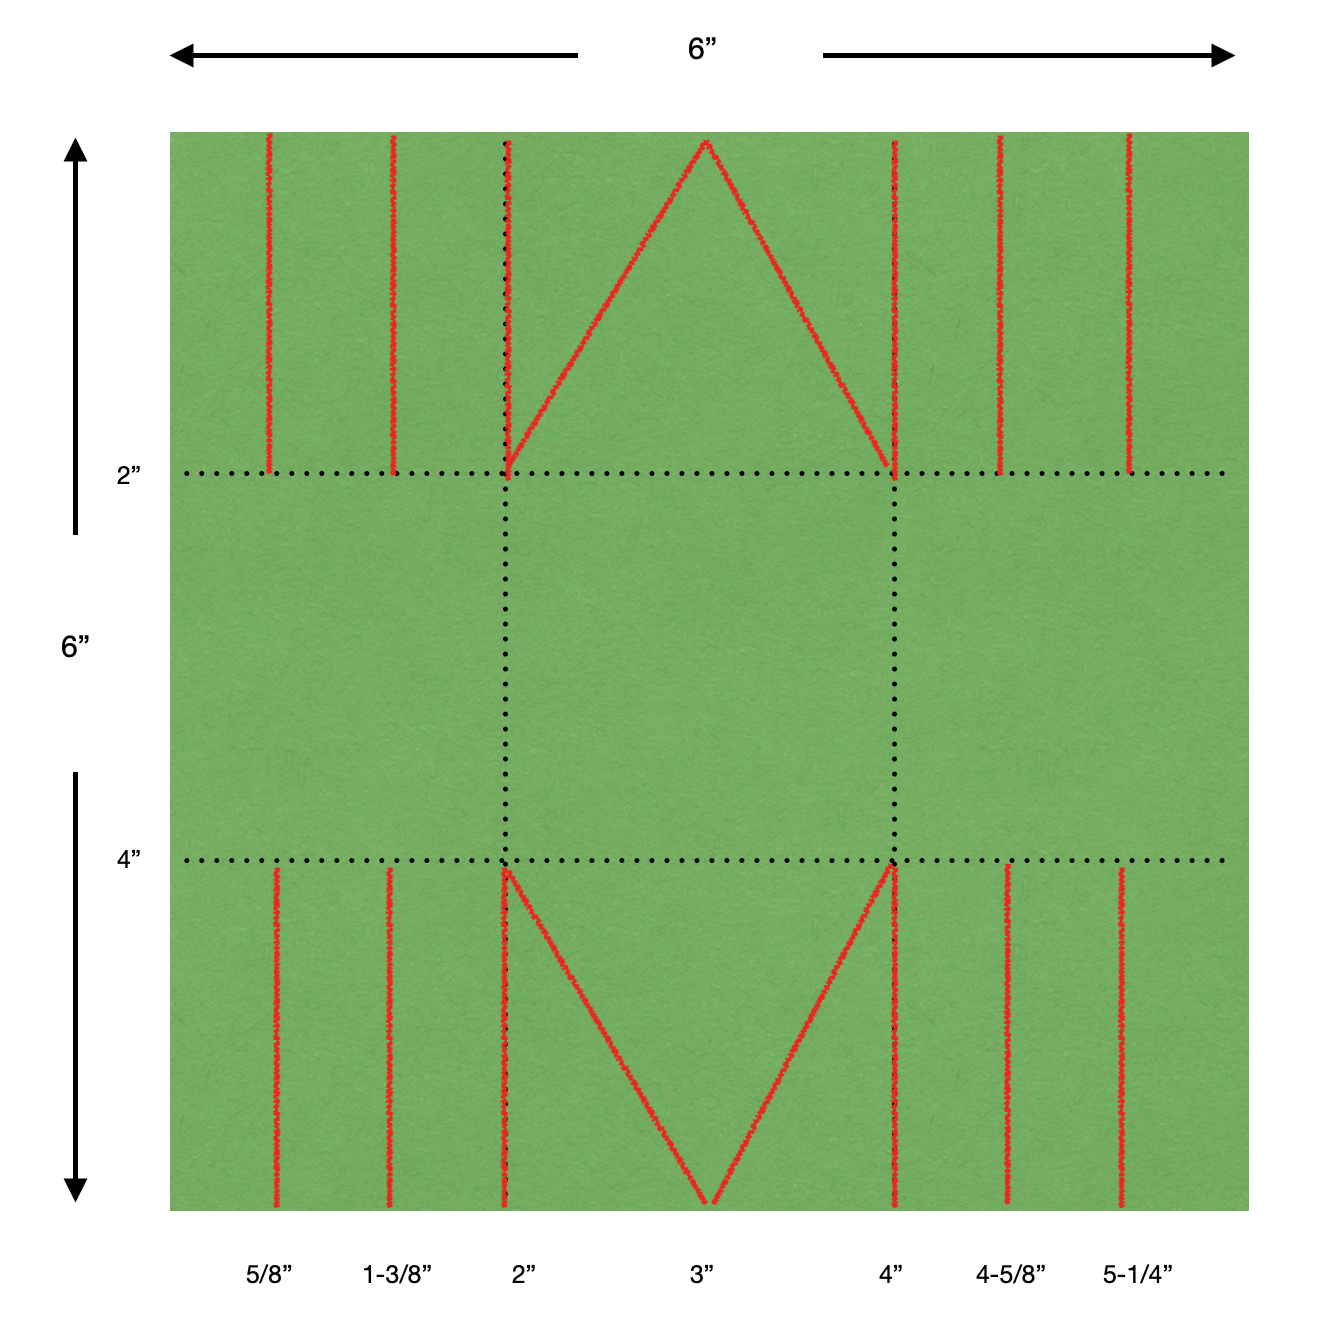
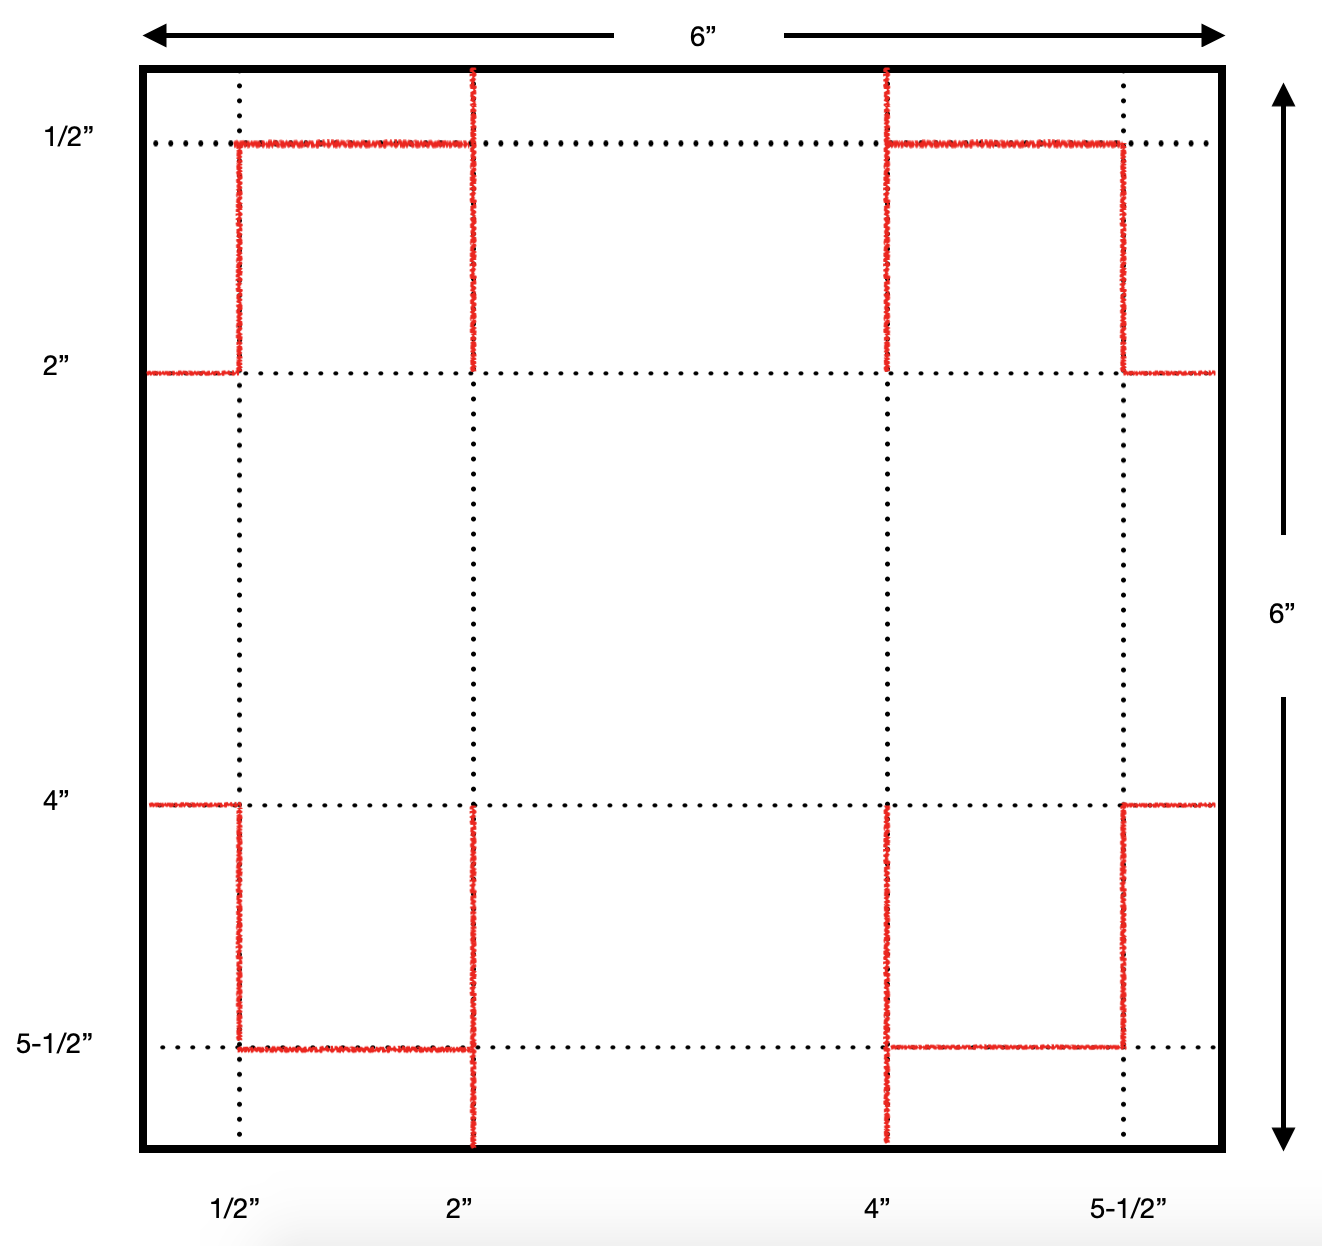
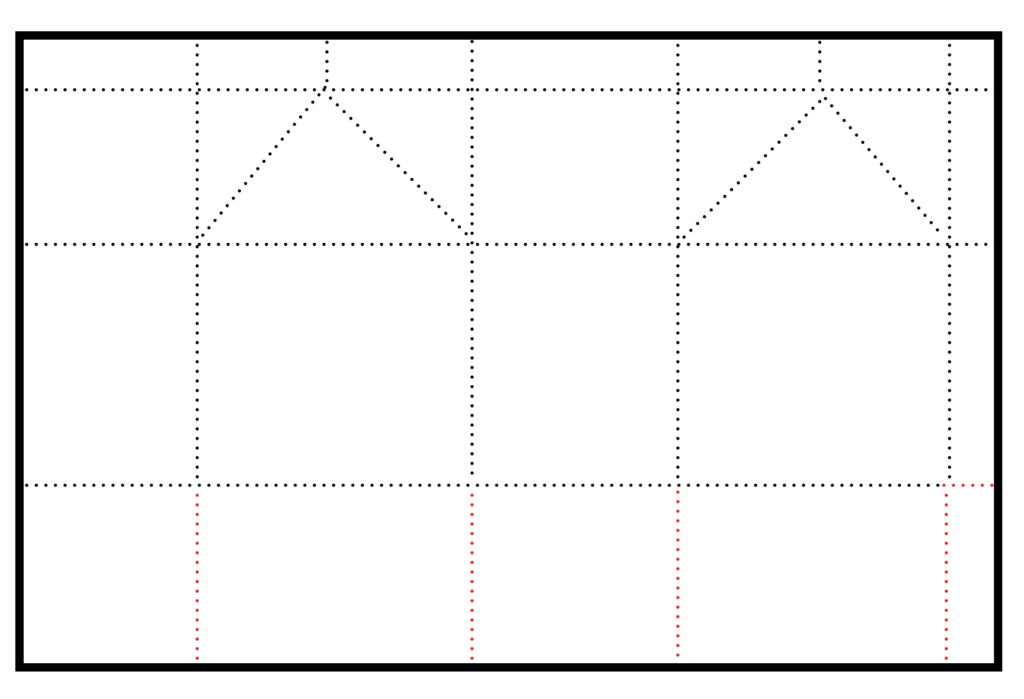
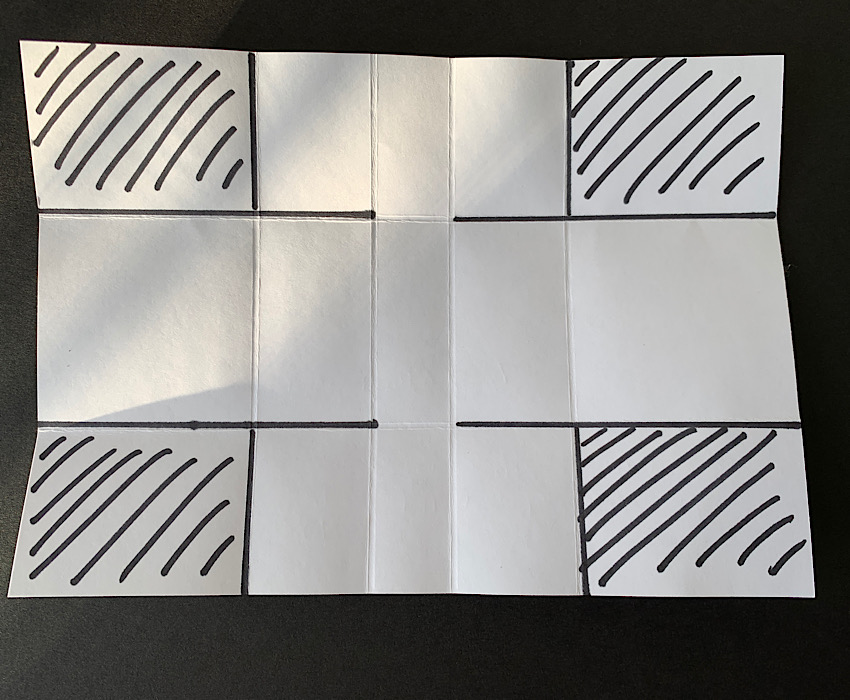
Paper Cutting Guide:
- Basket = 6″ x 6″ piece of Shaded Spruce cardstock
- Scallop Circle Die-Cut = 3″ x 3″ Balmy Blue cardstock
- Rainbow = scraps of Poppy Parade, Melon Mambo, Petal Pink, Gorgeous Grape, Daffodil Delight and Pacific Point cardstock
- Shamrock = scrap of Granny Apple Green cardstock
- Cloud = scrap of Basic White cardstock
Cutting & Scoring Guide:


I hope you enjoyed today’s project. Don’t forget that you can make this basket for many occasions such as May Day and Mother’s Day.


")


 Braided Linen Trim")
 Circle Punch")


")


 Designer Series Paper")


")

")


")


 Sheer Ribbon")


")


 Glittered Organdy Ribbon")

 Double-Stitched Satin Ribbon")