
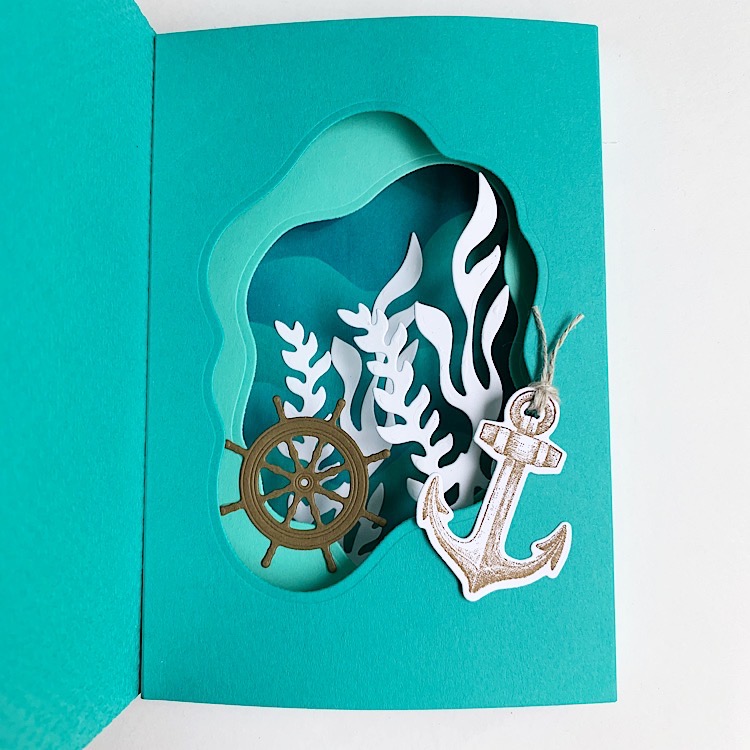
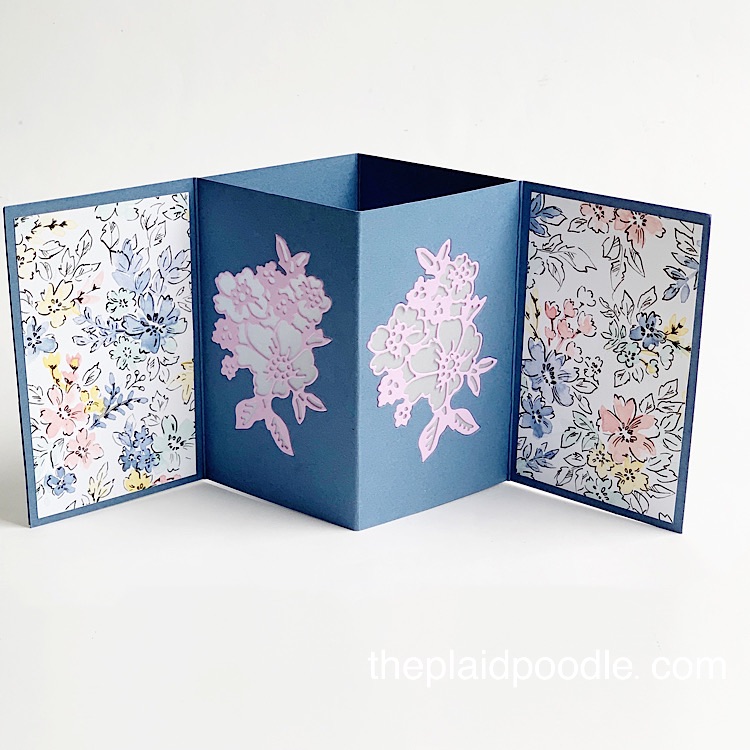
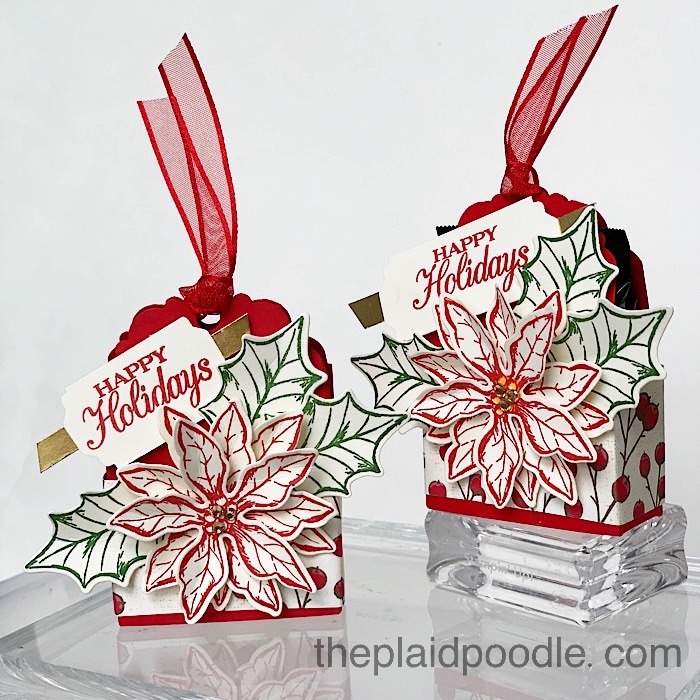
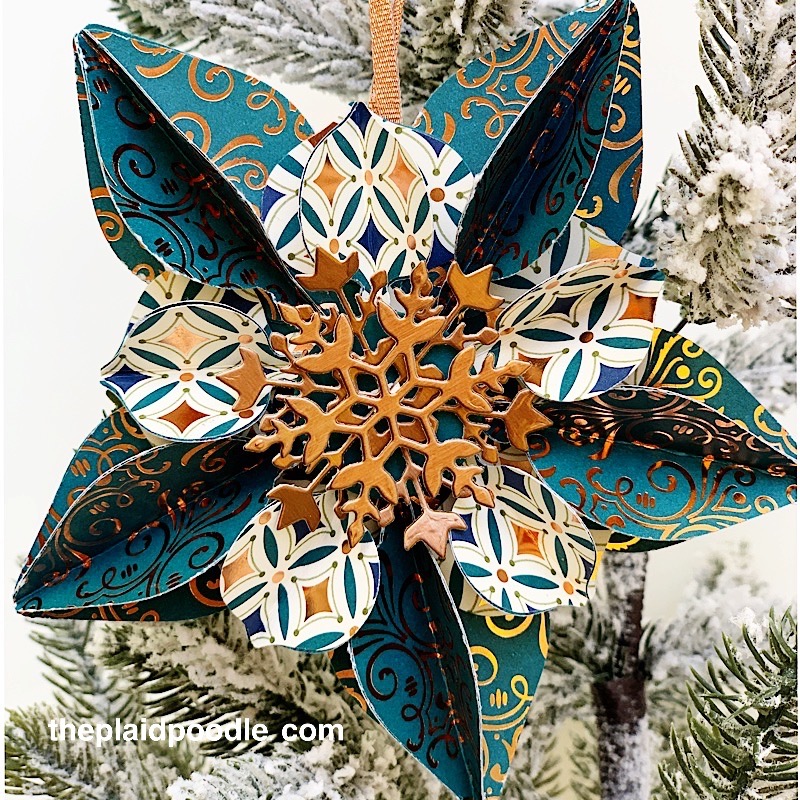
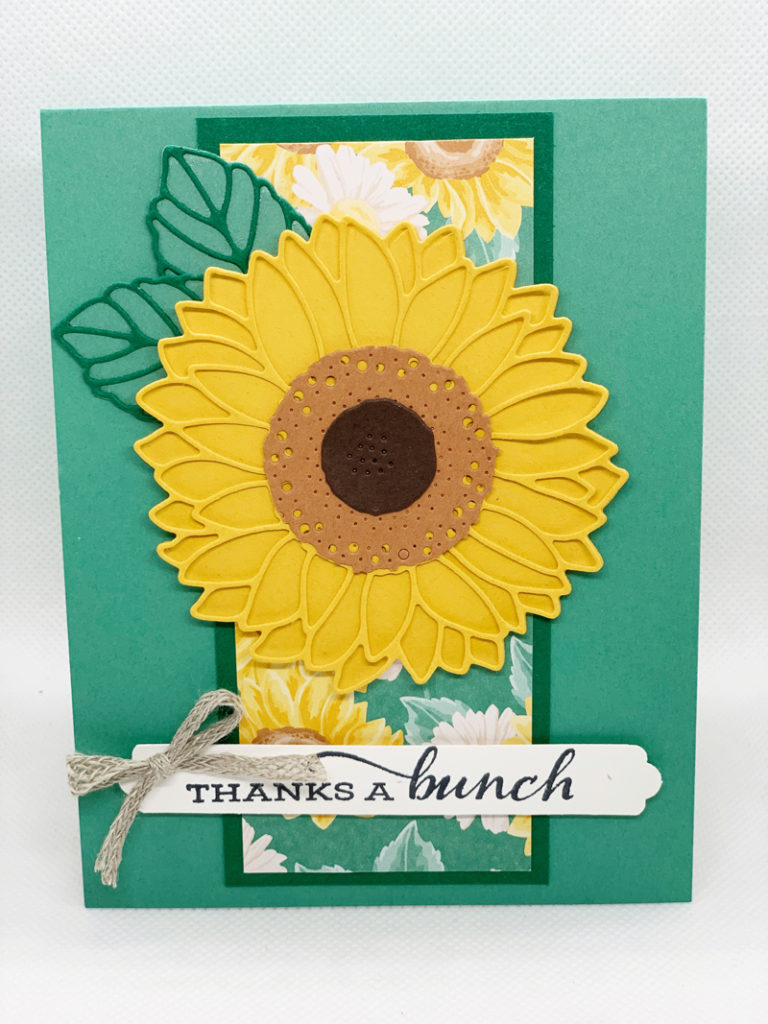
Make a Sailing Home Pop-Up Diorama Card
I shared this Sailing Home Pop-Up Diorama card during this week’s Coffee & a Card Facebook Live and really stumbled through it. My listeners were so kind to stay with me until the end and I hope they were happy with the results.
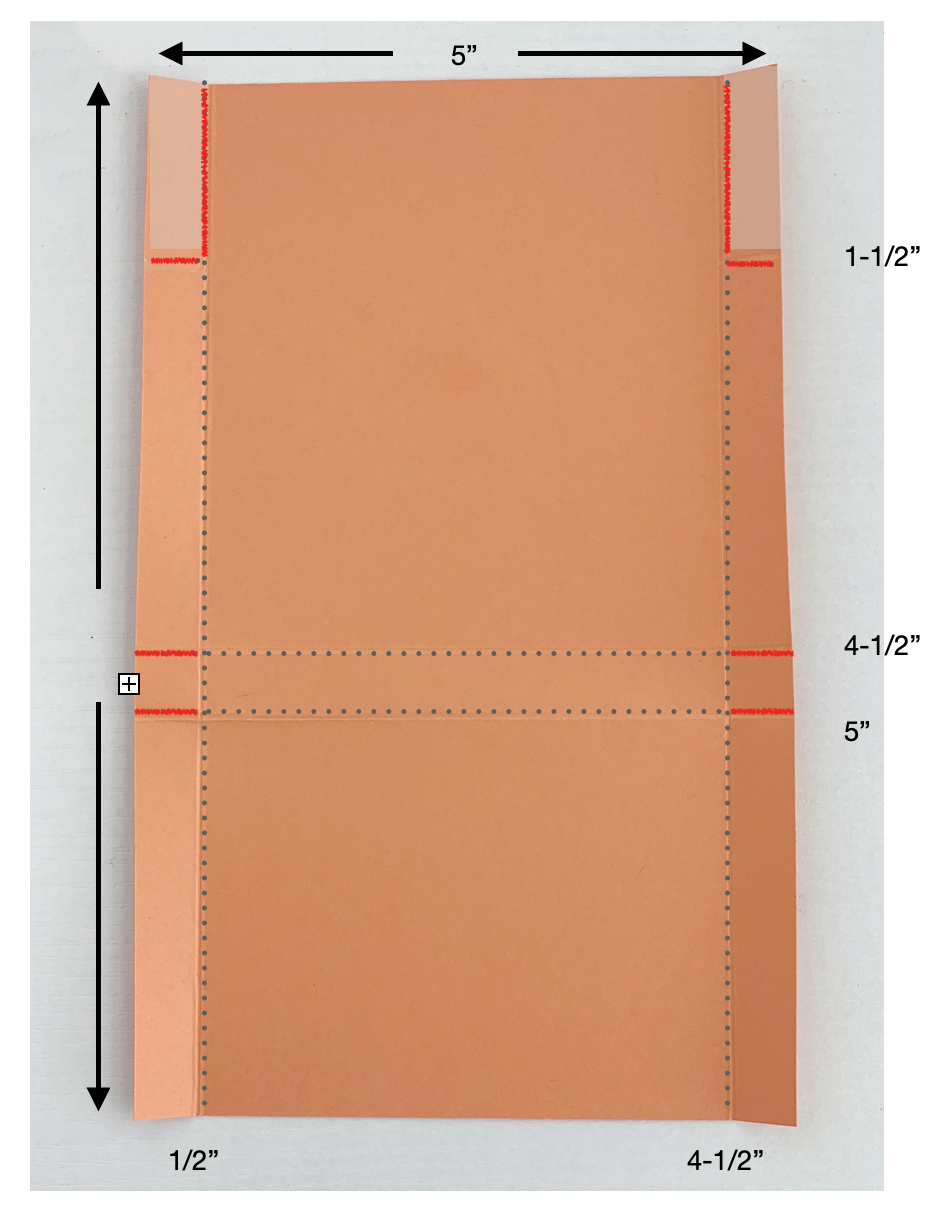
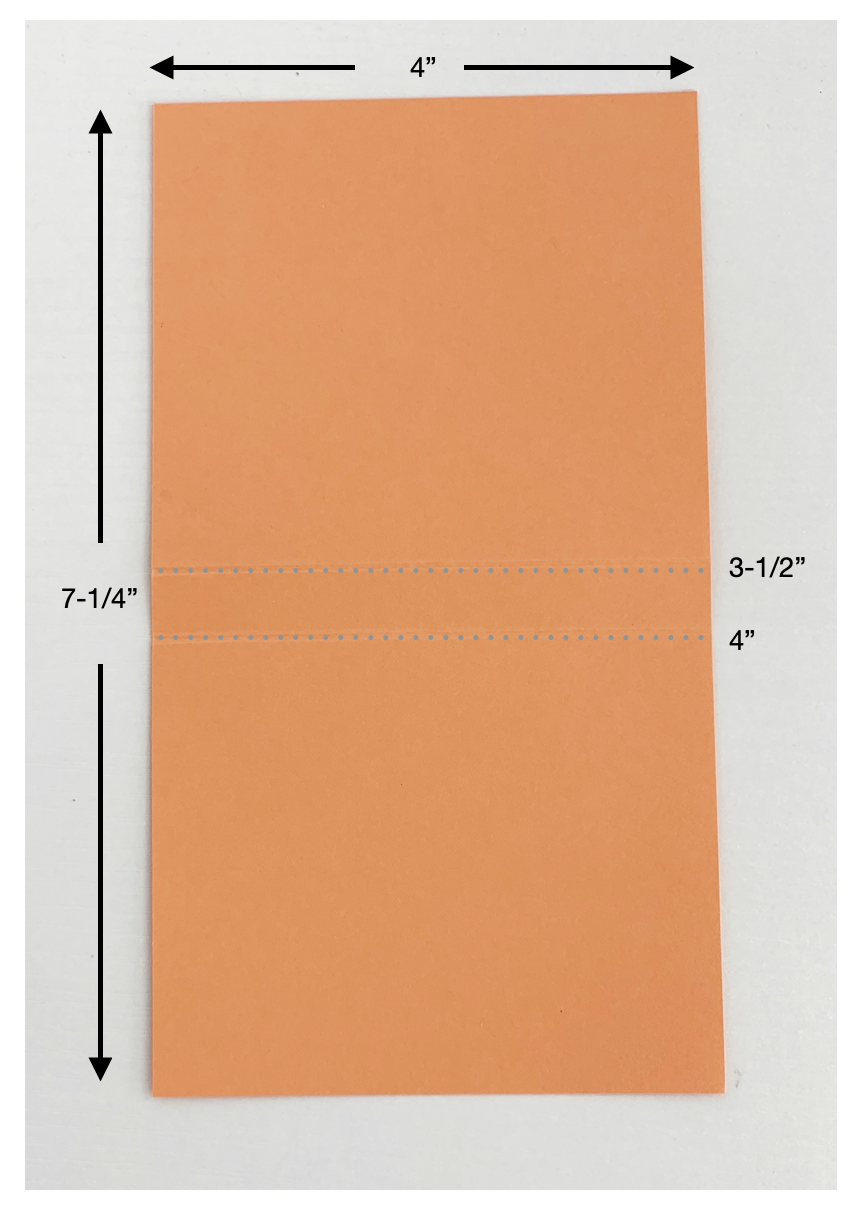
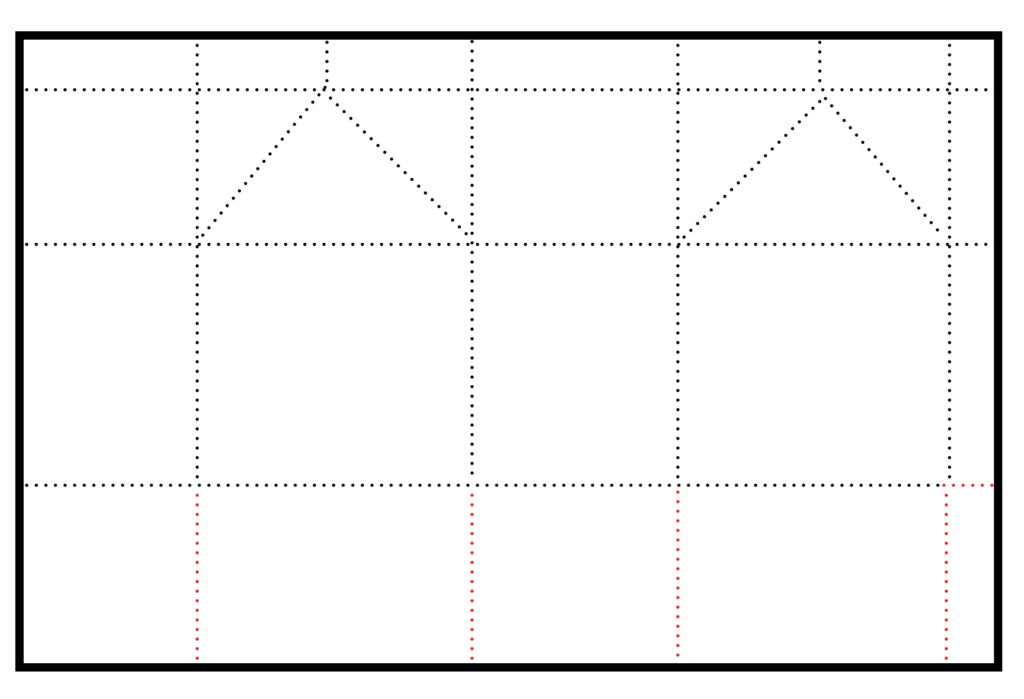
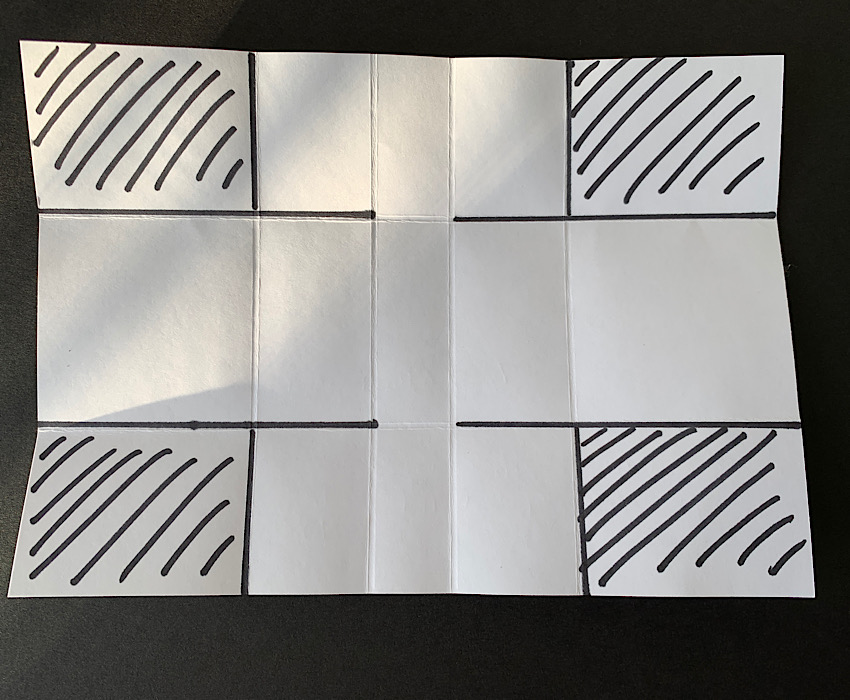
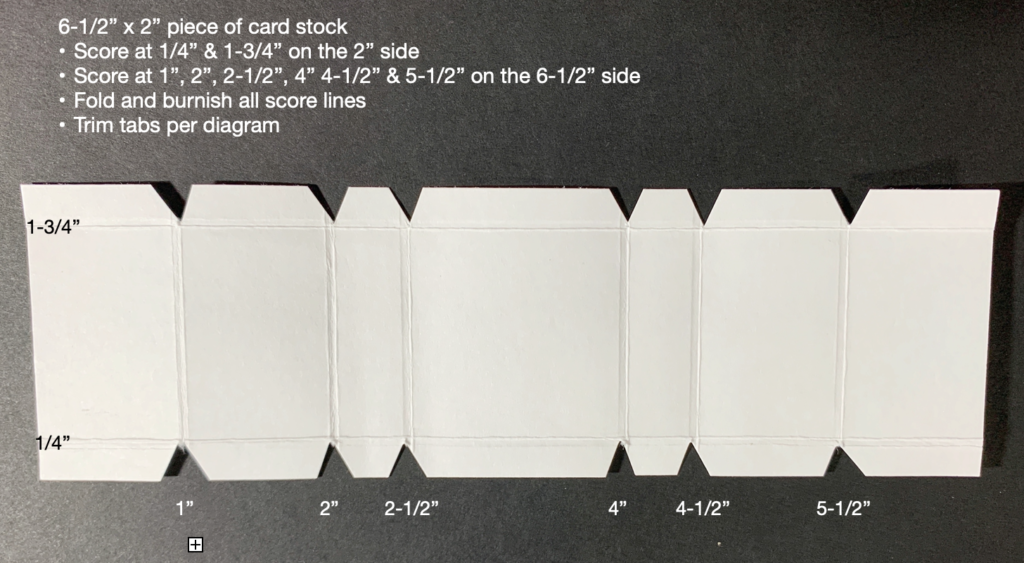
Paper Cutting/Scoring Guide
- Card Front = 8″ x 5-1/2″ piece of Bermuda Bay card stock scored at 4-1/4″ on the 8″ side. Fold on score line.
- Card Insert = 8-1/2″ x 5-1/2″ piece of Bermuda Bay card stock scored at 1/2″, 4-1/4″, & 4-3/4″.
- Middle Layer = 4-3/16″ x 5-7/16″ piece of Pool Party card stock scored at 1/4″ on both ends of 4-3/16″ sides.
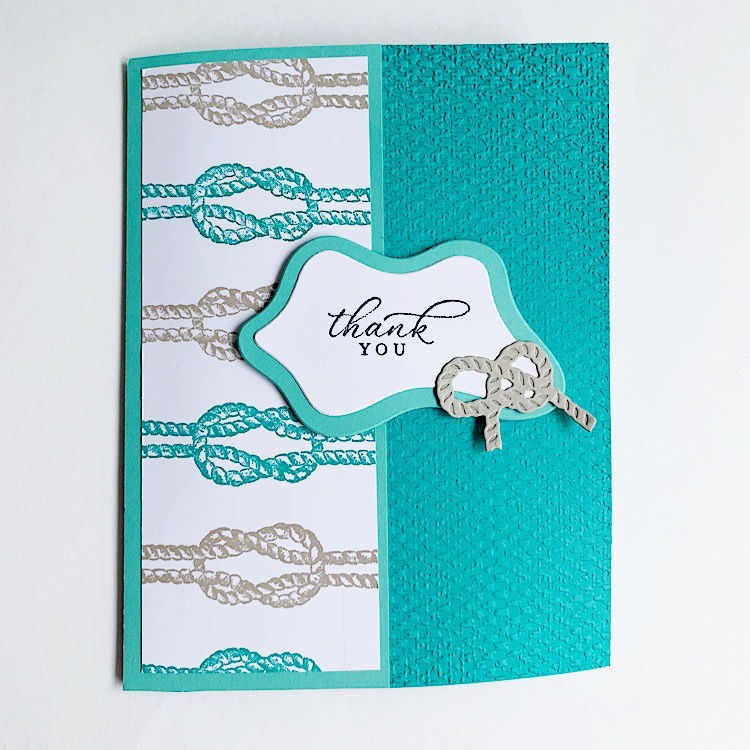
- Stamped Layer = 2-1/4″ x 5-1/2″ piece of Pool Party, 2″ x 5-1/4″ piece of Basic White card stock.
- Sentiment Tag = 3-1/4″ x 2-1/4″ piece of Pool Party card stock, 3-1/4″ x 2-1/4″ piece of Basic White card stock.
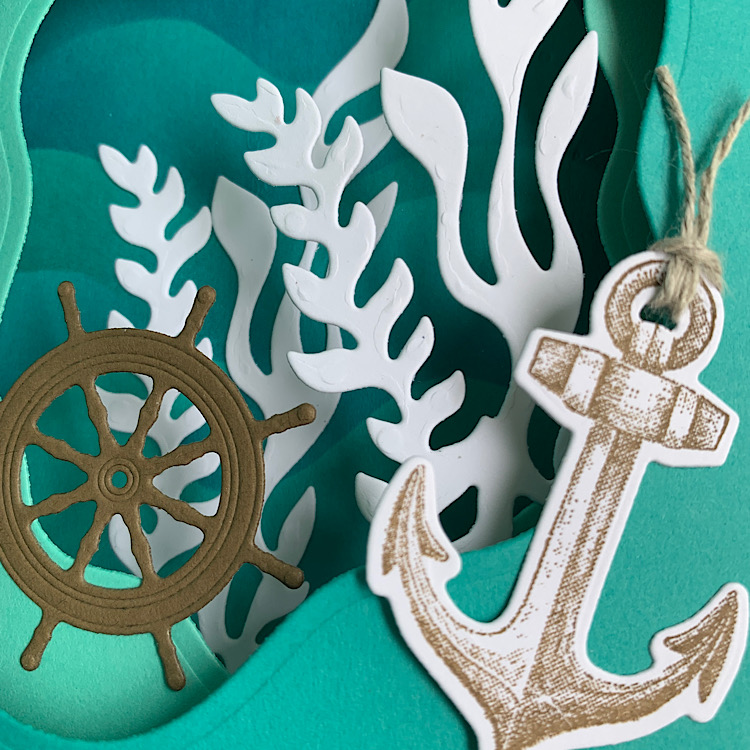
- Additional Card stock for Die-cuts = scraps of Whisper White, Sahara Sand and Soft Suede card stock.
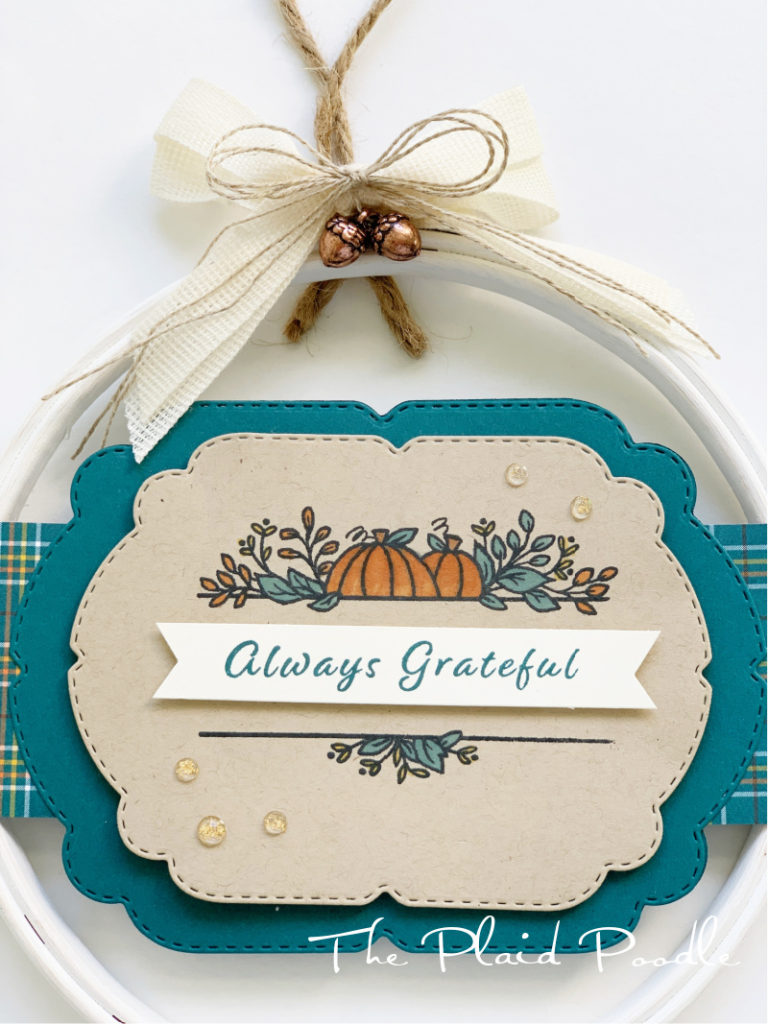
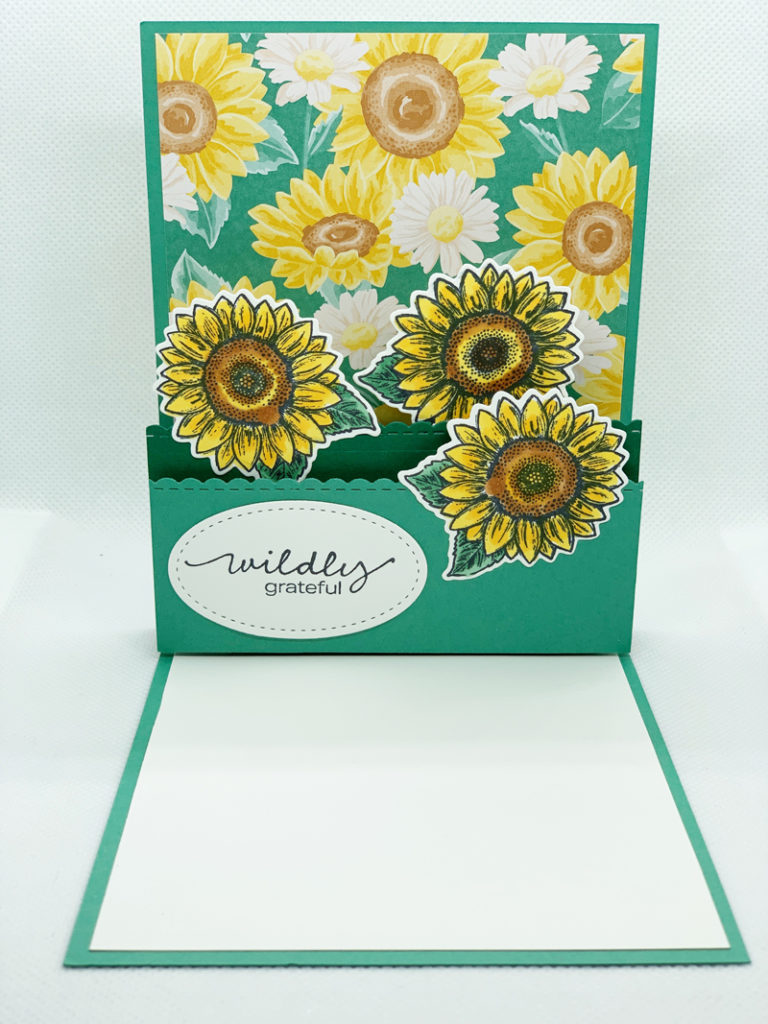
It’s important to have the card stock measurements and score lines accurate to create this 3-D pop-up card but look at the result!
Did you notice the wavy water in the background? Watch my video tutorial to see how I was able to create the look of waves with just a scrap of card stock, ink and a blending brush. I mentioned that I had a little trouble assembling this card but edited all the goof-ups out of the video. The replay is a little choppy but it will explain correctly how to make this card.
Product List
")


Now that I’ve worked out all the kinks and know what I’m doing, I can’t wait to make more of these types of cards. I hope this encourages you to create your own diorama pop-up cards!


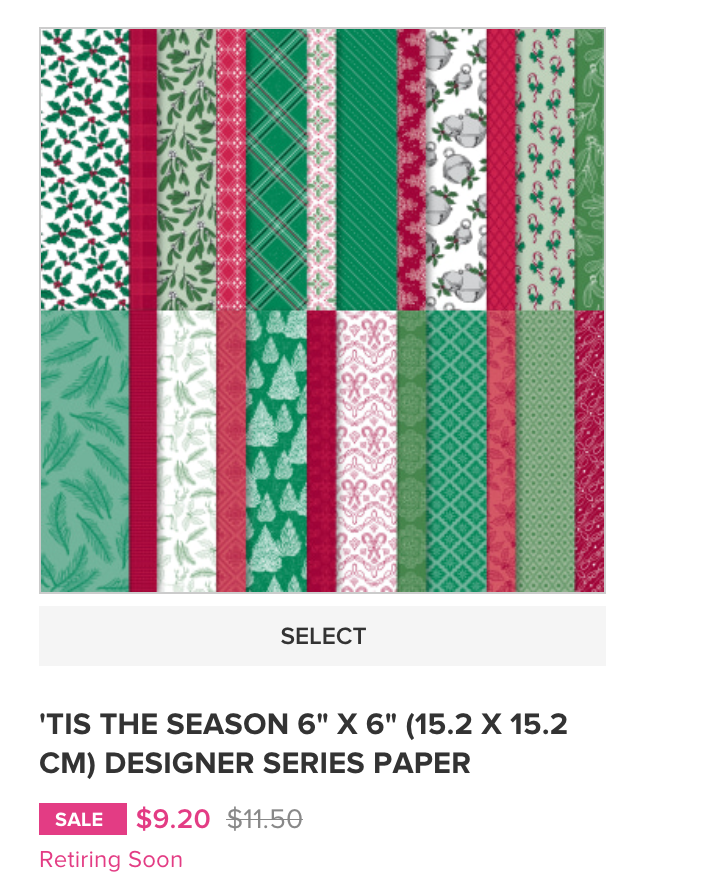
 Designer Series Paper")


 Fine Art Ribbon")


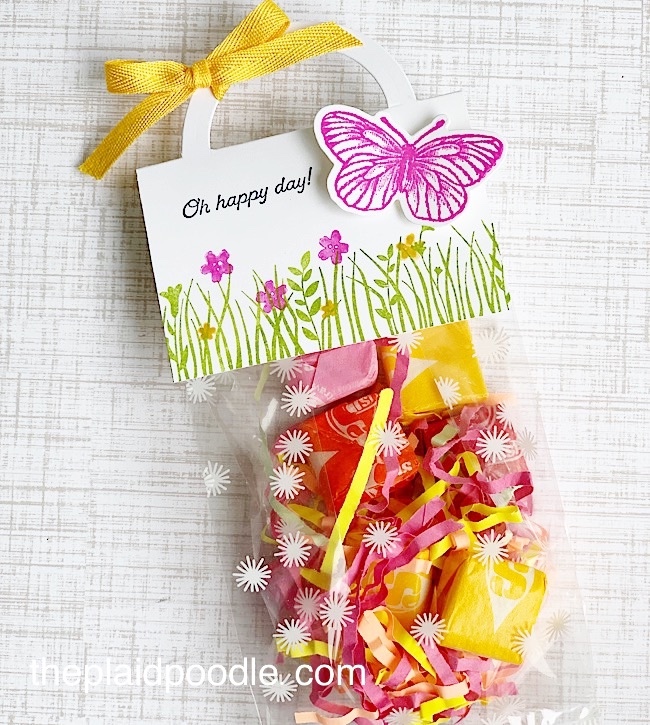
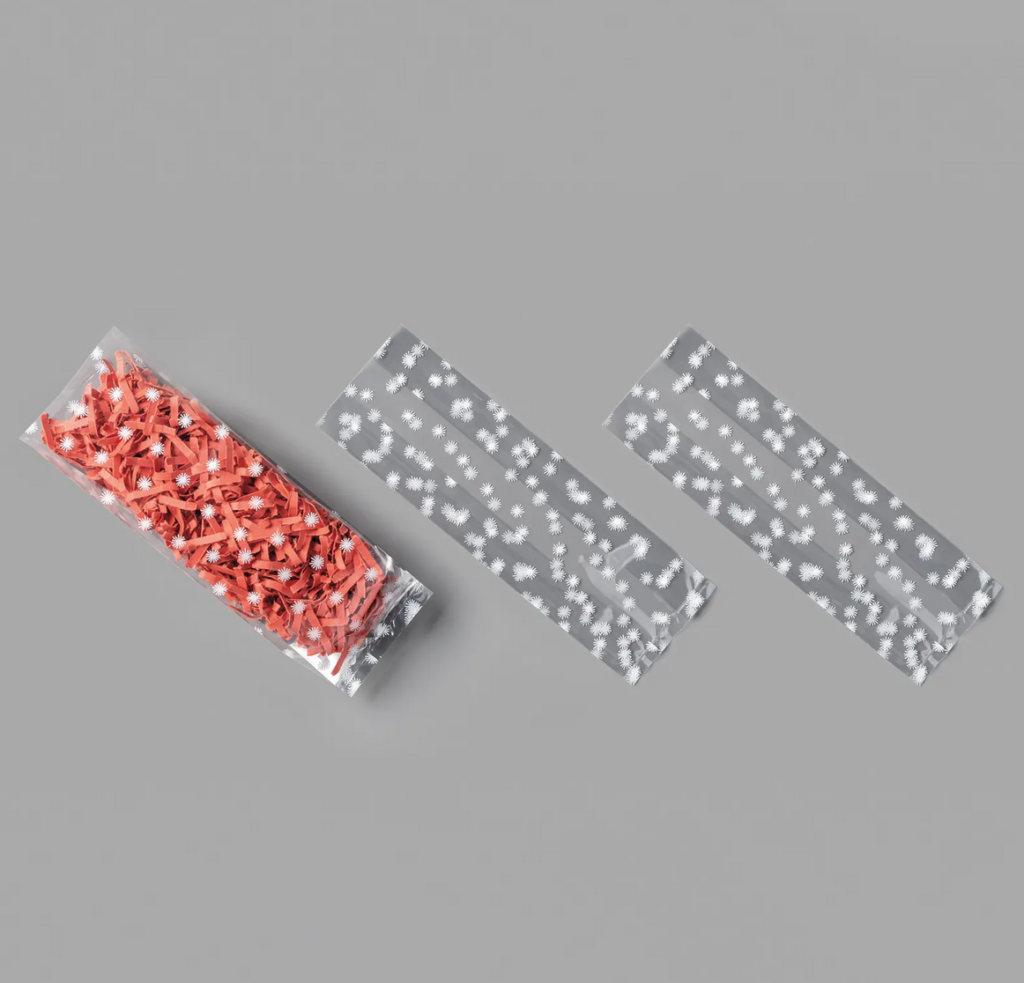


 Printed Gusseted Cellophane Bags")

 2020–2022 In Color Ribbon")


 Designer Series Paper")


")


 Braided Linen Trim")
 Circle Punch")


")


 Designer Series Paper")


")


 Sheer Ribbon")


 Glittered Organdy Ribbon")


")
 Designer Series Paper")


 Circle Punch")


")


")
")
 Designer Series Paper")


 Braided Linen Trim")