3-D Projects

Birds & Branches Birdhouse Treat Holder
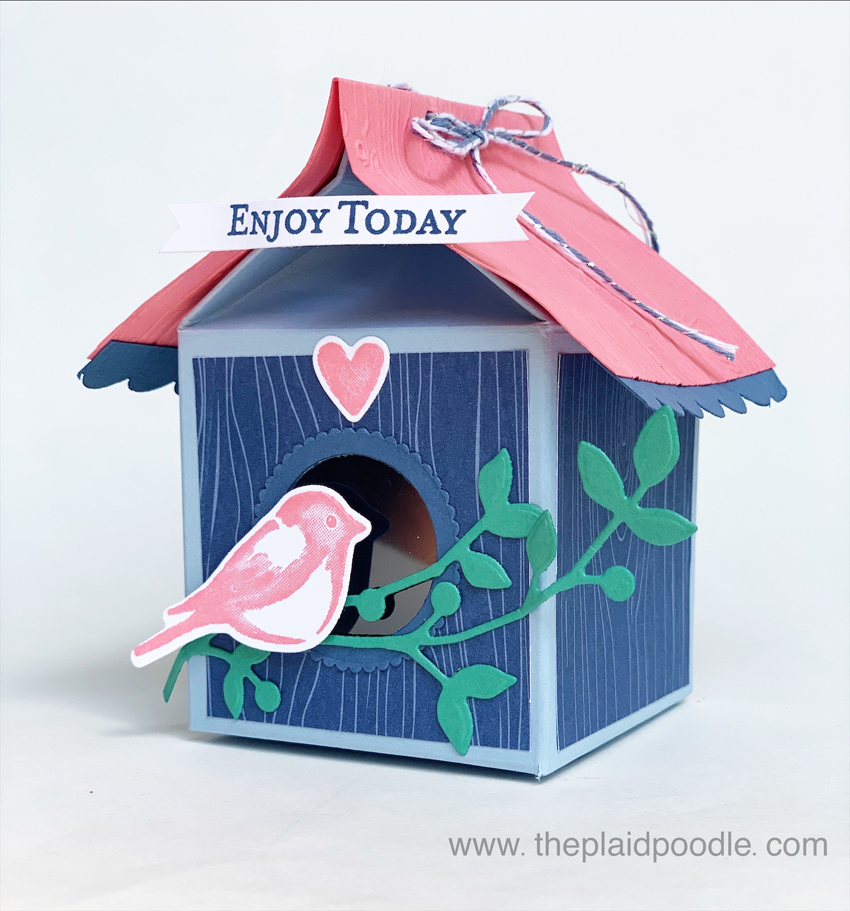
I must be on a milk-carton kick because today’s project is using the same base as the watermelon treat holder I made last week, only larger. I knew I had to create a birdhouse as soon as I saw the Birds & Branches Bundle from Stampin’ Up!

Isn’t the carton the cutest?! I cut a circle in the front panel of the carton and framed it with a scallop circle for the entrance to the birdhouse. I covered the entrance with a piece of window sheet so that any treats put inside the carton will be visible.

The roof is embossed using the Pinewood Planks 3-D embossing folder and then trimmed with a 1/2″ strip of scalloped card stock. I used a paper piercer and handheld circle punch to attach the roof to the top of the birdhouse with the baker’s twine from the Flowers for Every Season Ribbon Combo Pack so that the recipient can open the box without damaging it.

Here is the video tutorial from today’s Make-it-Monday Facebook Live showing how to assemble the birdhouse milk carton. Below the video you will find the project cutting and scoring guide along with a list of the supplies used in today’s project.

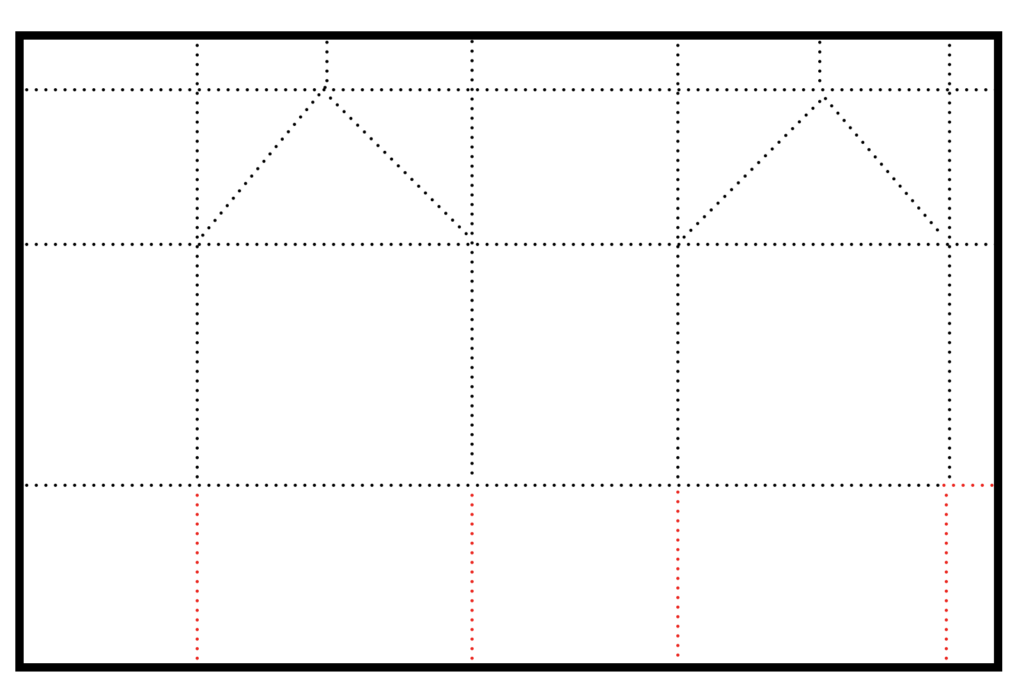
Project Cutting & Scoring Guide:

  • Milk Carton = 10-1/2″ x 7″ piece of Seaside Spray card stock. Score at 2-1/2″, 5″,, 7-1/2″ and 10″ on the 10-1/2″ side. Score at 1/2″, 2″ and 4-1/2″ on the 7″ side. Trim per diagram
  • Carton Panels = four pieces of 2-1/4″ x 2-1/4″ 2020-2022 In-Color Designer Series Paper
  • Birdhouse Roof = 3″ x 5″ Flirty Flamingo card stock
Click on any of the images below for more information about that product.

Product List

These sweet little birdhouses would be a cute way to gift someone a gift card. I would fill the carton with some wrapped candy and slide a gift card in with the candy. They would also make sweet little table favors or party decorations.

I hope this post inspires you to create a milk carton birdhouse treat holder of your own!

Make a Watermelon Milk Carton Treat Holder

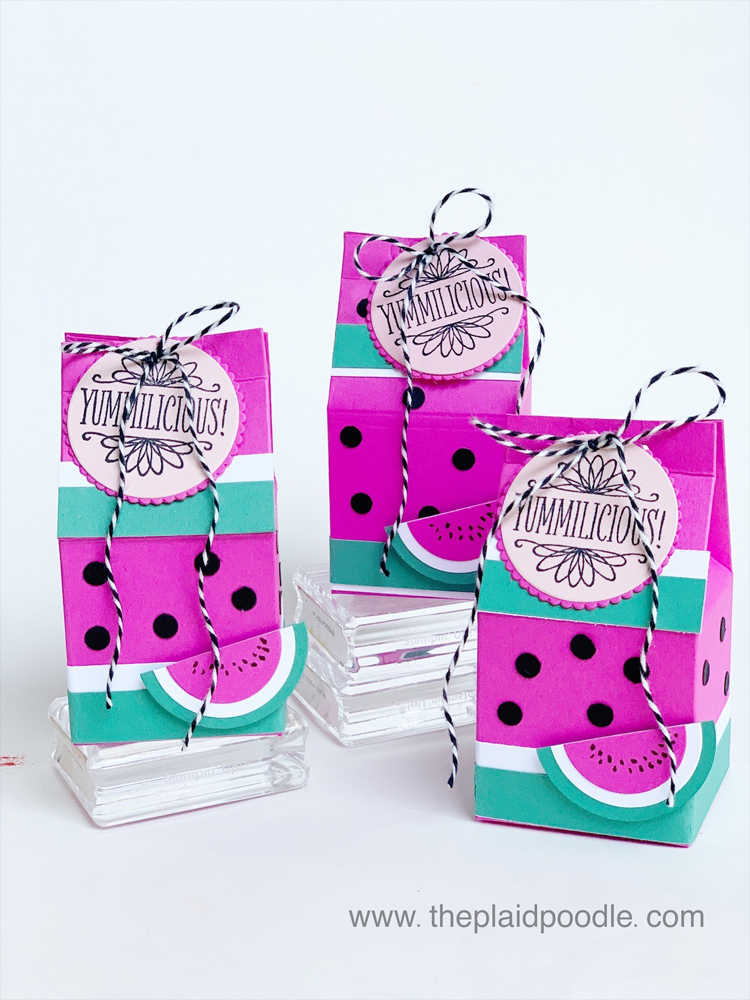
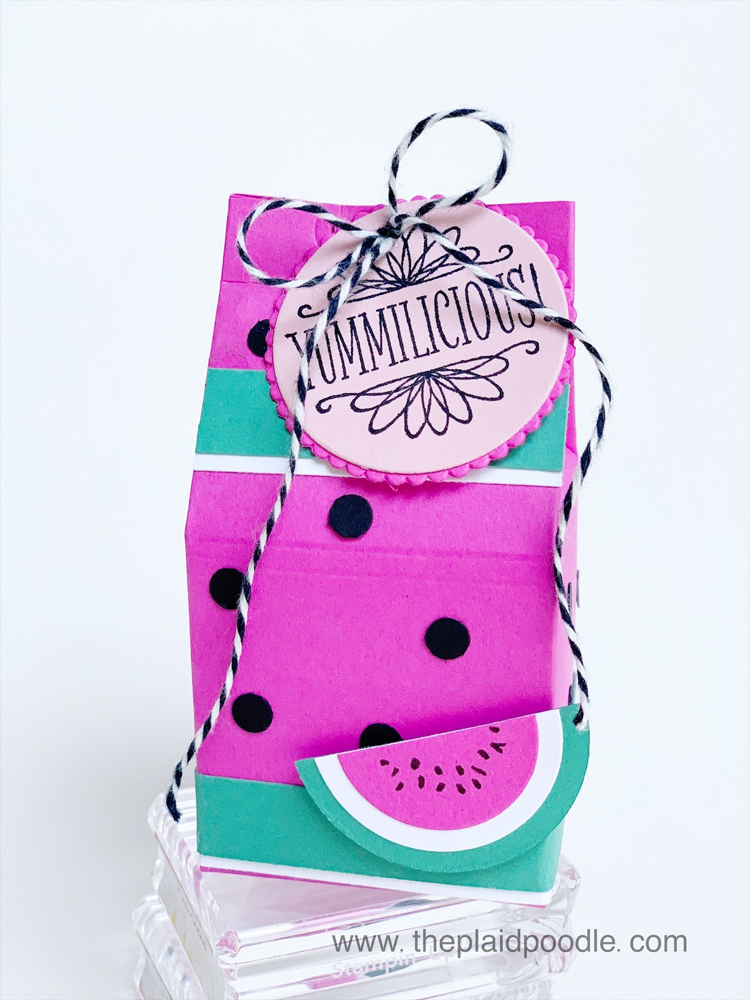
Here is my latest Make-it-Monday creation. I wanted to make a party favor for our Father’s Day get-together this weekend and what’s better than a watermelon milk carton filled with sweet treats?!

I used two new In-Colors from the Stampin’ Up! 2020-2021 Annual Catalog; Magenta Madness and Just Jade for the treat holder. I used circle dies to create the cute little watermelon halves and the “YUMMILICIOUS!” tag.

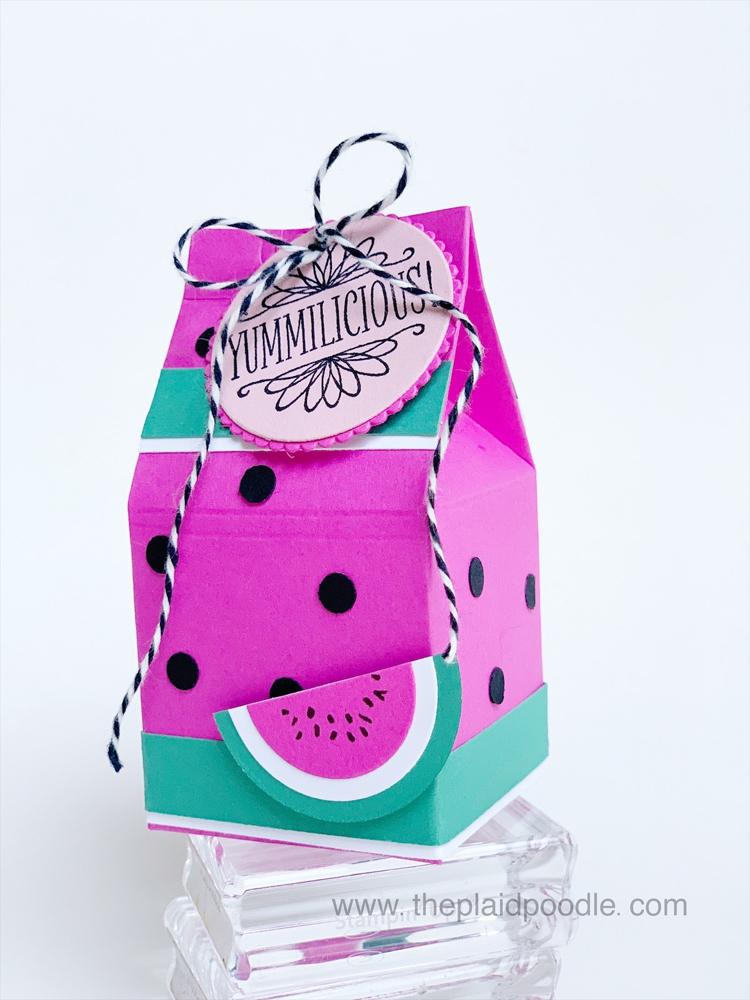
I punched the watermelon “seeds” from Basic Black card stock adhered to an Adhesive Sheet with a handheld circle punch. Here is a side view of the treat box so that you can see the milk carton fold.

It’s fairly easy to make the milk carton box and it doesn’t require any special tools. You will want a trimmer with a scoring blade or a Simply Scored board to create the fold lines required to make the box. I have included a cutting and scoring guide along with a diagram and a video tutorial for you below.

Scoring Guide: Start with an 8-1/2″ x 5-1/2″ piece of card stock.

  • Score at 2″, 4″, 6″ and 8″ on the 8-1/2″ side of card stock.
  • Score at 1/2″, 2″ and 4″ on the 5-1/2″ side of card stock.
  • Score at 1-1/2″ and 5-1/2″ on the top of 1/2″ tab of carton.
  • Score two diagonal lines per the diagram below.
  • Trim on red score lines.
Product List

Thanks for stopping by! Let me know if you make your own Milk Carton treat box.

Make Your Own Gift Bag!

I love making my own gift bags when possible. I can customize the size of bag to fit the gift and it’s fun to coordinate everything using stamps, paper and ink.

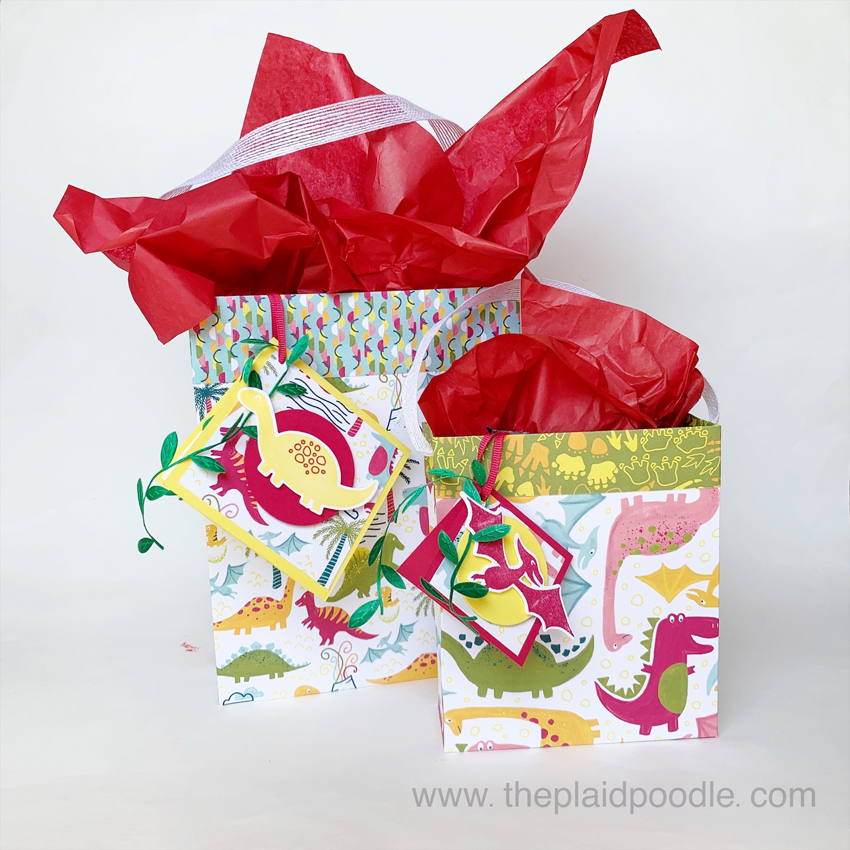
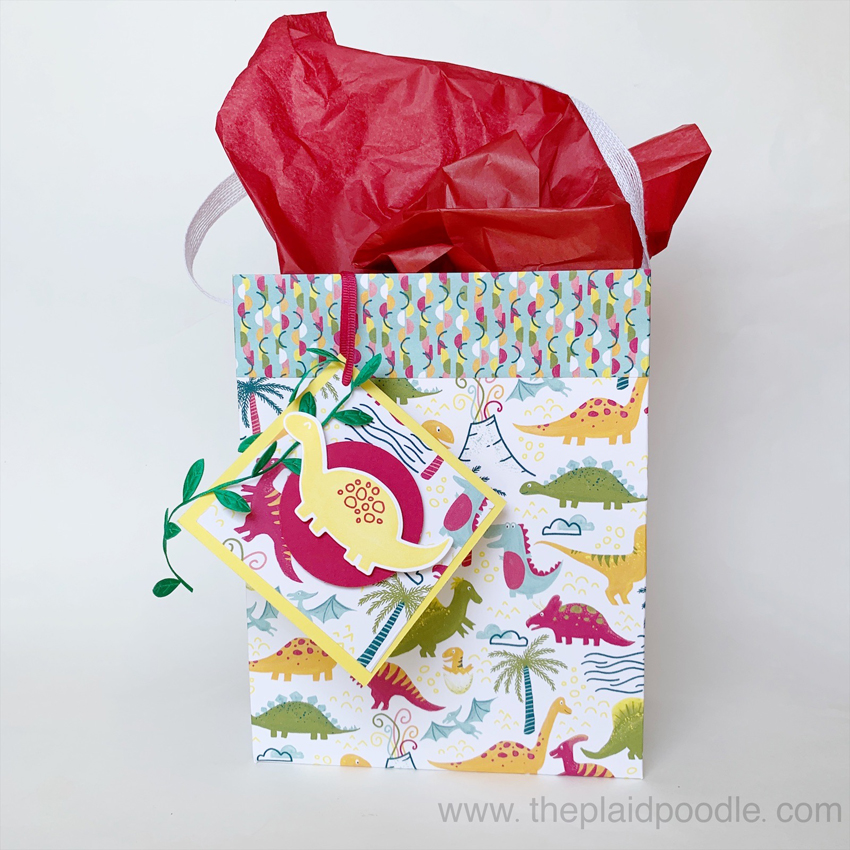
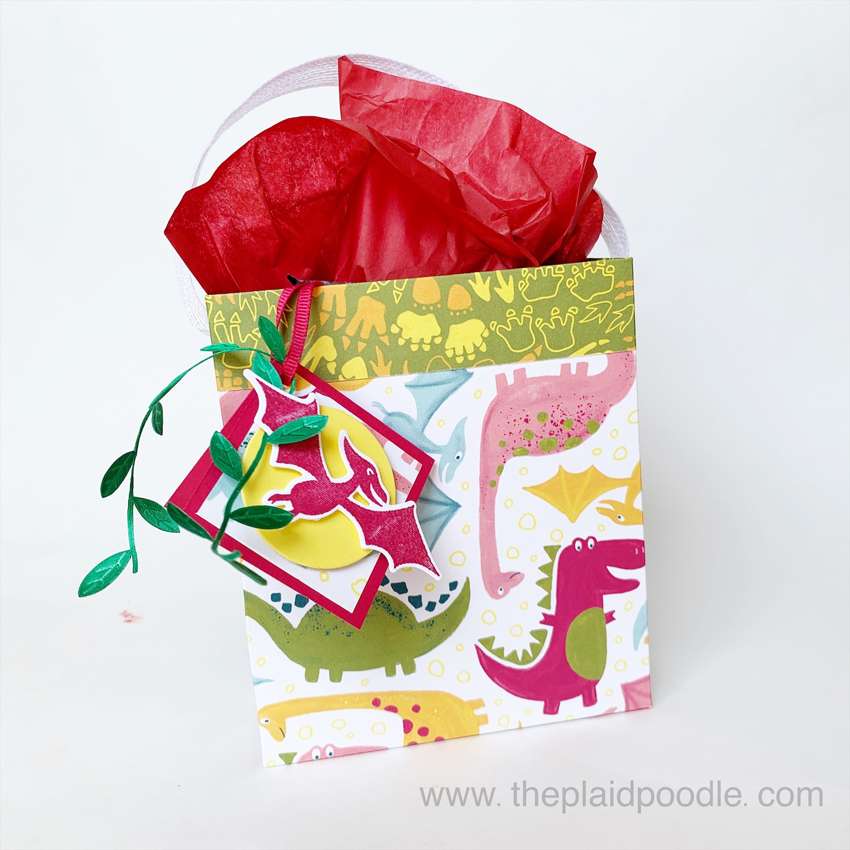
Here are two different sized bags I made using the Dino Days Bundle from Stampin’ Up!

Aren’t they cute?! These bags are great for the little people in your life. You can easily change up the designer paper and embellishments to fit any occasion.

Here is a video tutorial showing how I created the smaller bag using two pieces of 8″ x 8″ pieces of Designer Series Paper.

Scoring Guide for an 8″ Gift Bag:

  • Score top of two pieces of 8″ x 8″ Designer Series Paper at 1″. Score the remaining three sides of both pieces at 1-3/4″.

To make a larger gift bag use two pieces of 12″ x 12″ Designer Series Paper and score according to the guide below.

Scoring Guide for a 12″ Gift Bag:

  • Score top of two pieces of 12″ x 12″ Designer Series Paper at 1-1/2″. Score the remaining three sides of both pieces at 3″.

The next time you need a gift bag and you’re short on time, or when you want to use what you’ve got, go explore your paper stash and make your own!
Product List
Dino Days Bundle
Dino Days Photopolymer Stamp Set
Dino Dies
Dinoroar Designer Series Paper
Lovely Lipstick 8-1/2" X 11" Cardstock
Whisper White 8-1/2" X 11" Cardstock
Simply Scored
Paper Trimmer
Layering Circles Dies
Whisper White 5/8" (1.6 Cm) Flax Ribbon
Lovely Lipstick 1/8" (3.2 Mm) Grosgrain Ribbon
Leaf Ribbon
Multipurpose Liquid Glue
Stampin' Dimensionals

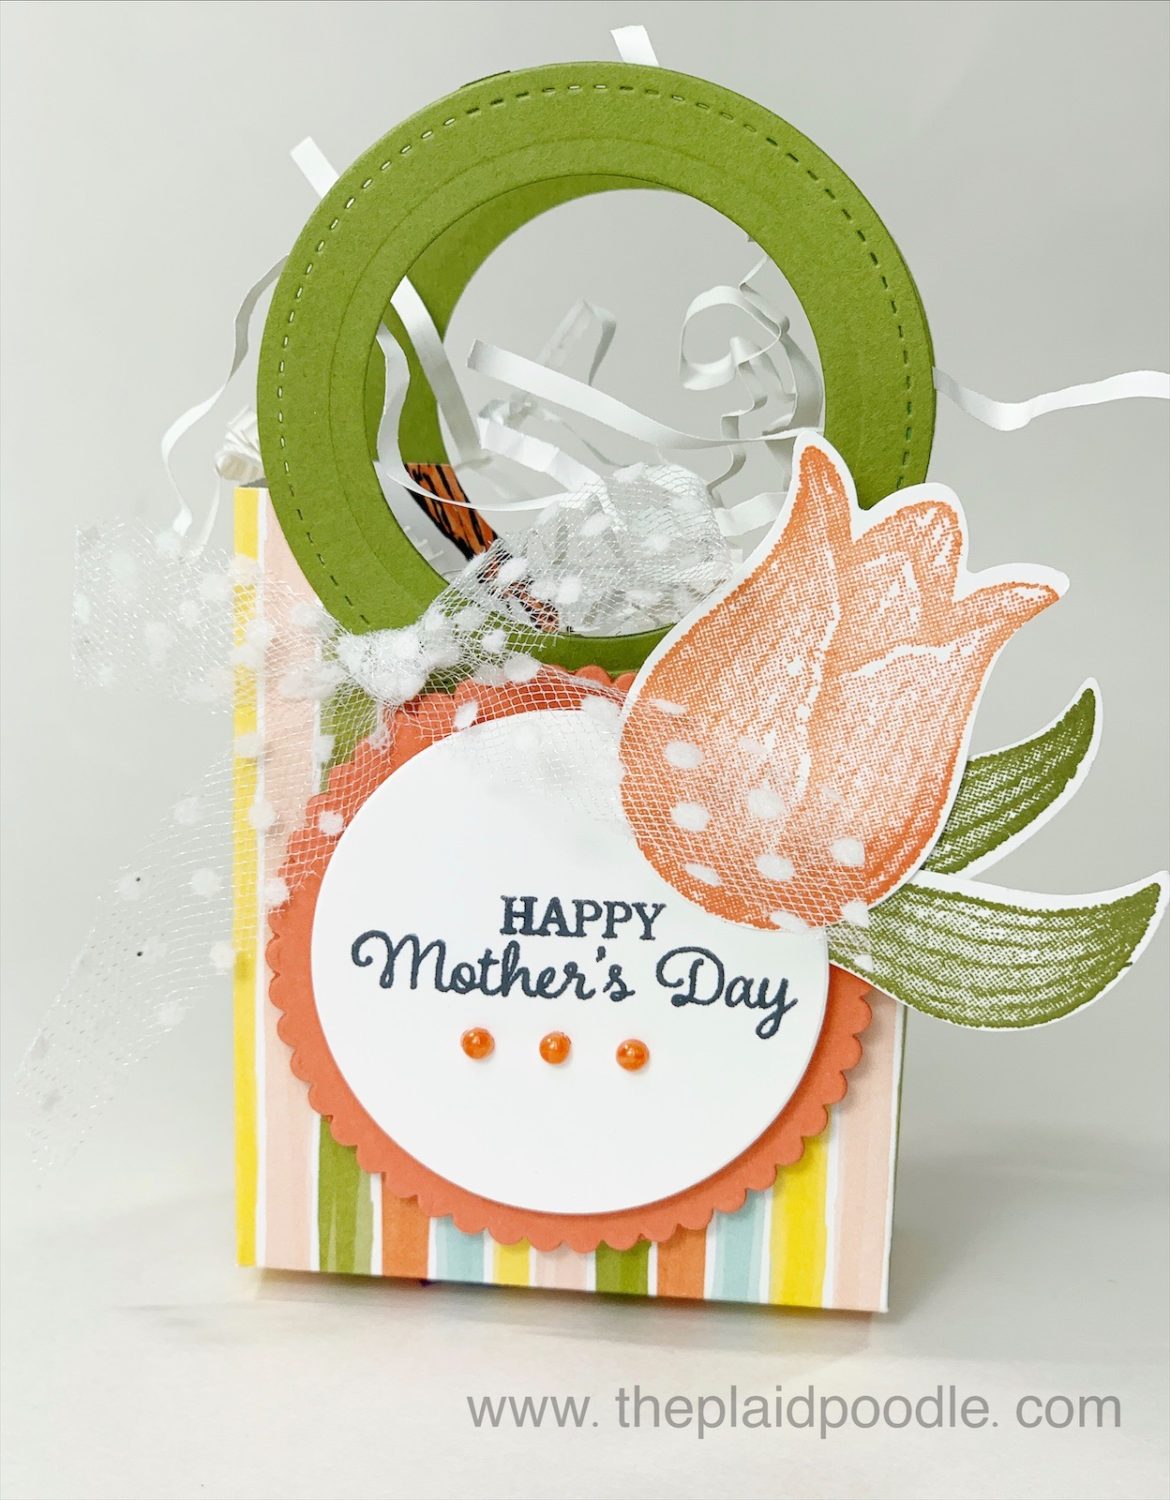
Make a Timeless Tulips Mother’s Day Gift Bag

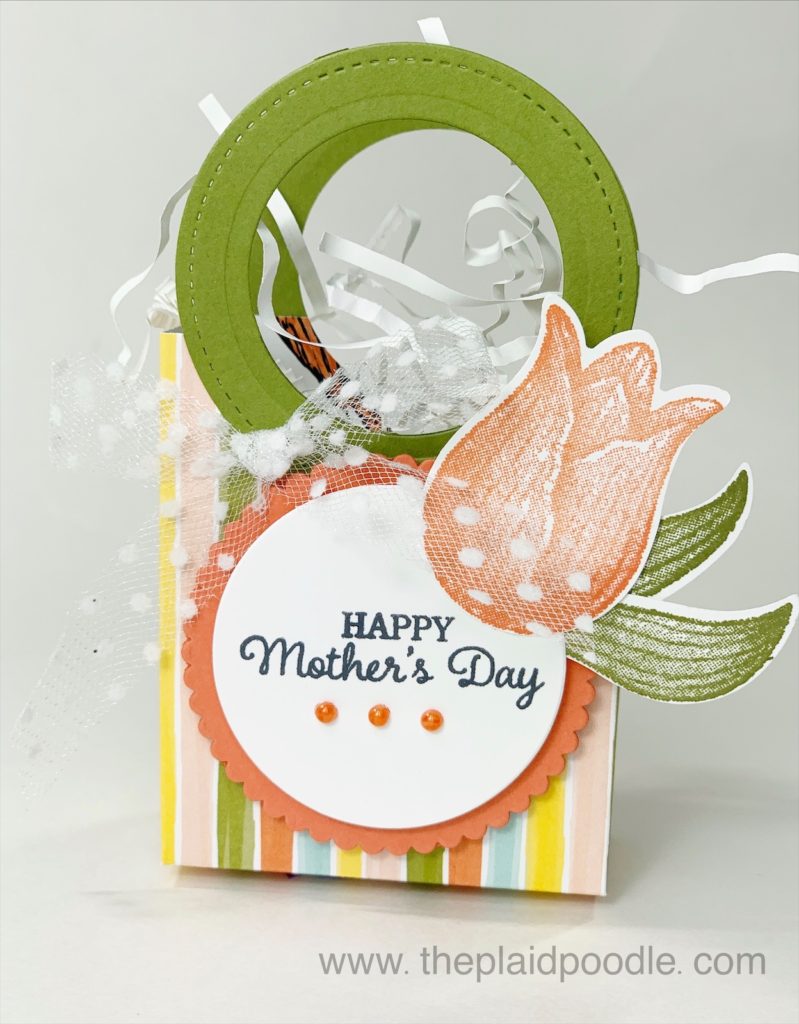
My Make it Monday project this week is this sweet handled gift bag. These bags are so much fun to make and are the perfect size for a gift card, a small gift, or candy treats.

The bag is fairly quick and easy to put together but the handle requires a few extra steps. Watch this video tutorial for the nitty gritty on adding the handle.

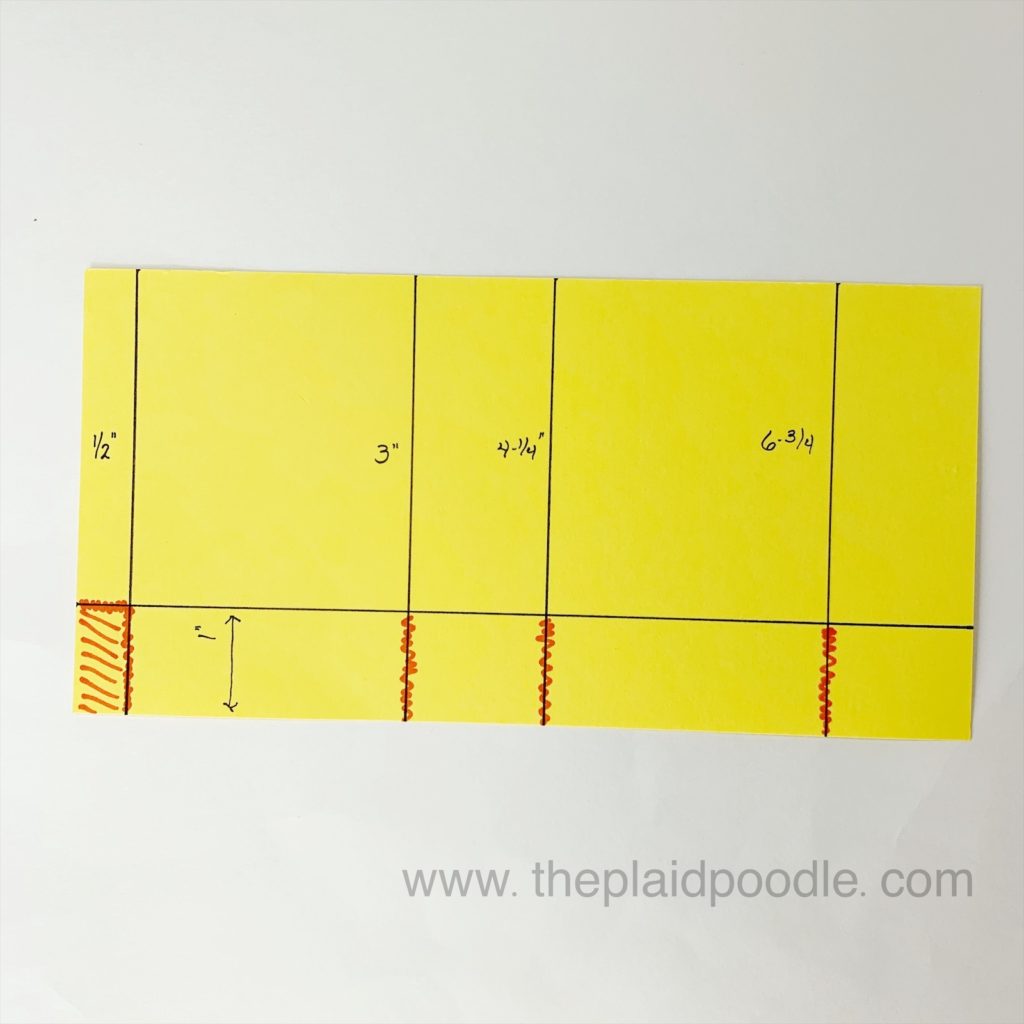
Cutting & Scoring Diagram

Score 8″ x 4″ piece of Designer Series Paper at 1/2″, 3″, 4-1/4″ and 6-3/4″ on the 8″ side. Score at 1″ on the 4″ side of Designer Series Paper. Burnish score lines and trim on red lines.

Product List

Make a Dressed to Impress Mother’s Day Gift

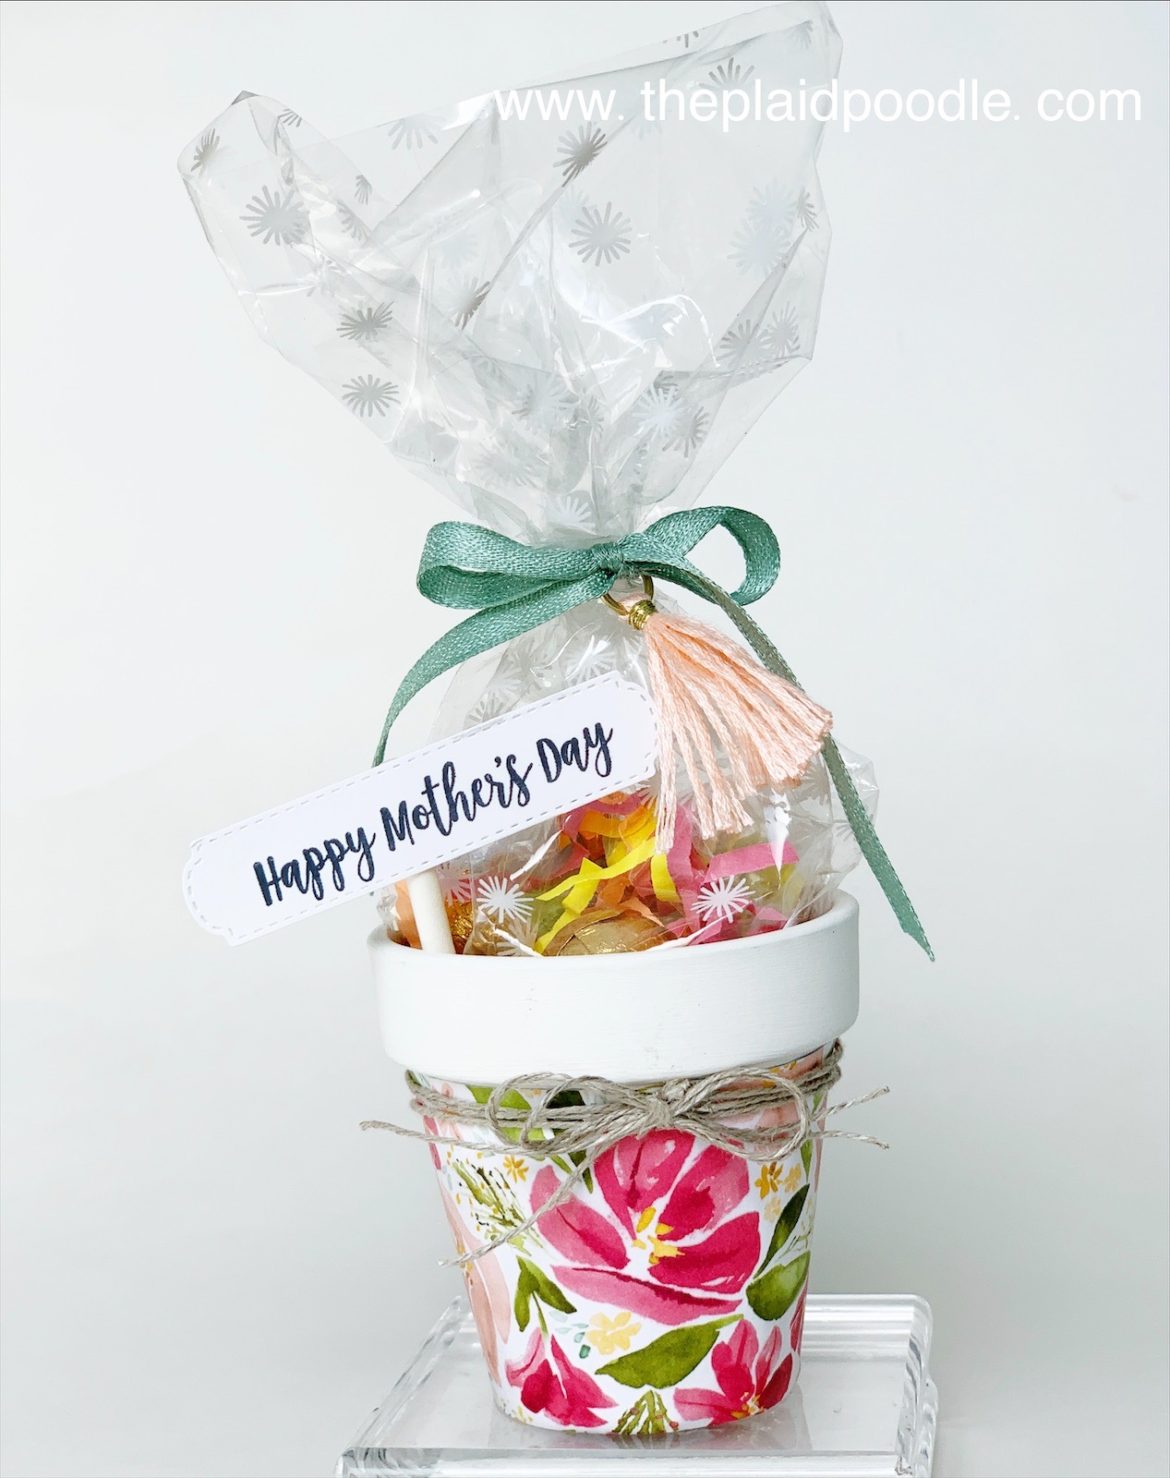
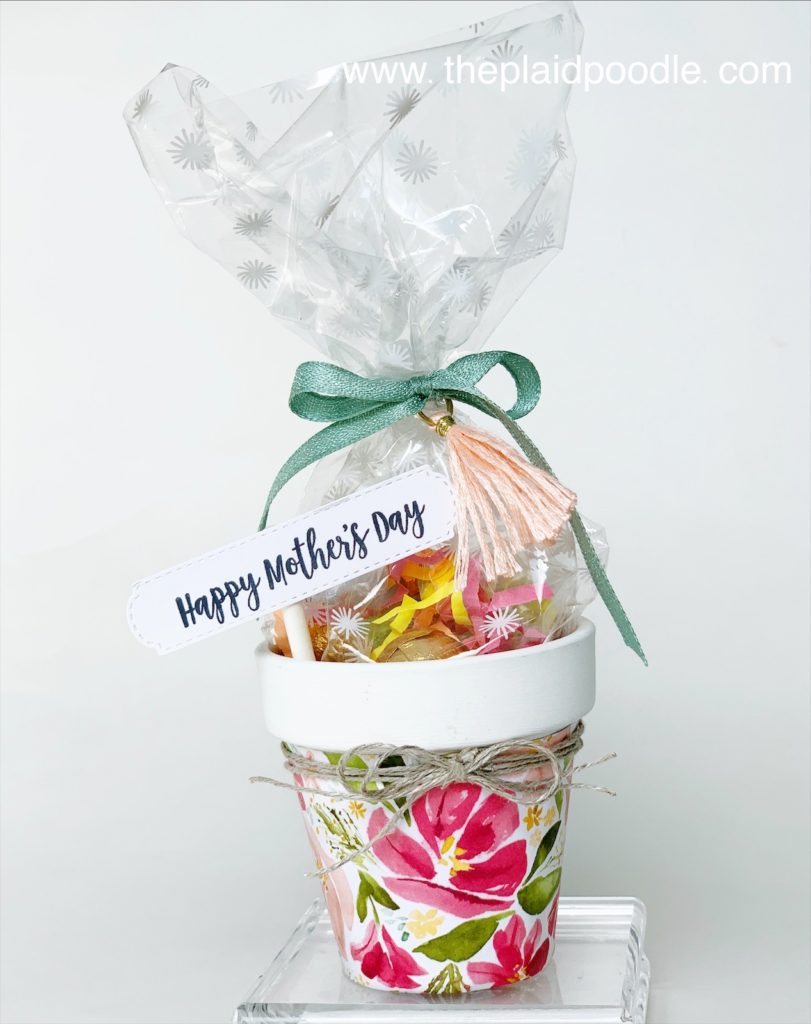
Here is the sweet little clay flower pot I embellished during my Make-it-Monday Facebook Live today.

I purchased 2-1/4″ clay flower pots from Dollar Tree and painted the tops with white craft paint. Next, I wrapped Best Dressed Designer Series Paper around the pot using a decoupage medium to adhere.

Click on this button a template I created to cut the paper for a snug fit around the flower pot. Print it onto an 8-1/2″ x 11″ piece of paper and it should be the right size for your pot

I needed something to put in the flower pots so I filled a 3″ x 9″ printed gusseted celophane bag with some shreddy and chocolates then tied it up in a bow with a tassel. Finally, I created a plant marker for my flower pot using a stamp and coordinating die from the Dressed to Impress Bundle and a cake pop stick.

Here is a video tutorial for the project and a list of supplies used.

Product List

Additional Supplies:

  • 2-1/4″ clay flower pot
  • White craft paint
  • decoupage medium

These were so easy to make and would make great table favors for all types spring celebrations.

How to Make a Valentine Treat Holder

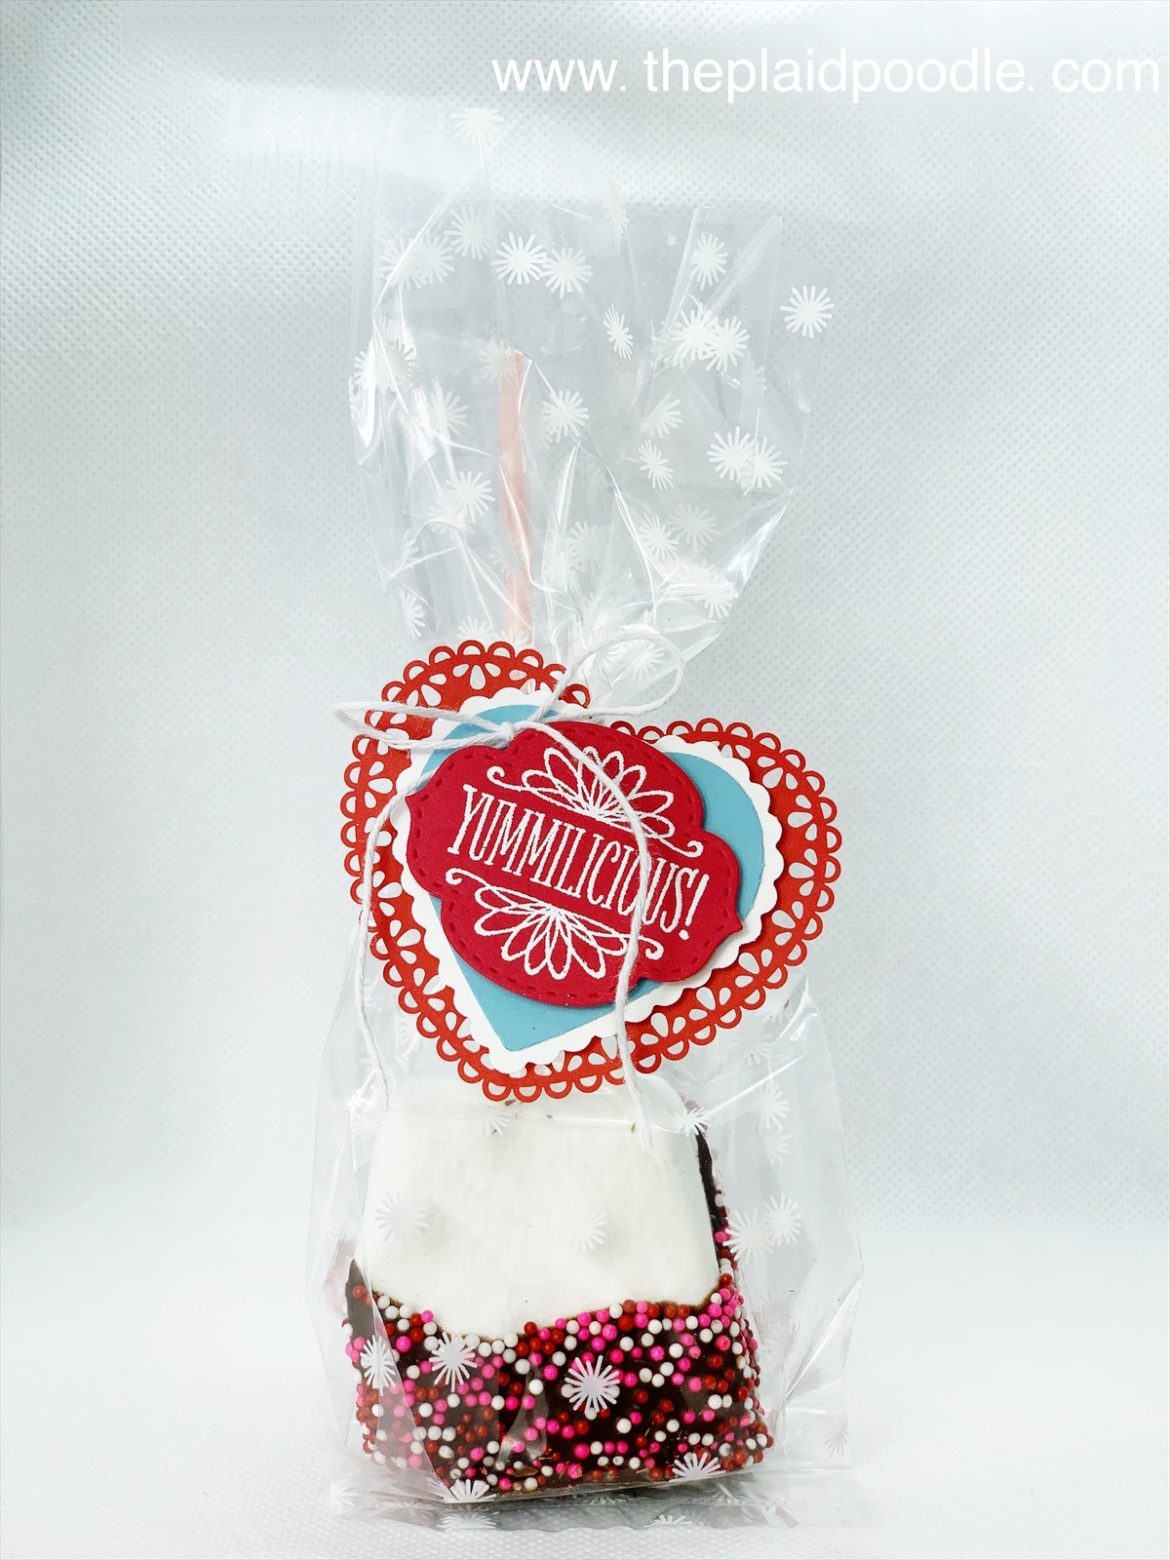
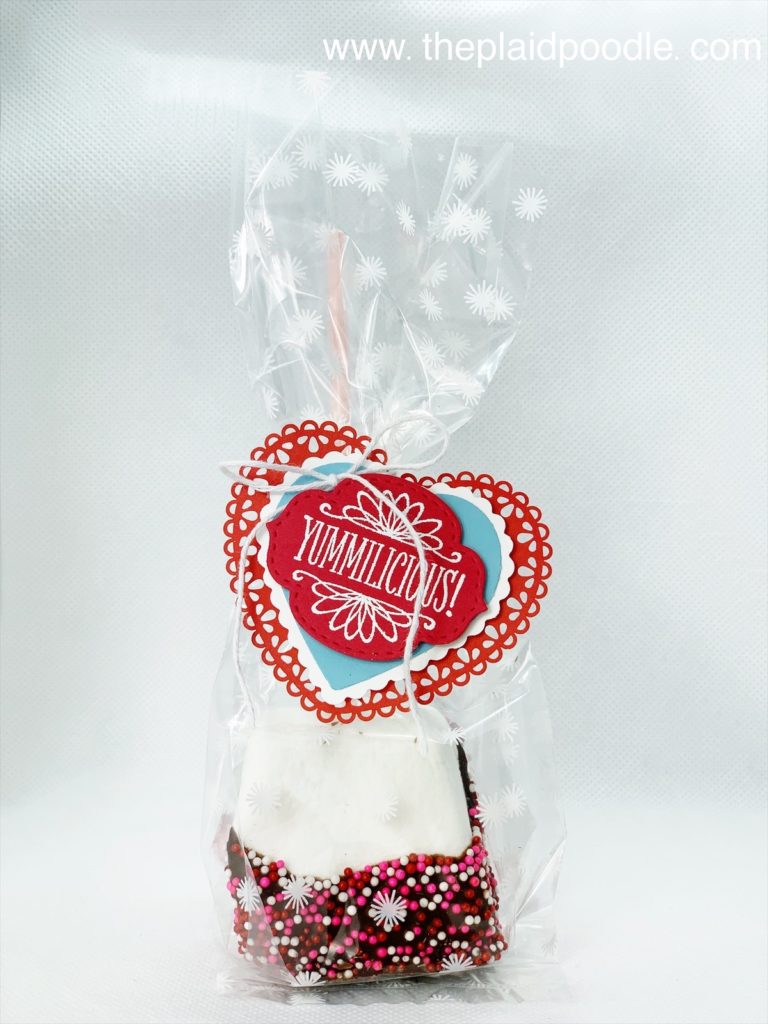
Sure a simple reclosable plastic bag can do the job of keeping your Valentine treats fresh, but why not package them up in a sweet little bag and pop a cute tag on it?!

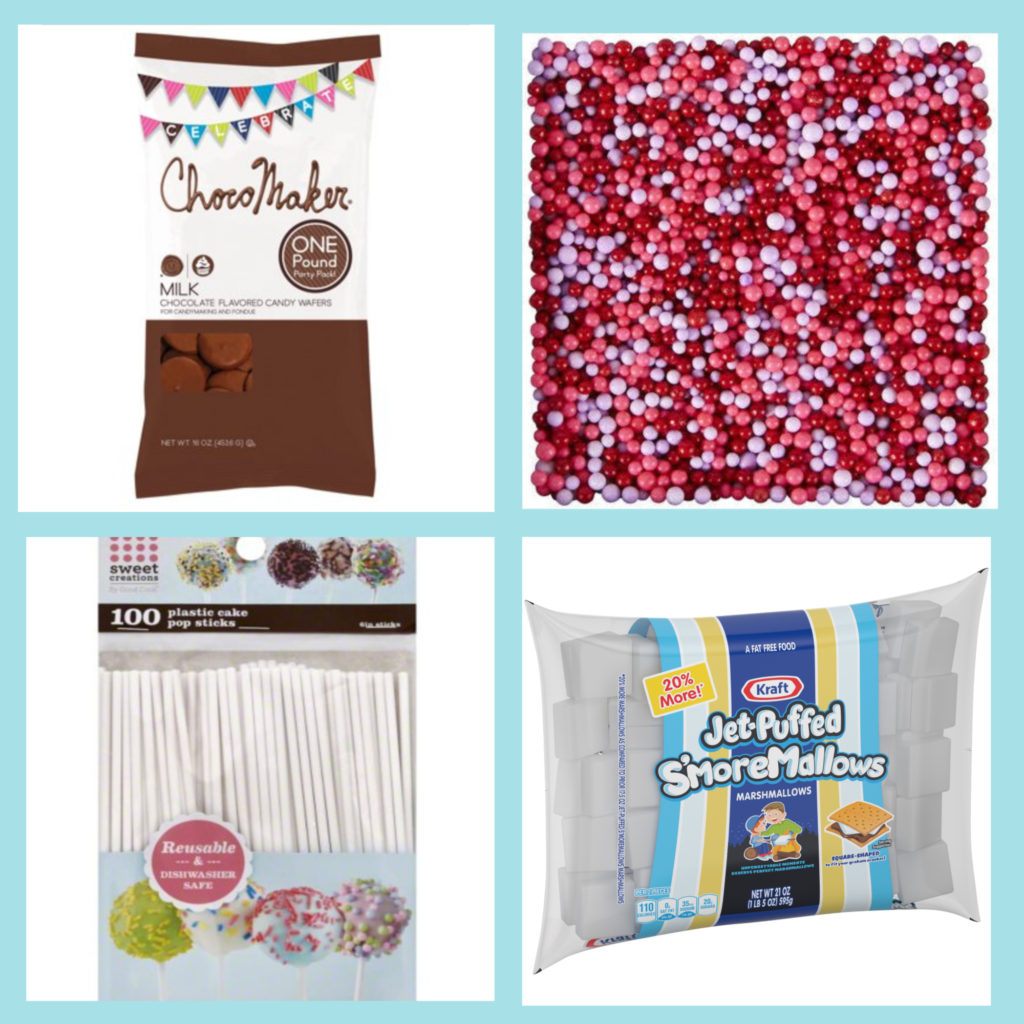
I recently made up a few chocolate covered marshmallows using a few products that I picked up at the grocery store.

  • Large Marshmallows
  • Chocolate Candy Melts
  • Cake Pop Sticks
  • Candy Sprinkles

To make the chocolate covered marshmallows I inserted cake pop sticks into large marshmallows and dipped them into melted chocolate candy melts. Next, I sprinkled the dipped marshmallows with nonpareils sprinkles then set them onto wax paper to harden. That’s it! Easy-peasy.
I packaged the treats up using Stampin’ Up!’s new food safe 3″ x 9″ Printed Gusseted Cellophane Bags. Watch the video tutorial below to see how I created that sweet little tag.

Product List

Make a Mini Valentine Chocolate Box

Every Monday I host a Make it Monday Facebook Live where I share a fun project that is not a card. This week I showed how to make this sweet miniature heart chocolate box. Make sure to follow me on Facebook here https://www.facebook.com/theplaidpoodle so that you don’t miss an episode.

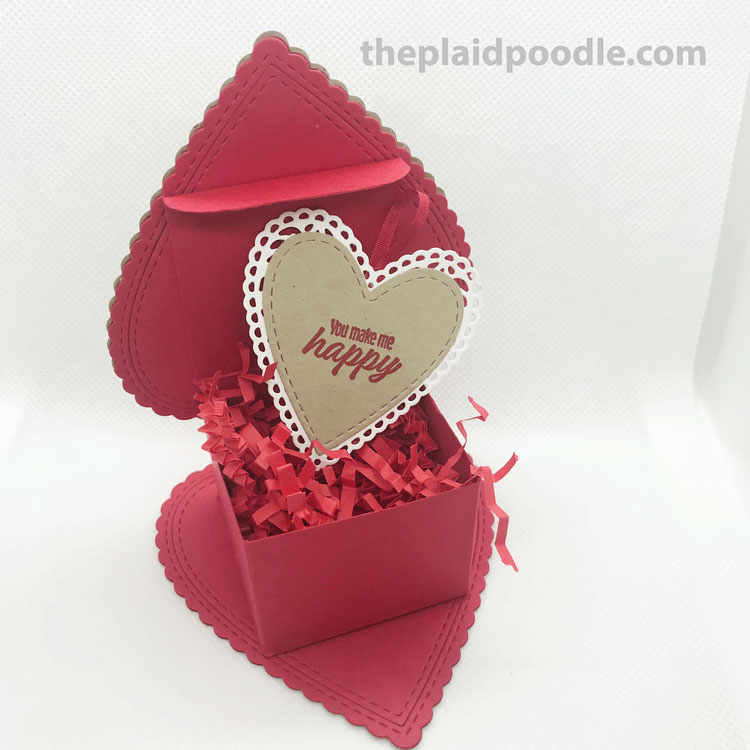
I created this box last year using the Stitched Be Mine Dies that has a square box as its base. You can view the directions for this box HERE.

This year however, I saw a box that Angie over at Stamping with Amore created using a heart-shaped base and I knew I had to give it a try. I took Angie’s base design and pared it down to fit with the new Heart Punch Pack from Stampin’ Up!

These mini chocolate boxes are adorable and would make great little class favors and using a sheet from the From My Heart Specialty Designer Series Paper you can whip up 25 boxes in no time!

The project supplies and directions are here. To view the video tutorial hop on over to my Facebook page here: https://www.facebook.com/theplaidpoodle/videos/658627391341534/

Directions:

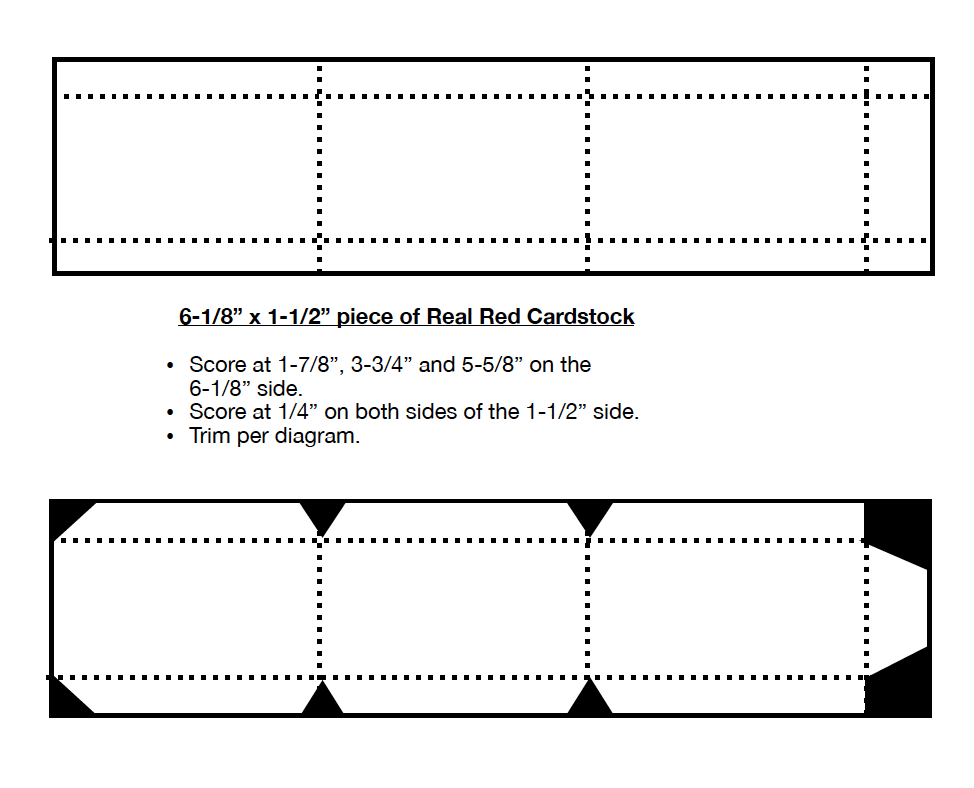
Real Red Cardstock = 6-1/8″ x 1-1/2″, two pieces 3″ x 3-1/2″ each, Whisper White Cardstock = 3″ x 3-1/2″ and From My Heart Specialty Designer Series Paper

Product List
Simply Scored
$30.00
Bone Folder
$7.00

Make it Monday!

I’m so excited to start 2020 with a new series I’m calling Make it Monday! I love making cute treat holders and lovely home decor using stamps, paper and ink and can’t wait to share these projects with you. I’ll be going live every Monday on my Facebook Page with a fun 3-dimensional project.

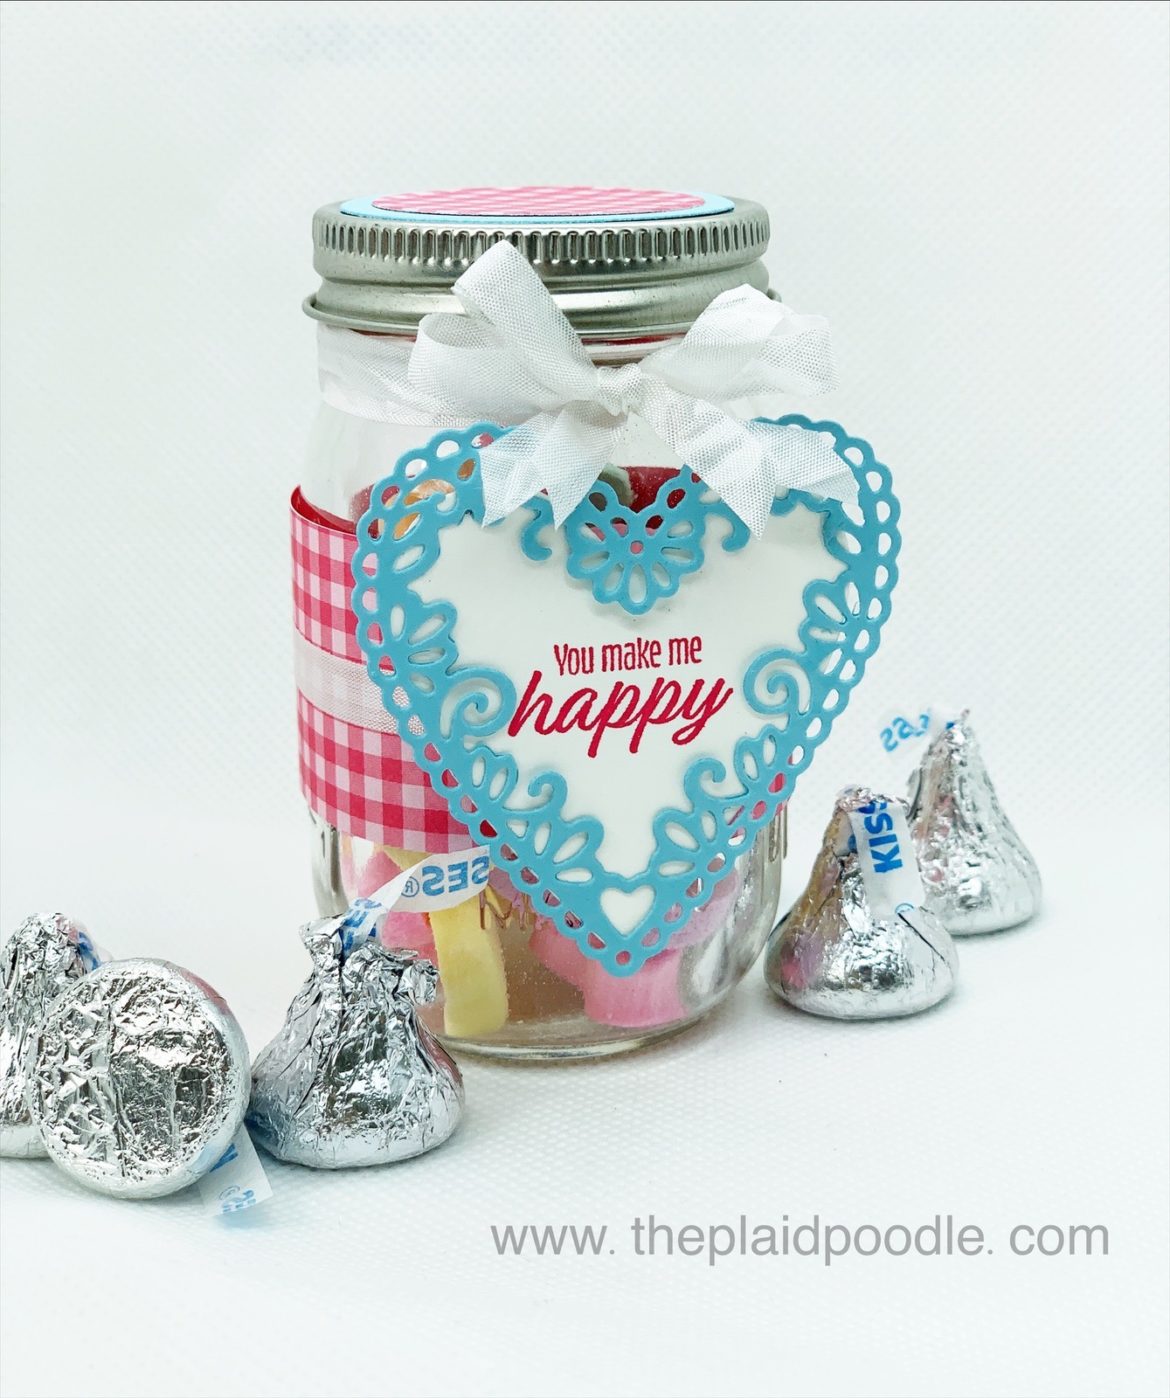
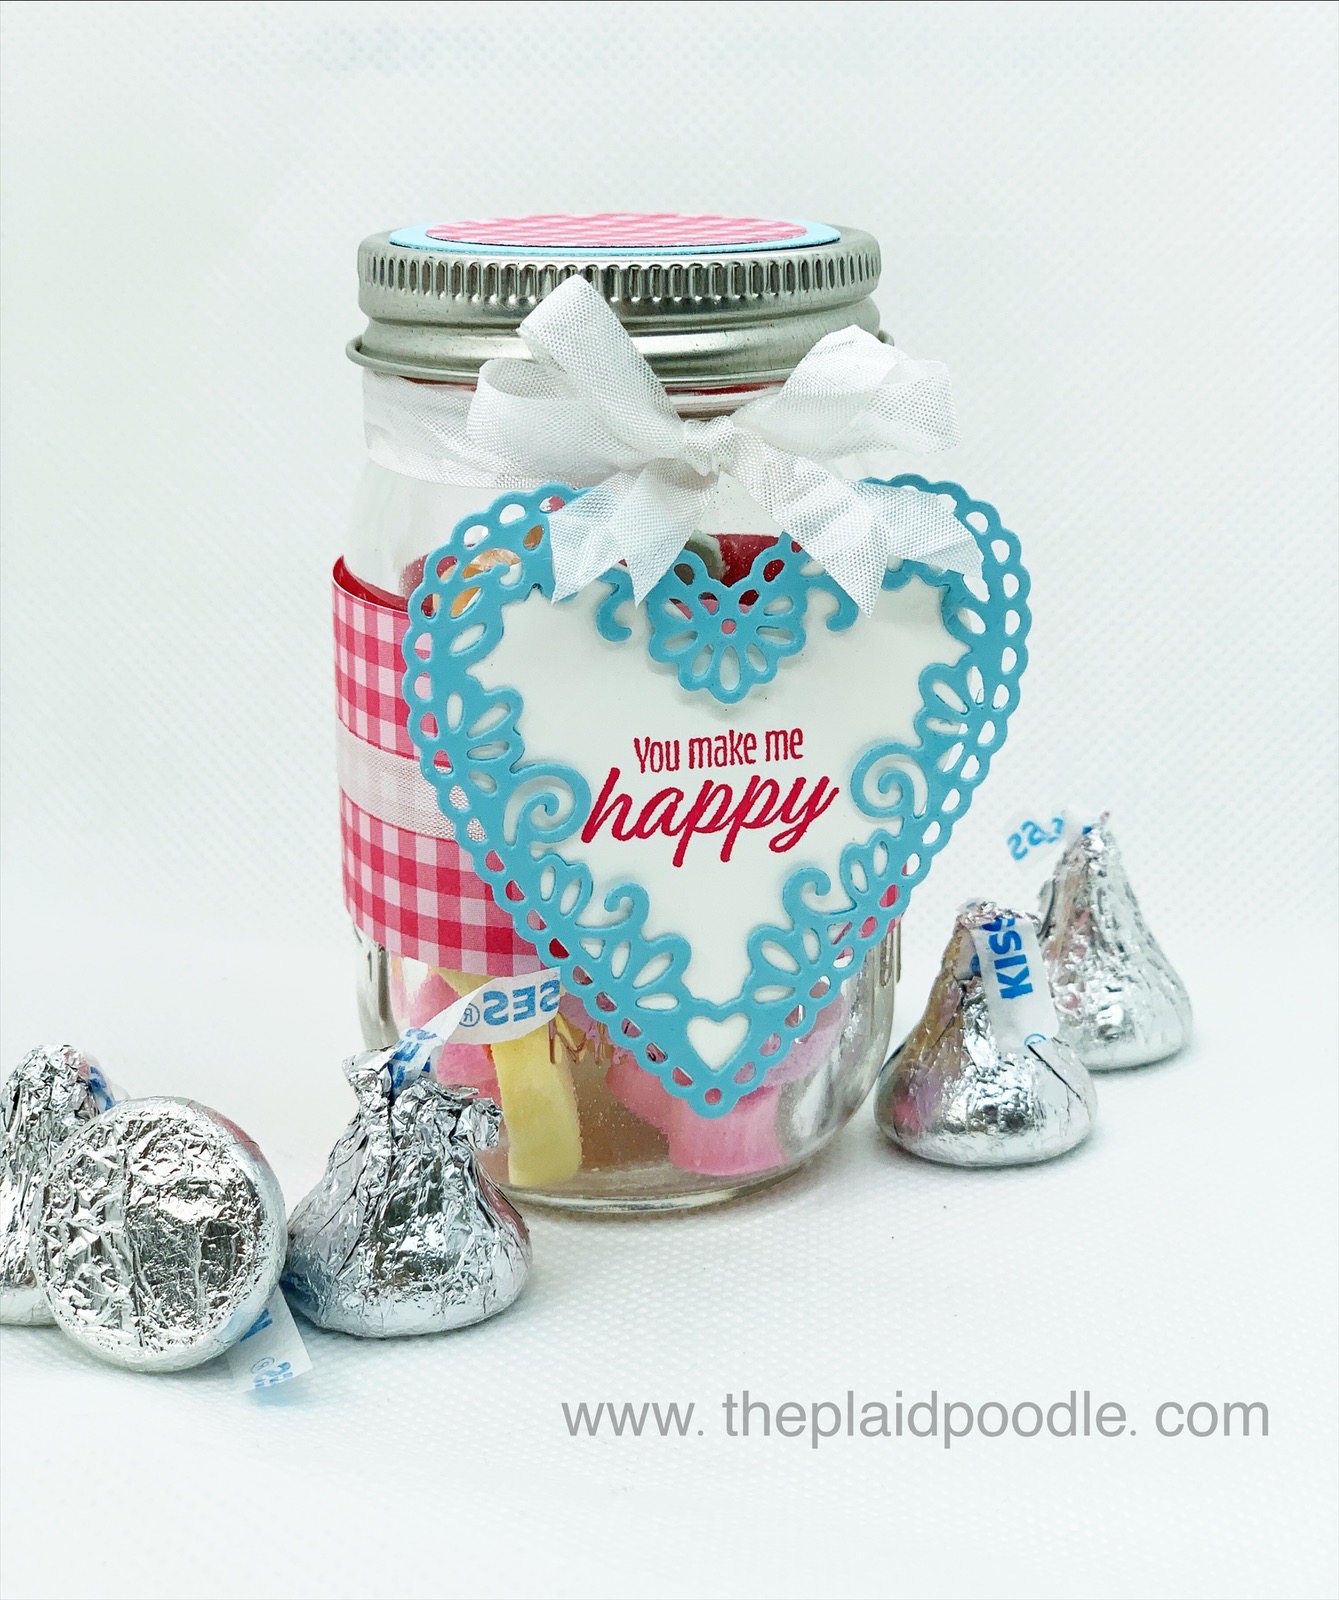
Today’s Make it Monday project was this sweet candy jar made using a Ball mini storage jar. I purchased the jars in a box of four at one of our big-box stores then embellished them using the Meant to Be Stamp Set from Stampin’ Up!

DIRECTIONS

  • Place Tear & Tape Adhesive on both ends of 6″ x 1-1/4″ piece of Designer Series Paper then wrap around mini storage jar.
  • Place Mini Glue Dots on both ends of 6″ length of ribbon and wrap around center of Designer Series Paper on the jar.
  • Wrap two – 12″ lengths of ribbon around neck of jar and wrap in a double bow.
  • Cut filigree heart from 2-3/4″ x 2-3/4″ piece of Balmy Blue card stock.
  • Stamp sentiment onto 2-1/2 x 2-1/2″ piece of Whisper White card stock using Memento ink. Cut out with heart die. Adhere stamped heart behind filigree heart using Multi-Purpose Liquid Glue. Adhere tag to front of jar using Tear & Tape Adhesive.
  • Cut circle from 2-1/8″ x 2-1/8″ piece of Balmy Blue card stock. Cut stitched circle from 2″ x 2″ piece of Designer Series Paper. Adhere stitched circle onto Balmy Blue circle using adhesive. Adhere both circles to lid on jar using adhesive.
Product List

Visit my Facebook Page to watch the replay of today’s Make it Monday! and don’t forget to click on “Like” and “Follow” so you won’t miss another episode!

DIY Tropical Chic Gift Box

Some people like the mountains and some people like the desert. Both places have beautiful aspects but my happy place is anywhere that has palm trees.

If palm trees are nearby it’s a pretty safe bet that I can find a large body of water with a sandy beach. Warm breezes, waves splashing against the shore and sand between my toes is an anti-depressant to me. The Lord probably knew that if I lived in such a tropical place I would never accomplish anything so He stuck me right here in the land-locked middle!

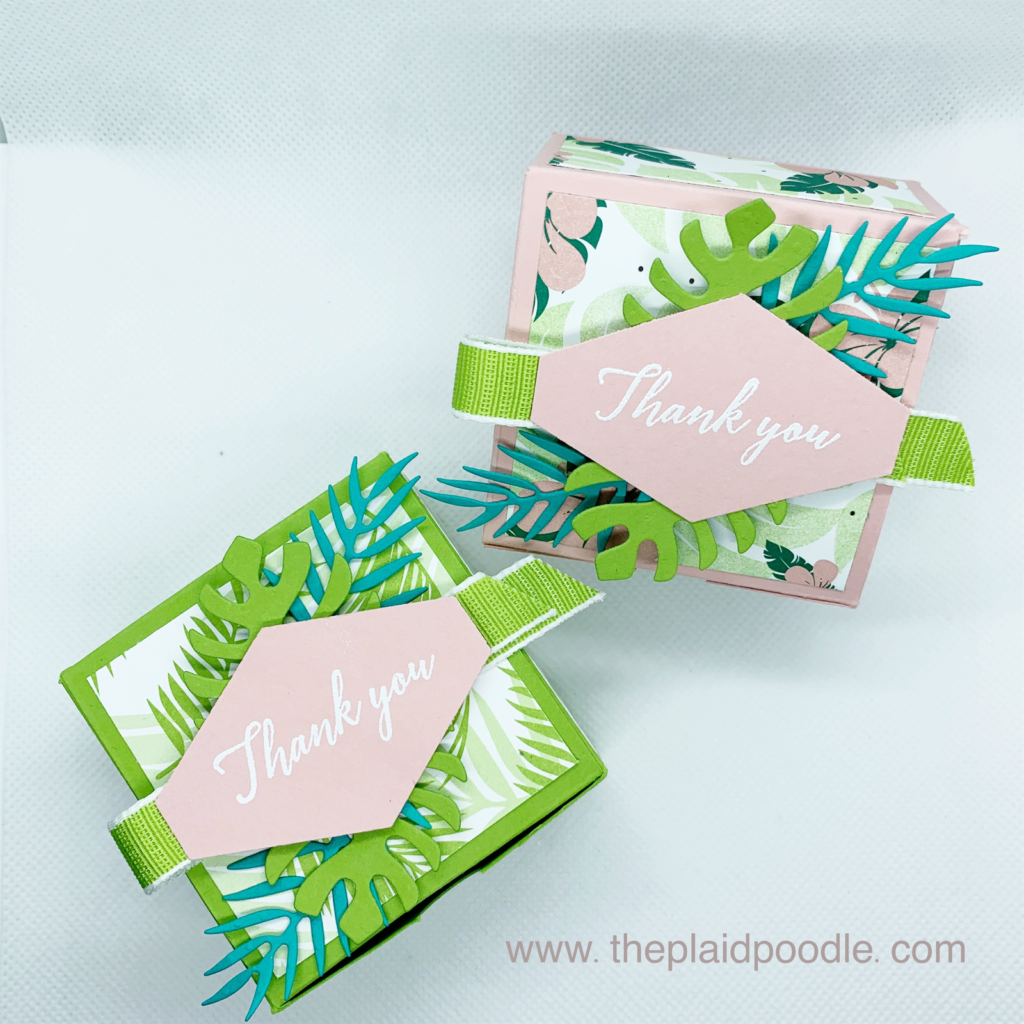
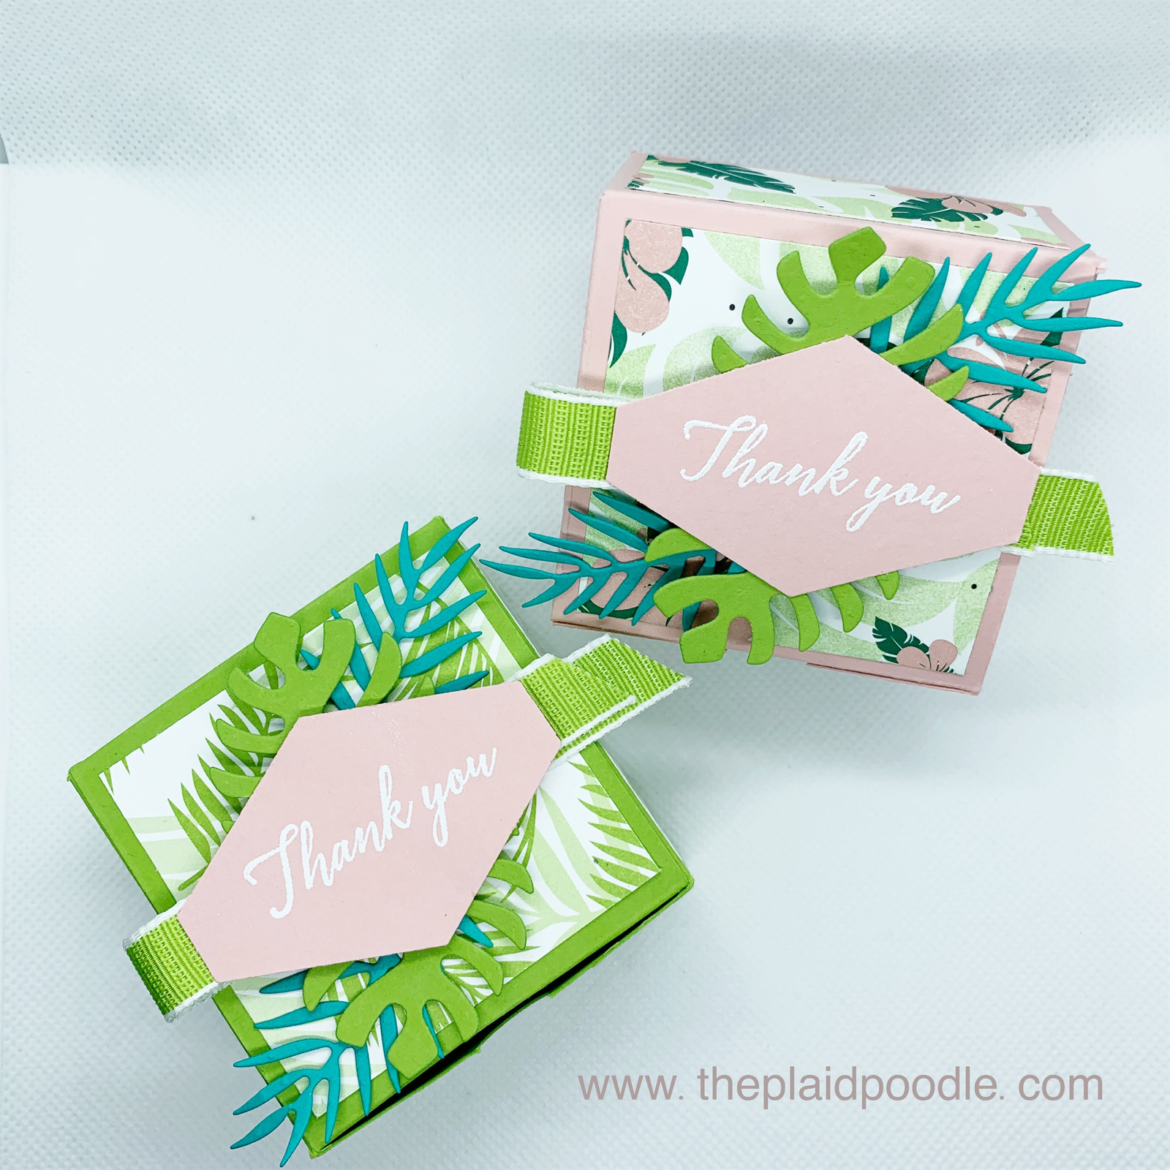
Today’s project reminds me of my happy place and makes me want to sit poolside somewhere and sip a tall, fruity drink. Its a small gift box made using products from the Tropical Escape Suite from Stampin’ Up!

The box is a great size for small jewelry like a pair of earrings or necklace. It’s also roomy enough for some wrapped candy treats. I pulled colors from the Tropical Escape 6″ x 6″ Designer Series Paper to make the box, tag and embellishments. Here is the video from my Facebook Live Coffee & a Card where we made the box.

Click on the pink button below for a full-color project sheet that includes the cutting and scoring template mentioned in the video tutorial.

Here are the products I used to make the box. Click on any image for more information about that product.

Product List

Thanks for stopping by and letting me share a little bit about my happy place with you. I hope you enjoyed the project. If you have any questions or if I can help you with any of your stamping and paper crafting needs it would be my pleasure to help you.

Butterfly Beauty Tissue Box

Spring is coming and that means allergy season is on its way! In today’s Coffee & a Card Facebook Live I demonstrated how to make this sweet tissue box that holds mini tissue packs. Wouldn’t these make super gifts for those fellow allergy sufferers in our lives?

Project Recipe:

  • Box = 4-1/4″ x 6-1/4″ piece of Berry Burst card stock
  • Box Lid = 4-1/2″ x 7-1/2″ piece of Berry Burst card stock
  • Share What You Love Specialty Designer Series Paper = 2″ x 4-1/4″, two pieces 7/8″ x 4-1/4″ each
  • Butterflies: Scraps of Berry Burst and Petal Pink card stock
  • Sentiment Tag: Scraps of Whisper White and Berry Burst card stock
Product List
Beauty Abounds Cling Stamp Set
Tuxedo Black Memento Ink Pad
Berry Burst 8-1/2" X 11" Cardstock
Share What You Love Specialty Designer Series Paper
Petal Pink 8-1/2" X 11" Cardstock
Whisper White 8-1/2" X 11" Card Stock
Big Shot
Big Shot Magnetic Platform
Precision Base Plate
Butterfly Beauty Thinlits Dies
Layering Ovals Framelits Dies
Rhinestone Basic Jewels
Classic Label Punch
Liquid Multipurpose Glue
Mini Stampin' Dimensionals

Coffee Cafe Gift Card Holder

I love coffee! My Kuerig is the first thing I drag myself to each morning. Taking a few minutes to enjoy a hot cup of coffee while my brain tries to wake up is one of the best moments of my day.

I’m not alone in my love for coffee and that’s why I often give coffee shop gift cards to family and friends. I shared how to make an easy gift card holder on my recent Coffee and a Card Facebook Live that is perfect for this purpose.

The base of the card is a 3″ x 3″ Whisper White Envelope and you slip a gift card in the top. Genius! I can’t take credit for the design however. I discovered the idea for this Coffee Cafe Gift Card Holder in the annual Stampin’ Up! Catalog. The catalog is always a great source of ideas and inspiration. If you do not have a Stampin’ Up! Demonstrator I would love to send a copy to you. CLICK HERE to request a catalog.

For the project details watch the replay video from my Facebook Live below. The video includes all the measurements for the gift card holder and below the video you will find the list of products I used.

Product List
Coffee Café Photopolymer Stamp Set
Coffee Cups Framelits Dies
Early Espresso Classic Stampin' Pad
Melon Mambo Classic Stampin' Pad
Crumb Cake 8-1/2" X 11" Card Stock
Whisper White 8-1/2" X 11" Card Stock
Vellum 8-1/2" X 11" Card Stock
Whisper White 3" X 3" (7.6 X 7.6 Cm) Envelopes
Big Shot
1-3/8" (3.5 Cm) Scallop Circle Punch
Gold Mini Sequin Trim
Stamping Sponges
Liquid Multipurpose Glue
Tear & Tape Adhesive
Mini Stampin' Dimensionals
Glue Dots
Silicone Craft Sheet
Circle Tab Punch


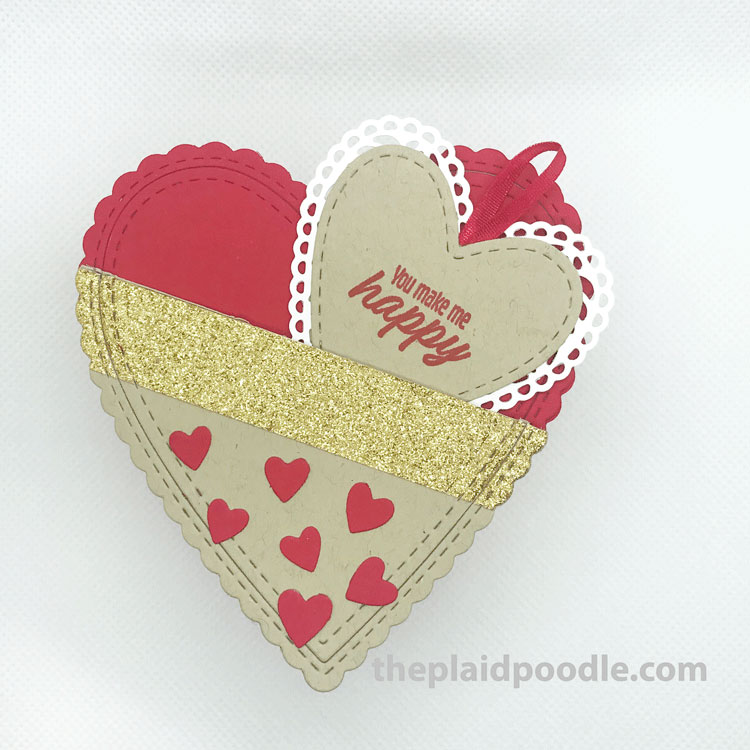
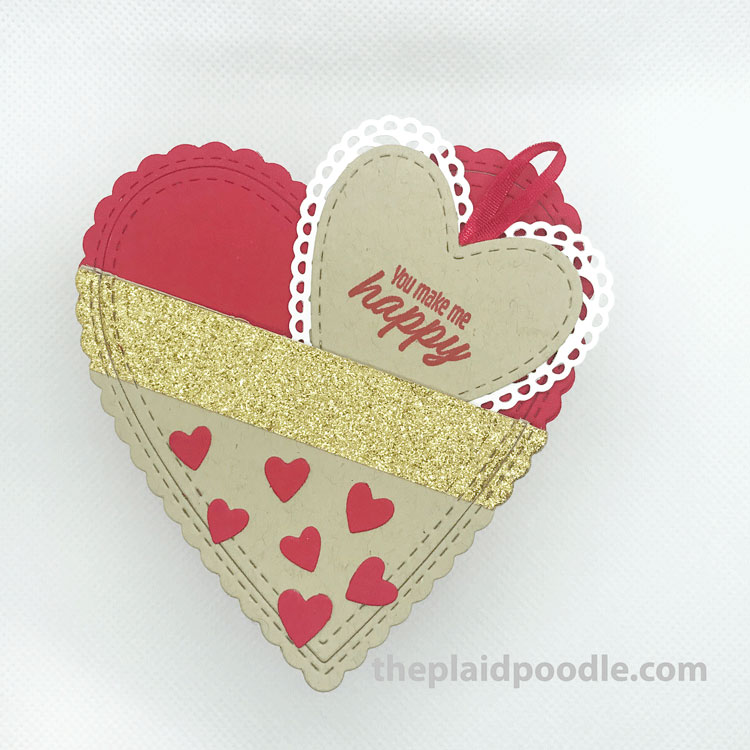
Valentine Chocolate Box


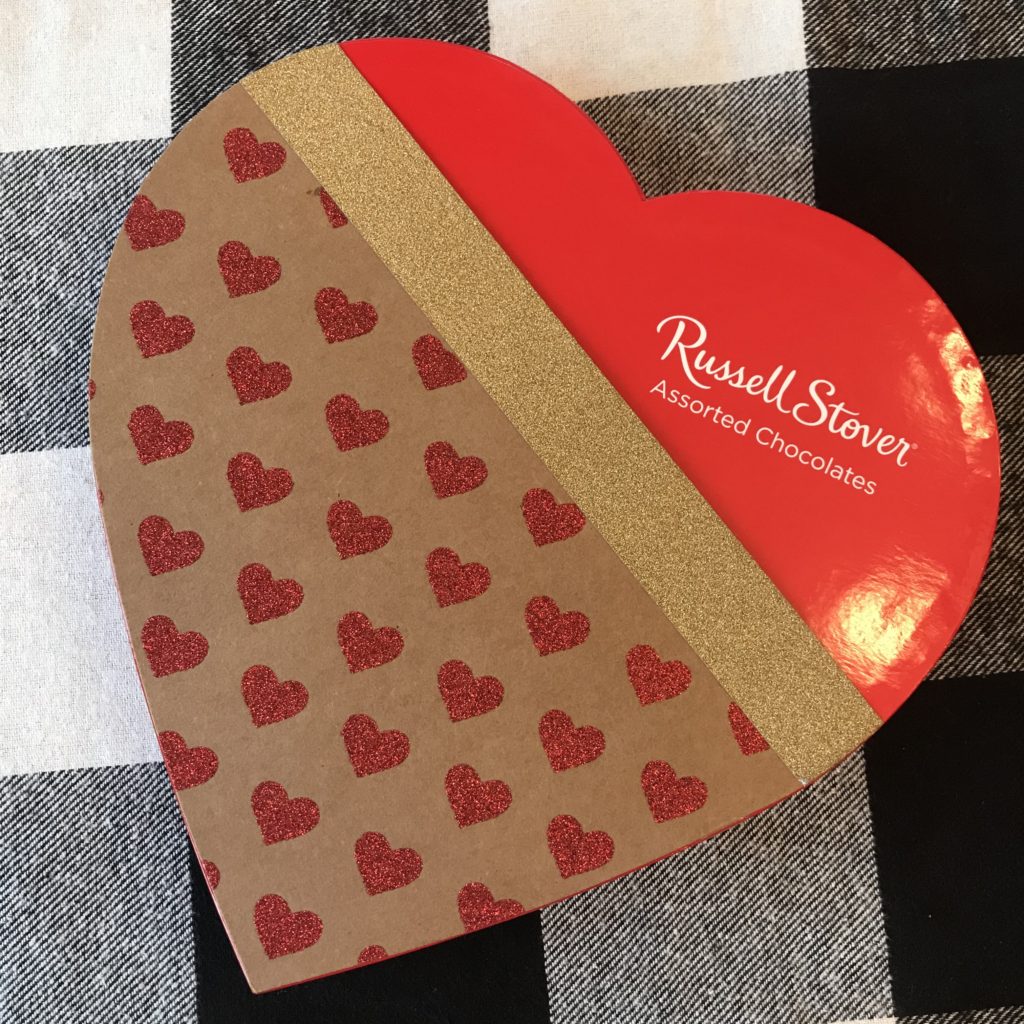
I made this adorable little heart shaped box during my Facebook Live Coffee and a Card last week. I patterned it after a box of chocolates I received from my husband to celebrate the anniversary of our first date. I talk all about that first date during the Facebook Live. You can hear all about it if you care to watch the replay of the video found in this post below.

Here is the box of chocolates that was my inspiration for this project:

I thought it was so clever that the box had a pocket on the lid to insert a card into and knew right away that I wanted to make something similar only on a smaller scale. The Be Mine Stitched Framelit dies from Stampin’ Up! helped me achieve my goal beautifully!

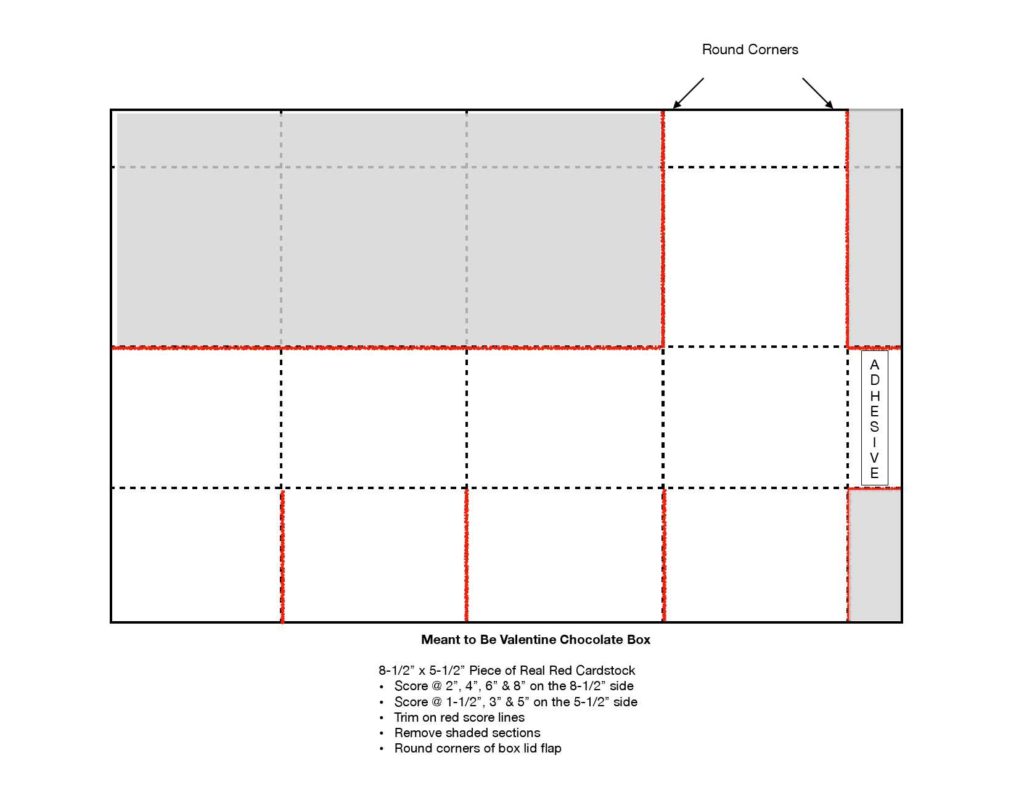
Below is the list of supplies I used for this Valentine Chocolate Box project along the Facebook Live Video tutorial and a scoring/cutting diagram for the box.

I hope you enjoy today’s project and feel free to contact me if I can assist you with any of your paper crafting needs

Product List
Meant To Be Cling Stamp Set
Real Red Classic Stampin' Pad
Real Red 8-1/2" X 11" Card Stock
Crumb Cake 8-1/2" X 11" Card Stock
Whisper White 8-1/2" X 11" Card Stock
Simply Scored
Detailed Trio Punch
Big Shot
Precision Base Plate
Be Mine Stitched Framelits Dies
Big Shot Die Brush - New Configuration
Real Red 1/8" (3.2 Mm) Solid Ribbon
Silicone Craft Sheet
Stamping Sponges
Liquid Multipurpose Glue

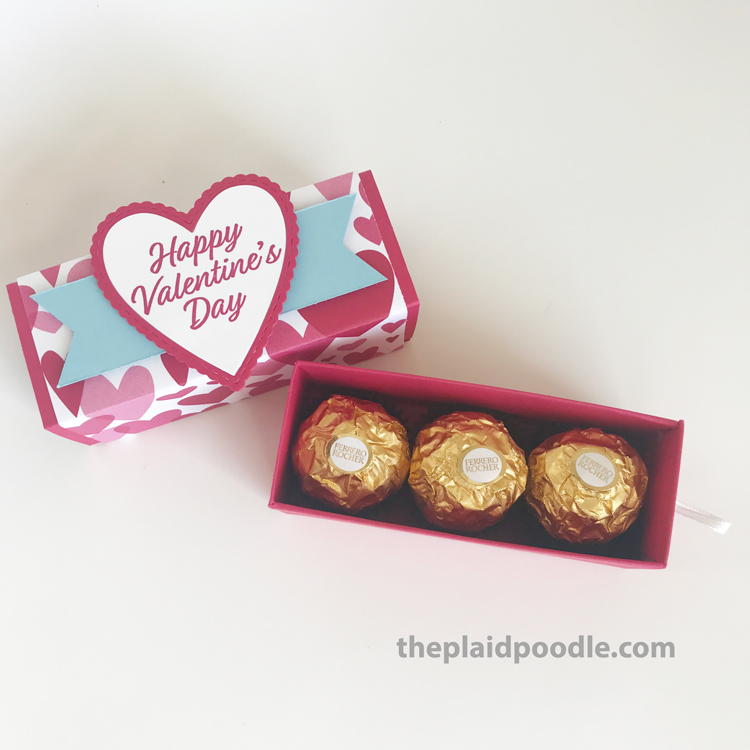
Meant to Be Chocolate Box

Today’s project is this elegant little box that is the perfect size for three Ferrero Rocher chocolates. One of my favorite things about this box is the design. This box is very substantial and because of the folds used, has nice finished edge.

There is some scoring and cutting involved that can be a little tricky. I’ve included a scoring and cutting diagram in the project sheet. That, along with the video tutorial below should make this box a breeze for you to make.

You’ll notice that one of my comments on the video suggests that I had a problem with the ribbon pull. I would recommend a stronger adhesive to adhere the ribbon ends to the inside of the box. Another solution would be to tie the ribbon ends together in a knot to keep them from pulling out of the box.

Click on the button to view and download the Meant to Be Chocolate Box Project Sheet.


Product List

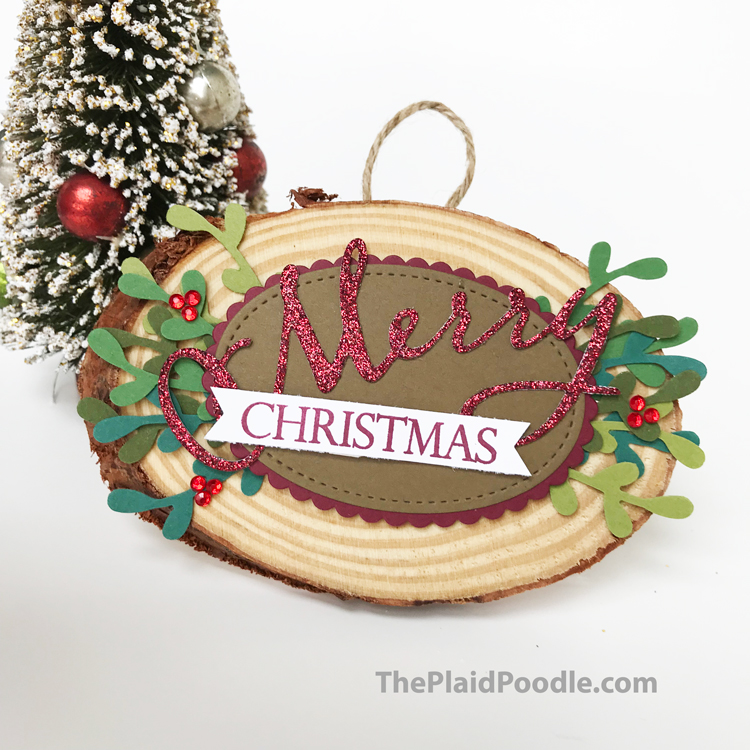
Merry Christmas to All DYI Ornament

The trend right now in home decor, fashion and crafts is Farmhouse Chic.  I always make a handmade gift for the guests who attend my Christmas Fun & Fancy Classes and wanted to do something this year using the trend.  I ended up making this ornament for my guests.  The idea came from another Stampin’ Up! Demonstrator who made a larger, plaque version.  Unfortunately I cannot find the name of that Demonstrator to give her proper credit.

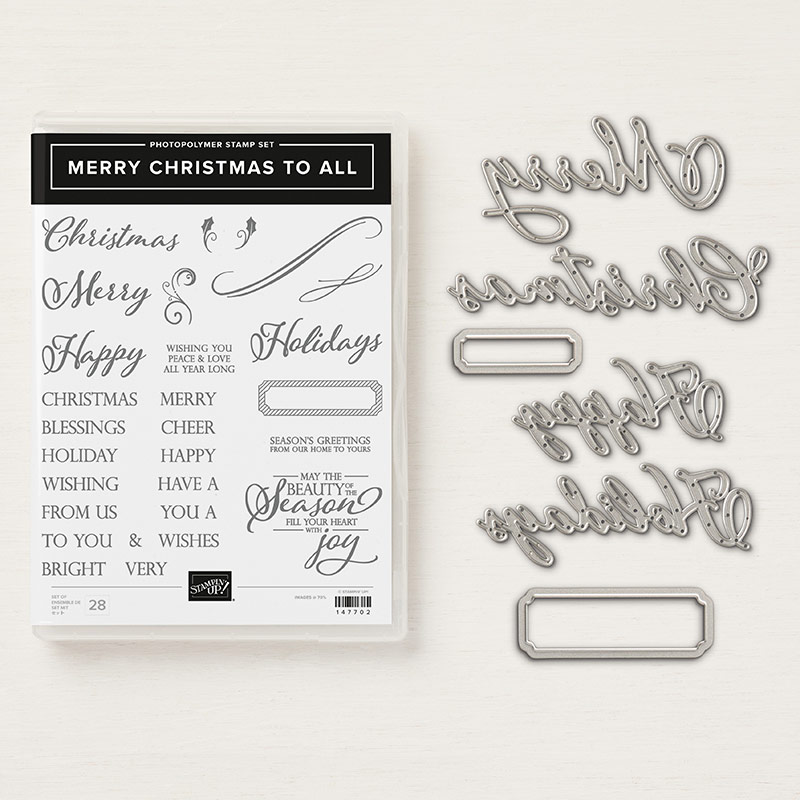
I used a traditional stamp set and Thinlits bundle – Merry Christmas to All.  This is a classic bundle that will stand the test of time and stay in my craft room for years to come.  I love that the Framelits include tag dies that fit perfectly around the word images.

I created the DYI ornament on this week’s Coffee & A Card Facebook Live.  I meet with everyone live each Wednesday morning at 11 am CST on my Facebook Page and we craft together.  Make sure you “Like” and “Follow” my page here so you don’t miss an episode.

Here is an edited version of the video tutorial that includes all the dimensions:


Product List

Signs of Santa Treat Bag

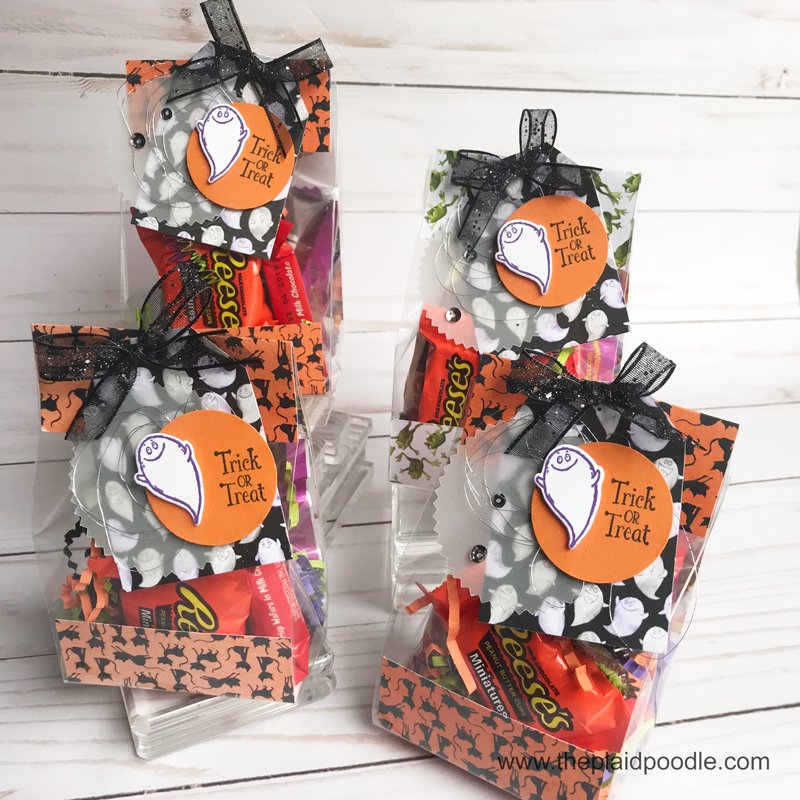
It is so much fun to surprise people with a little treat.  On Wednesday I made up some Halloween treat bags for four special trick-or-treaters in my life.

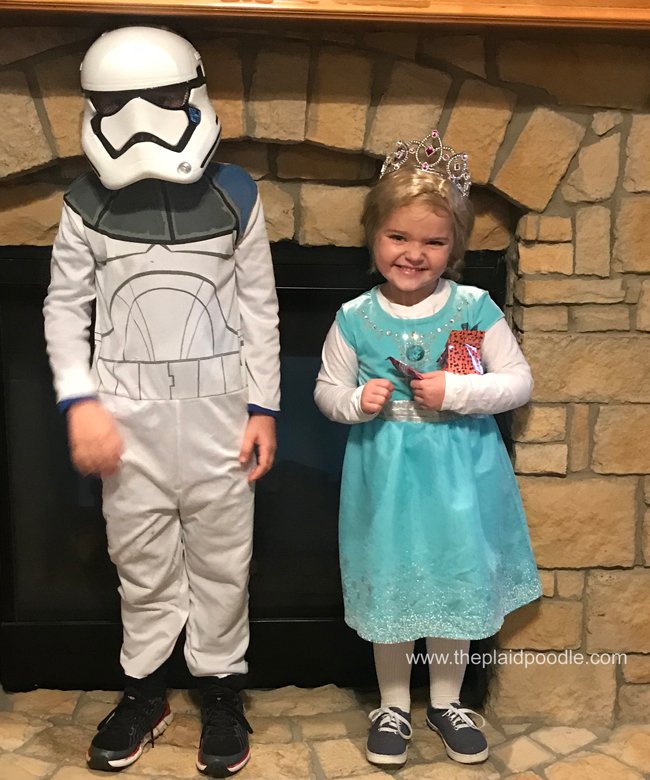
Aren’t they the cutest Storm Trooper, Elsa, Pink Power Ranger and Red Power Ranger you ever did see?  Here are the treat bags I put together for them using the Toil & Trouble Suite from Stampin’ Up!

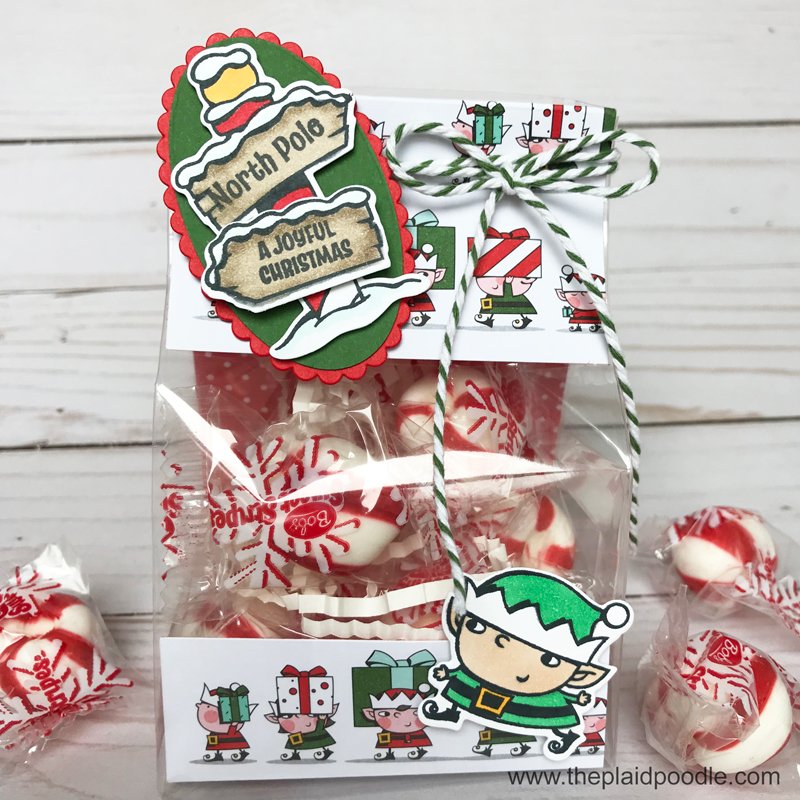
These were so fun and easy to make that I wanted to share a tutorial creating a Christmas version.  I started with the Gusseted Cellophane Bags from Stampin’ Up! and embellished with products from the Santa’s Workshop Suite.

Project Dimensions

  • Santa’s Workshop Specialty Designer Series Paper = 2-7/8″ x 9″ scored at 1″, 3″ and 7-1/4″ on the 9″ side
  • Whisper White Card Stock = 2-1/2″ x 4″
  • Poppy Parade Card Stock = 3″ x 2″
  • Garden Green Card Stock = 3″ x 2″

Product List