Make a Sweet Gingerbread House Treat Holder
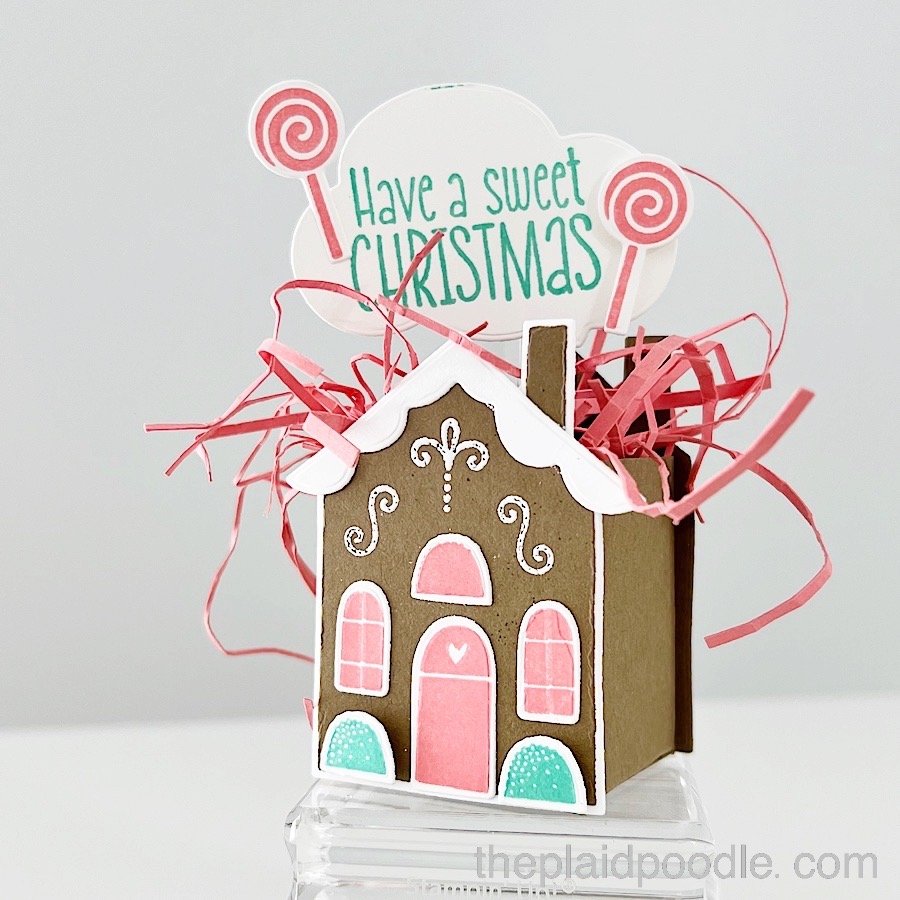
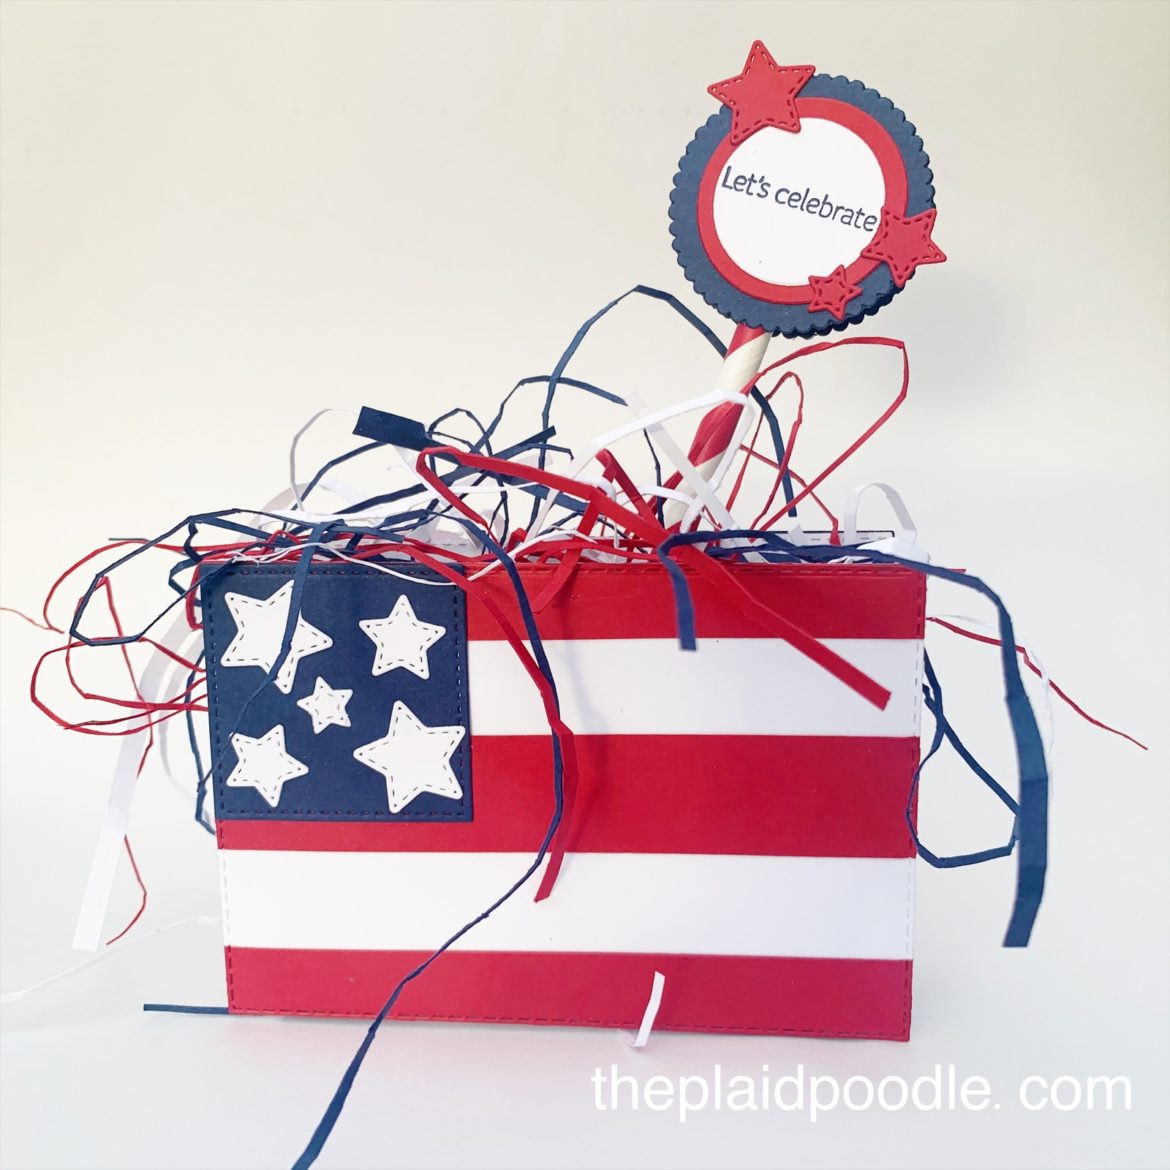
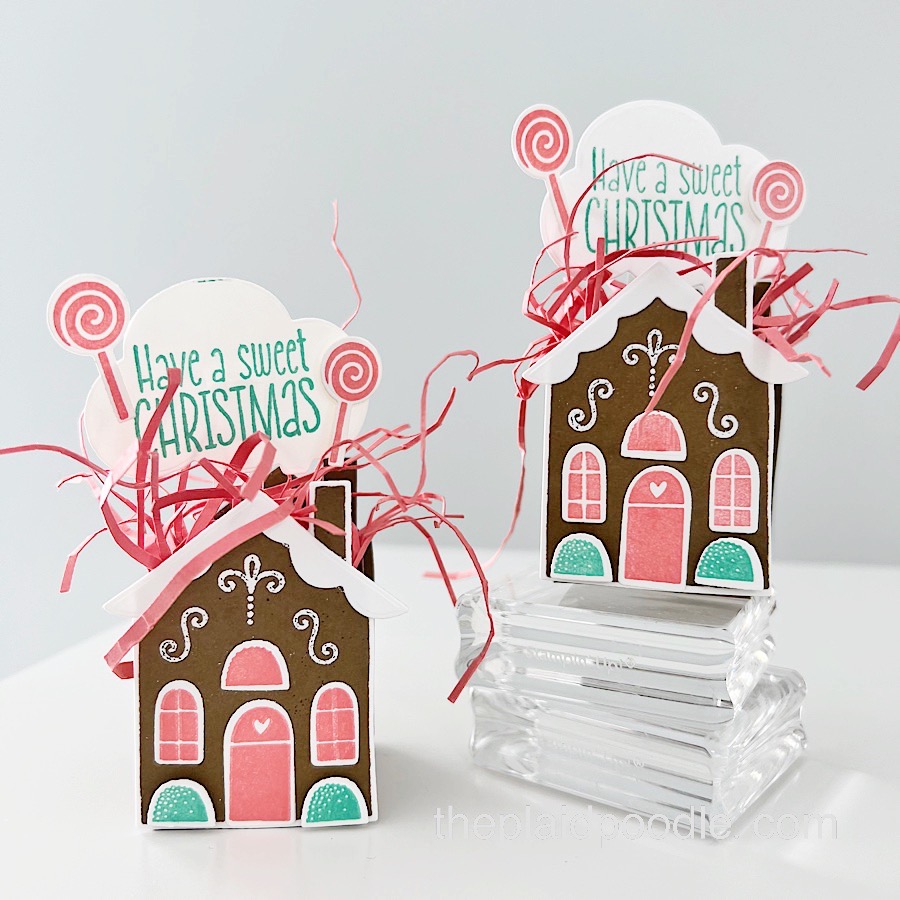
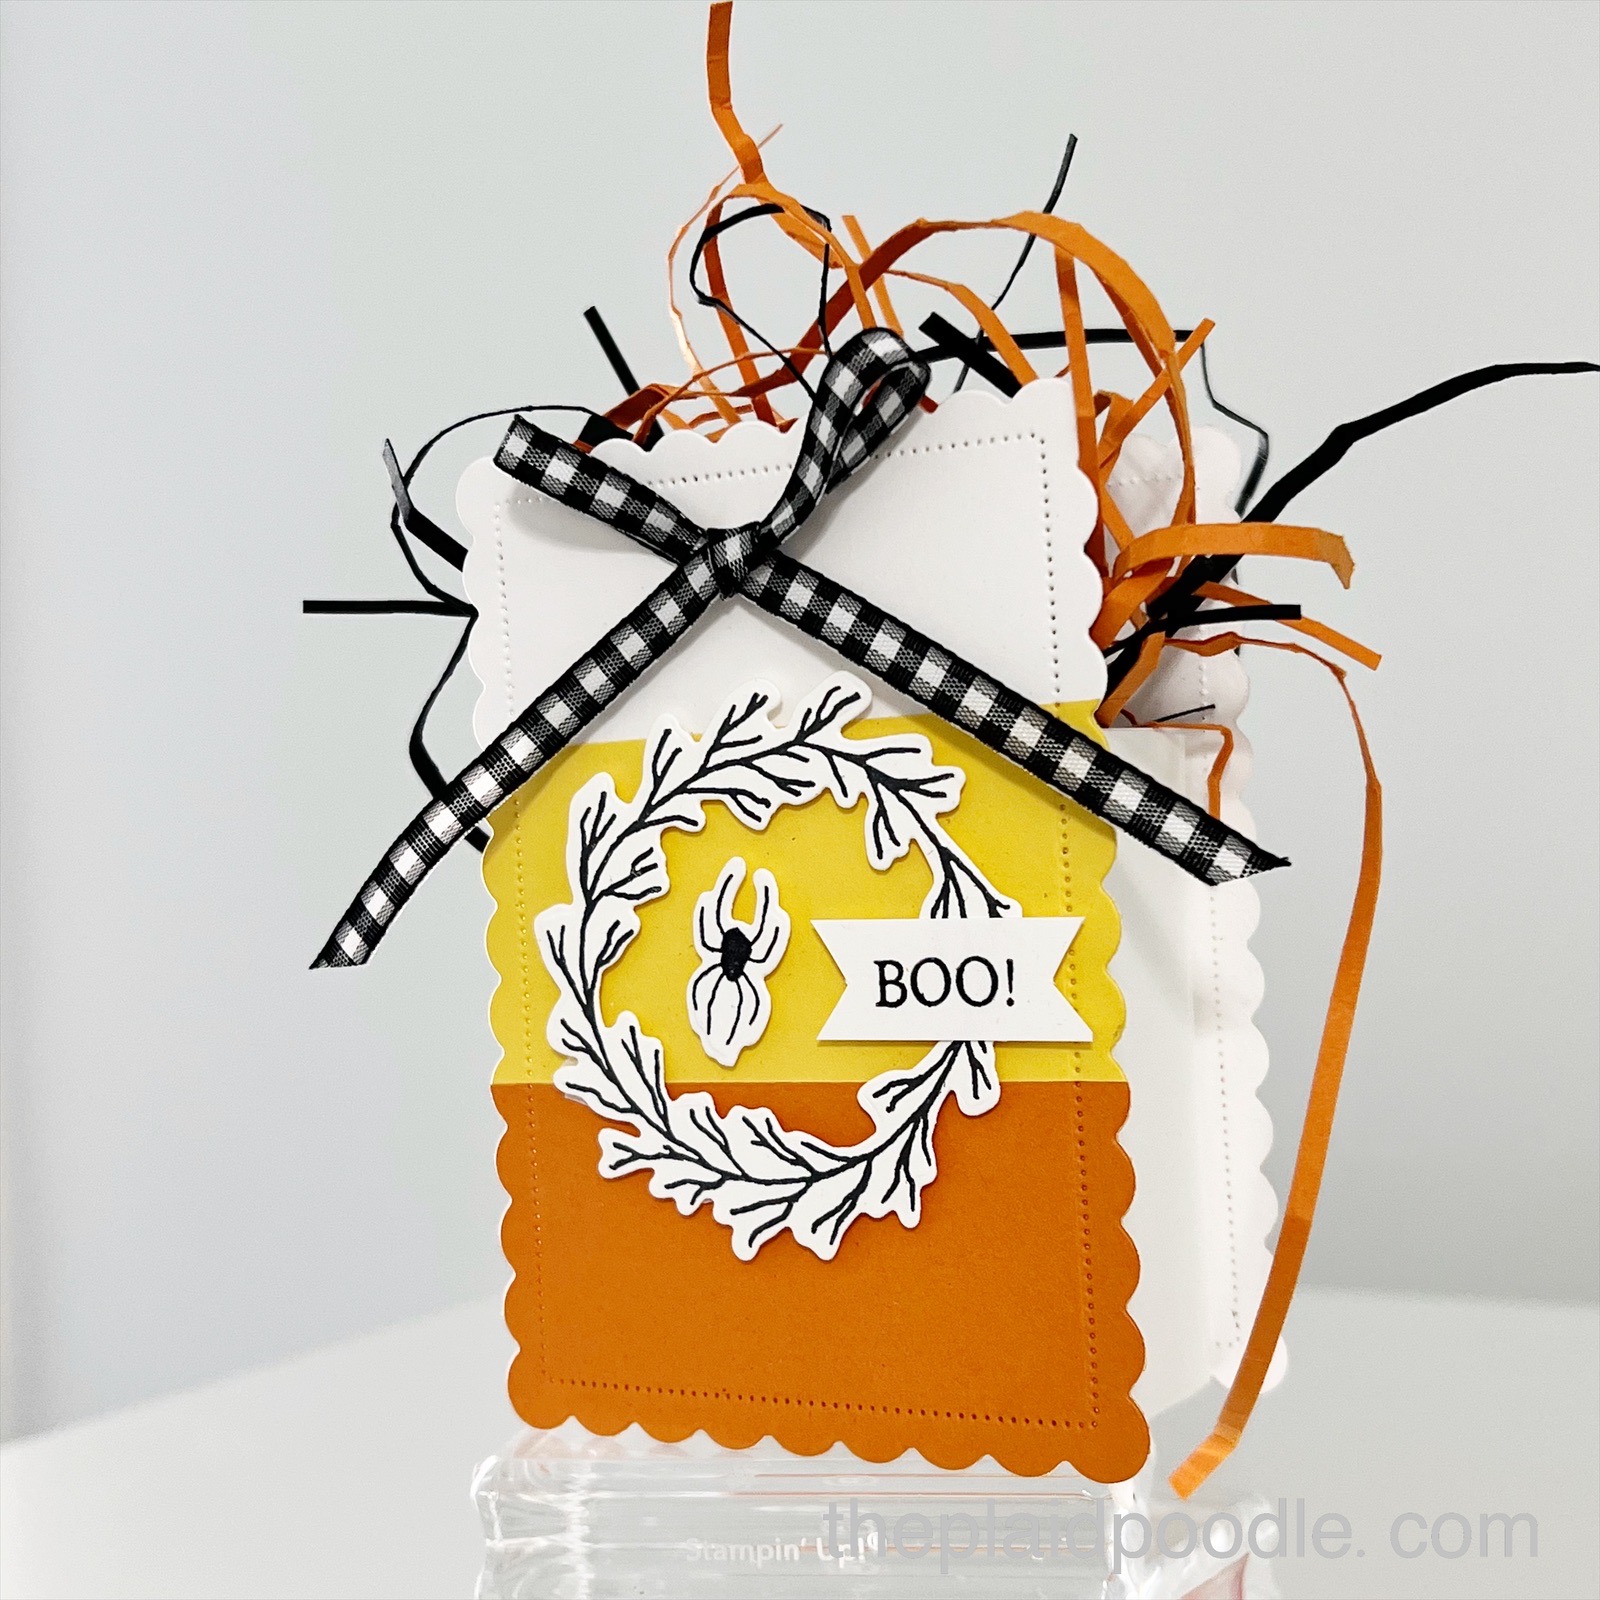
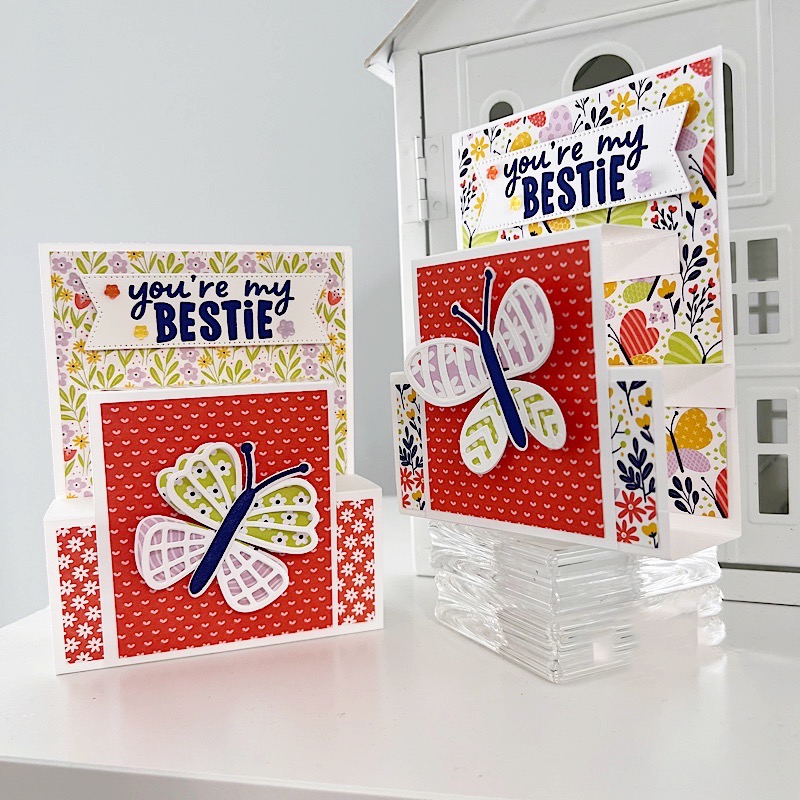
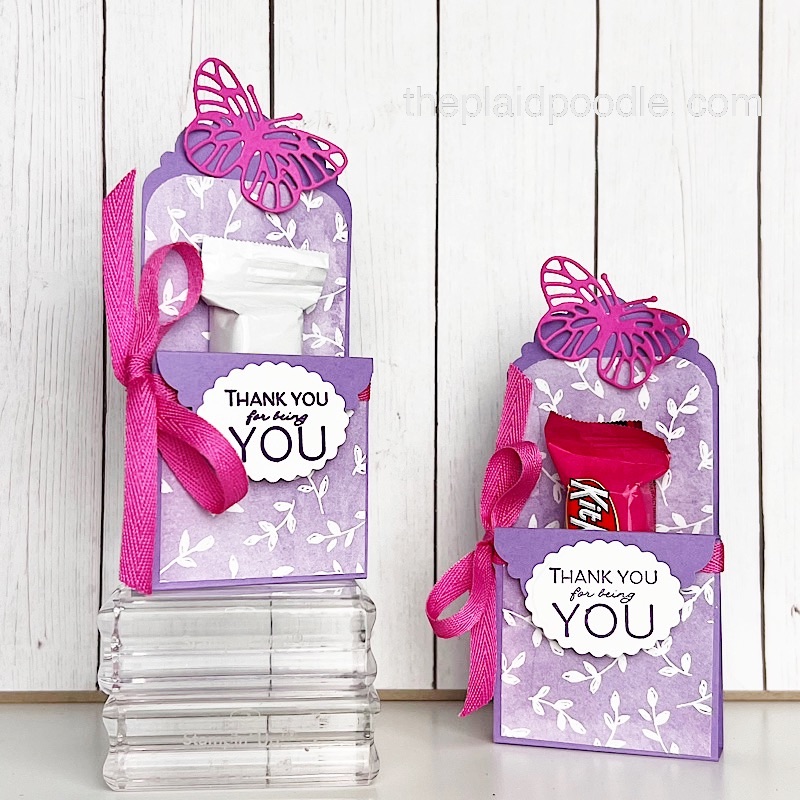
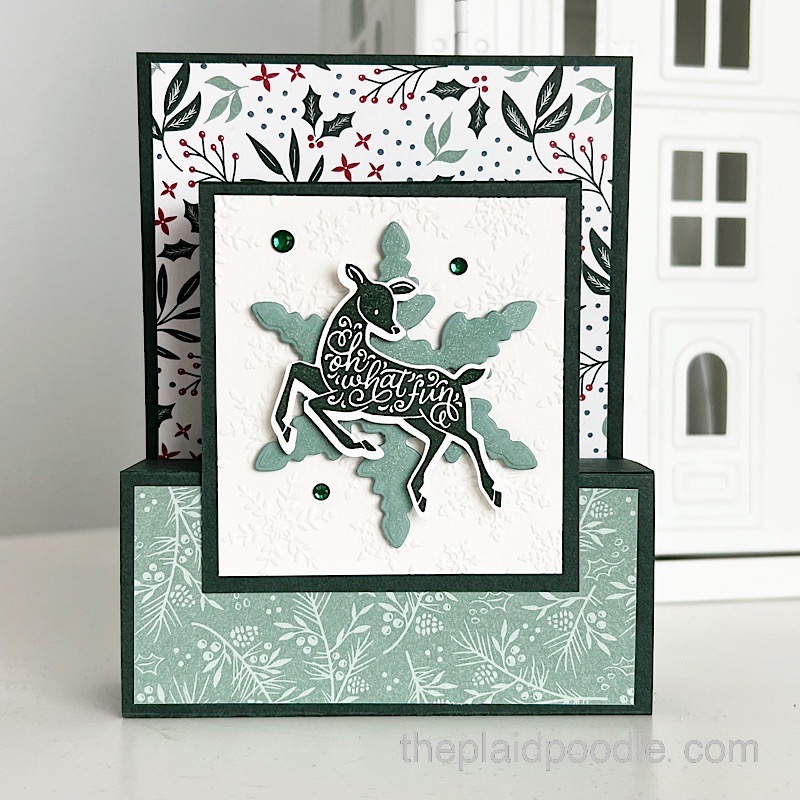
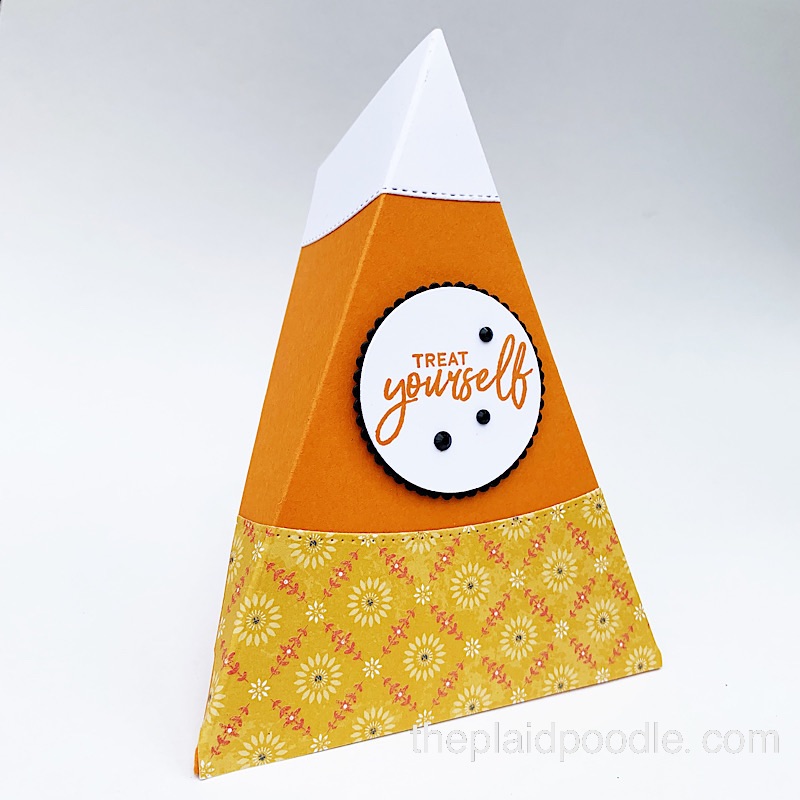
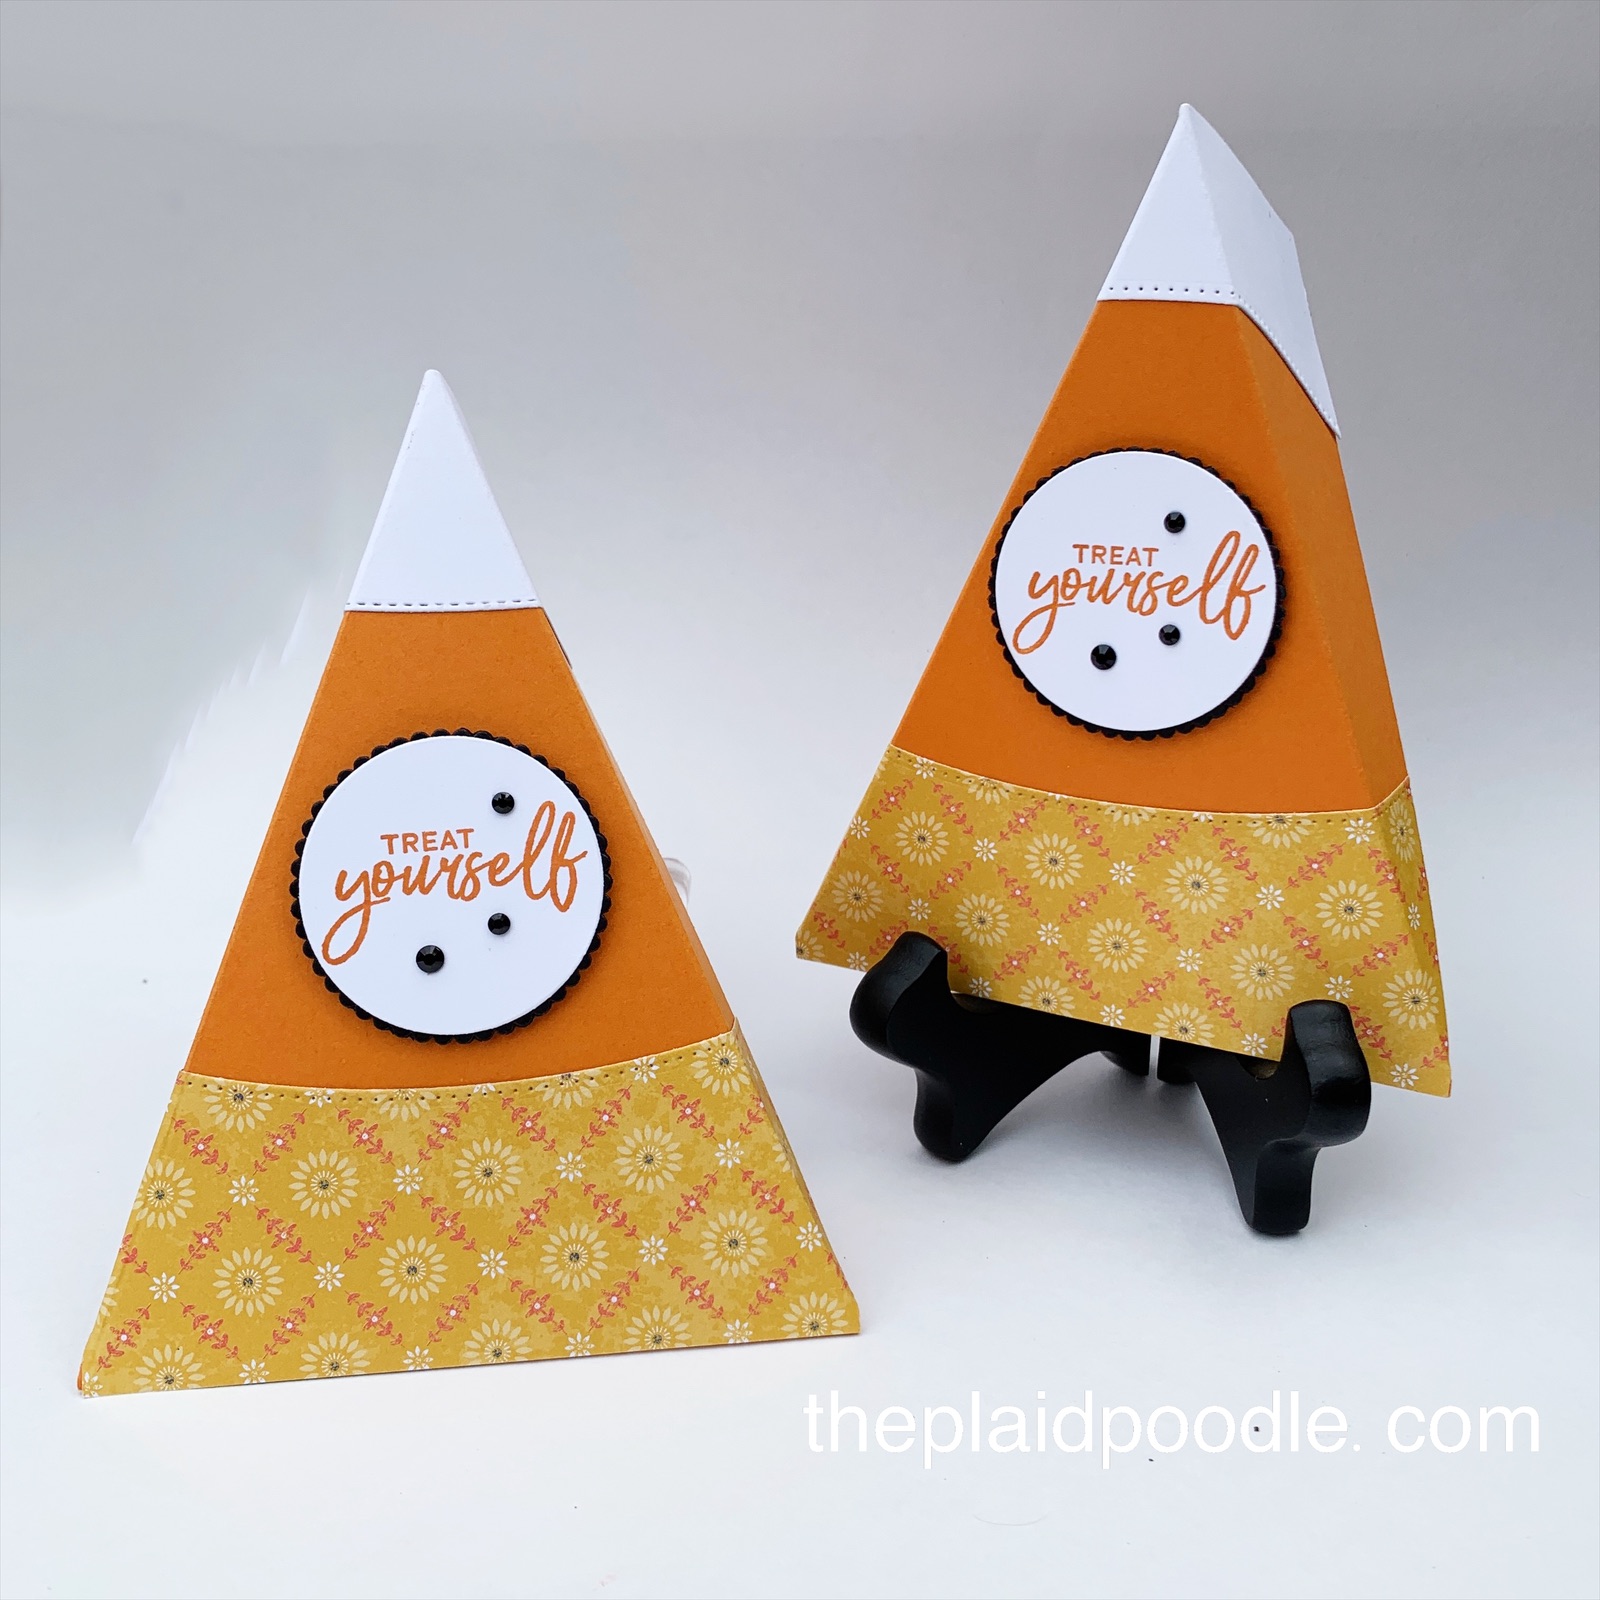
The Sweet Gingerbread House treat holder project I’m sharing with you today is the cutest! The box measures 1-1/2″ square and 1-3/4″ tall. It’s an excellent size for gifting small candies. The floating “Have a sweet Christmas” greeting is my favorite thing about the Sweet Gingerbread House.
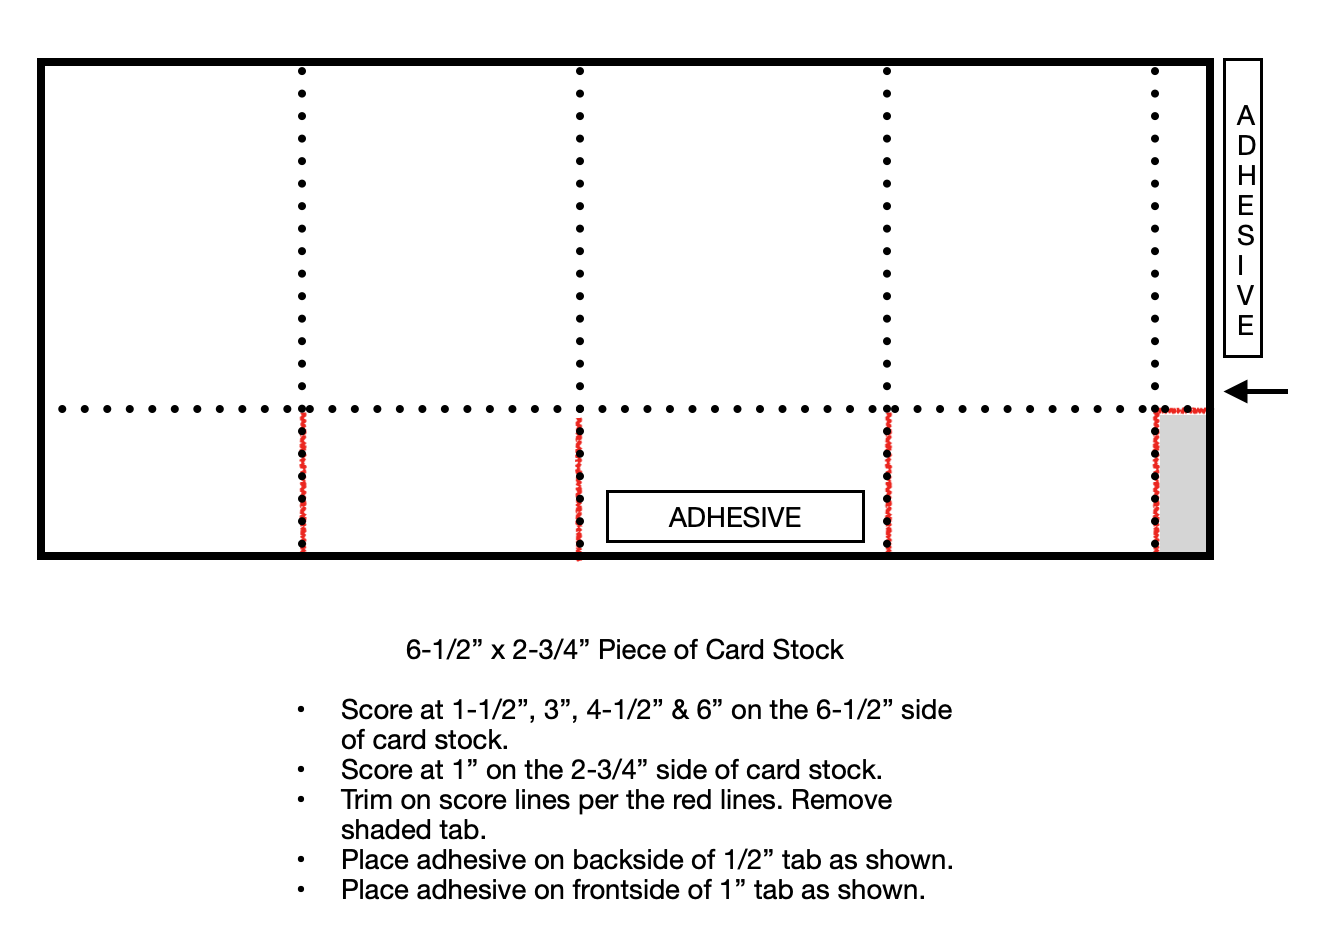
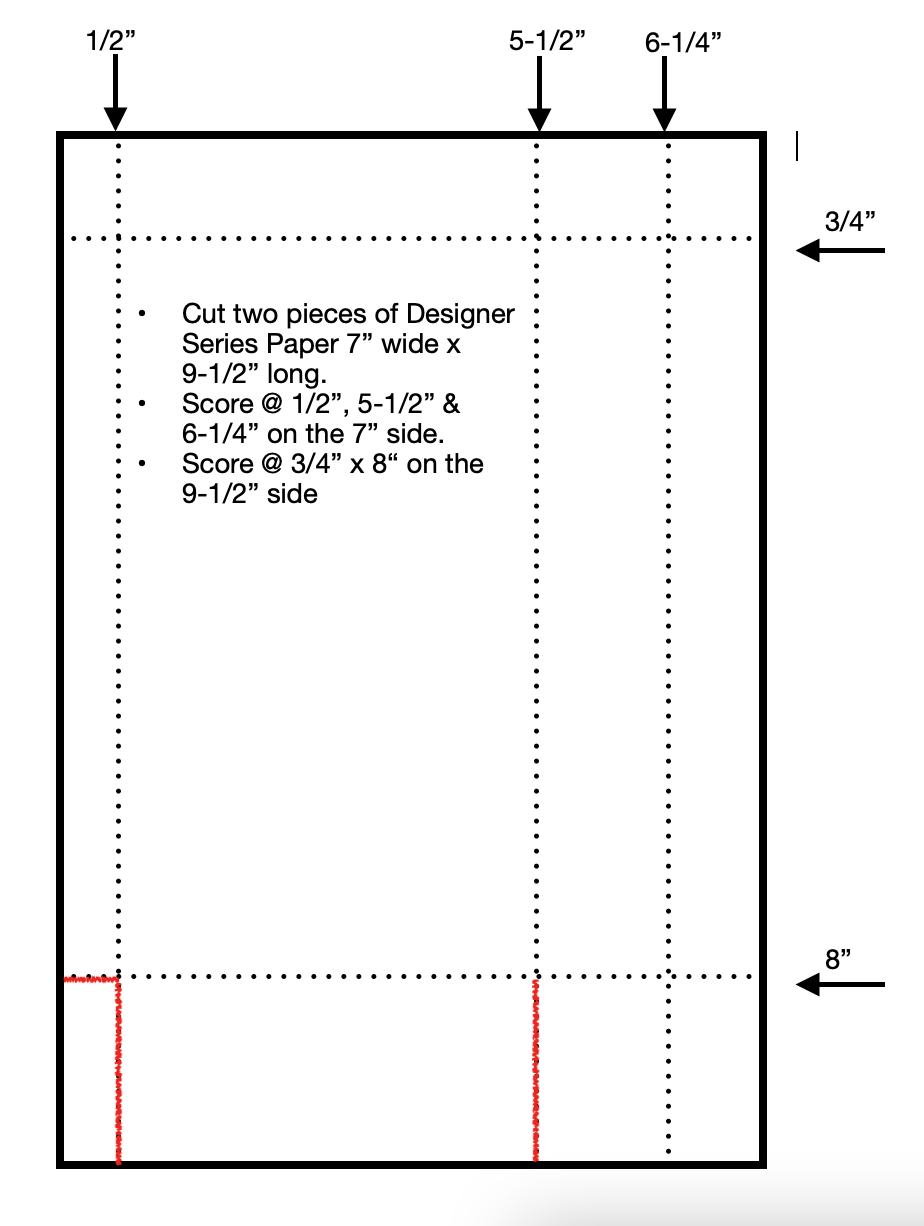
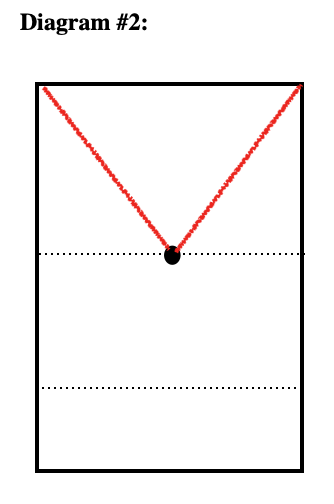
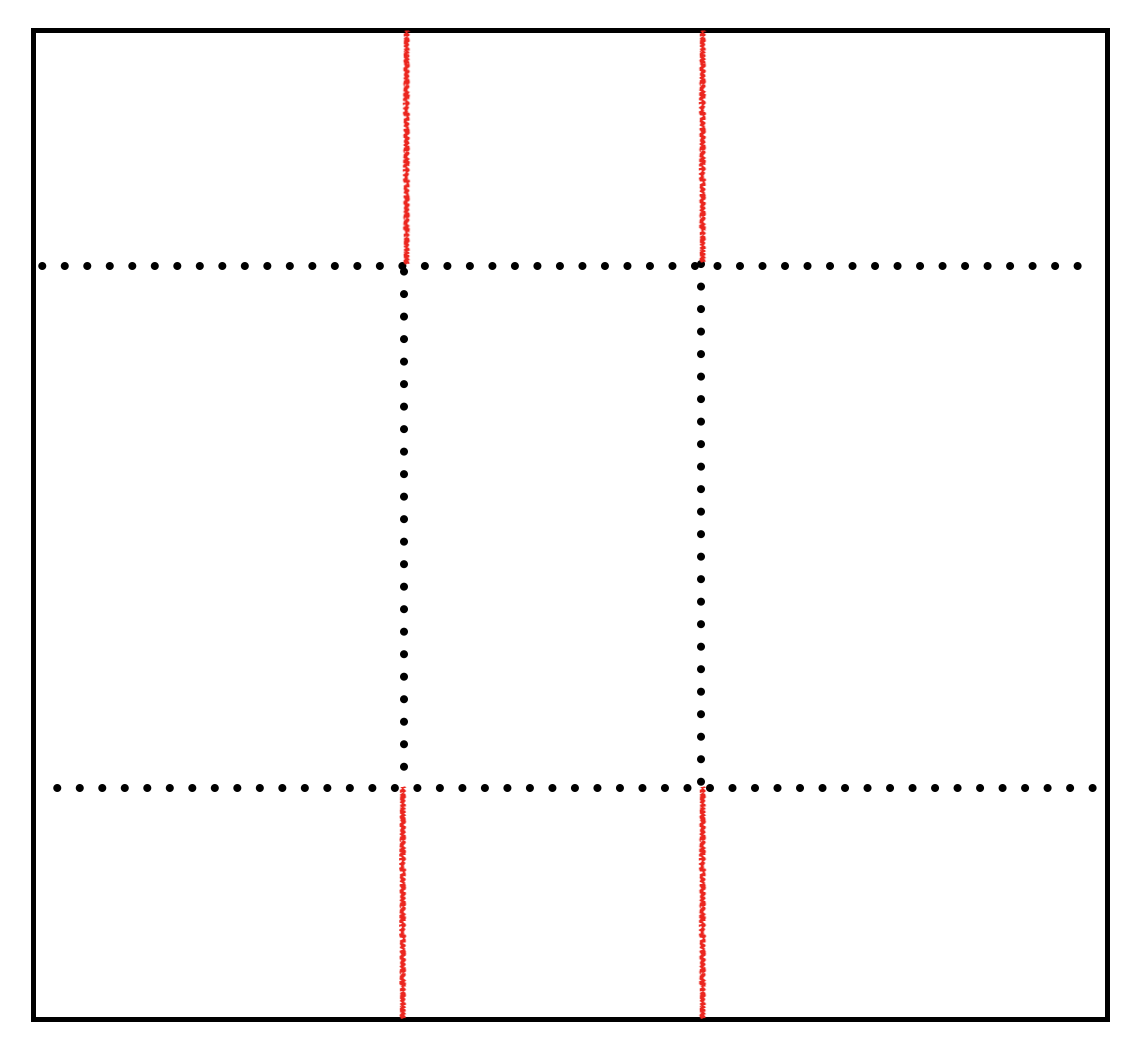
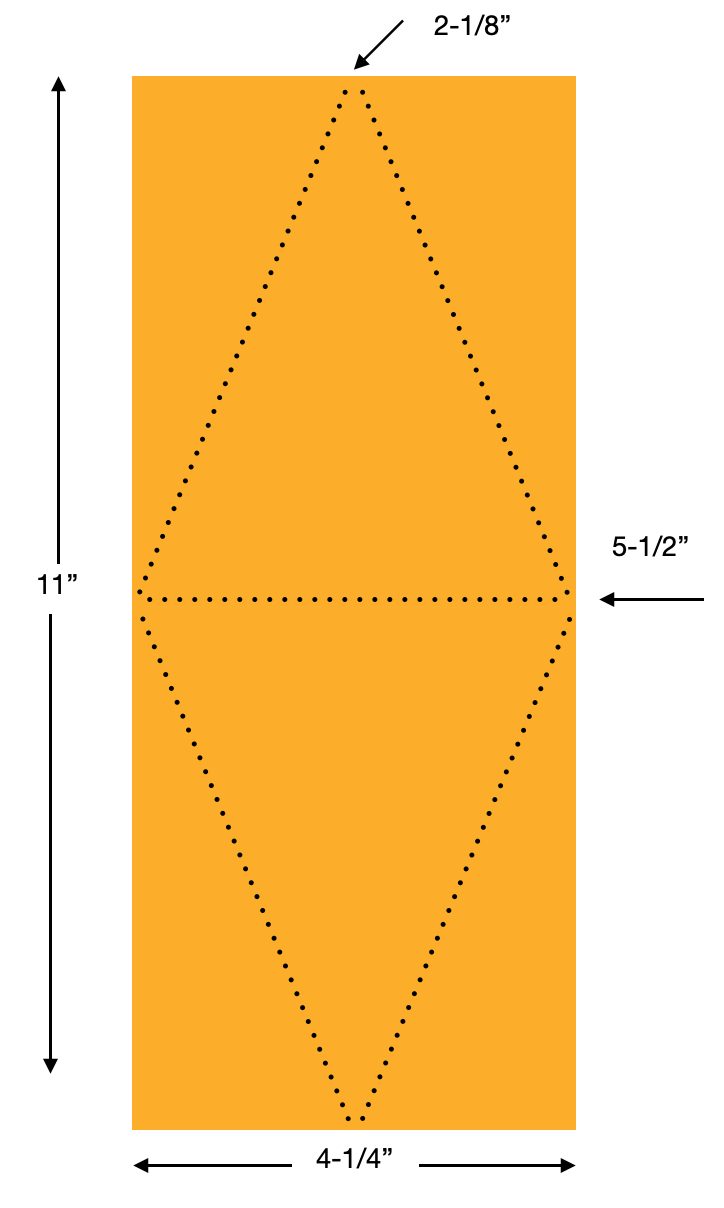
To make the box for the Sweet Gingerbread House you will need a piece of card stock that measures 6-1/2″ x 2-3/4″. Score the 6-1/2″ side at 1-1/2″, 3″, 4-1/2″ & 6″. Score the 2-3/4″ side at 1″. Trim box tabs per this diagram, add your favorite strong adhesive, and assemble the box.
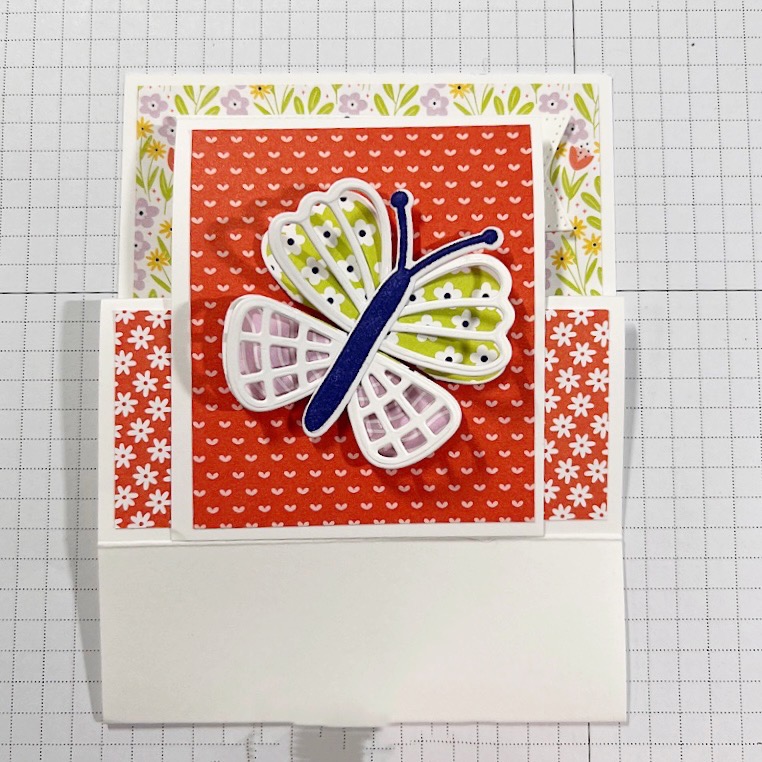
Once the box is complete it’s time to decorate the Sweet Gingerbread treat holder! I used Crumb Cake, Flirty Flamingo, and Coastal Cabana inks to stamp the doors, windows, and gumdrops. I also heat embossed the cute filigree image onto the front of my house using white embossing powder.
")
")


")


")
")


 Gingham Ribbon")


")
")
")


")


")
")
")

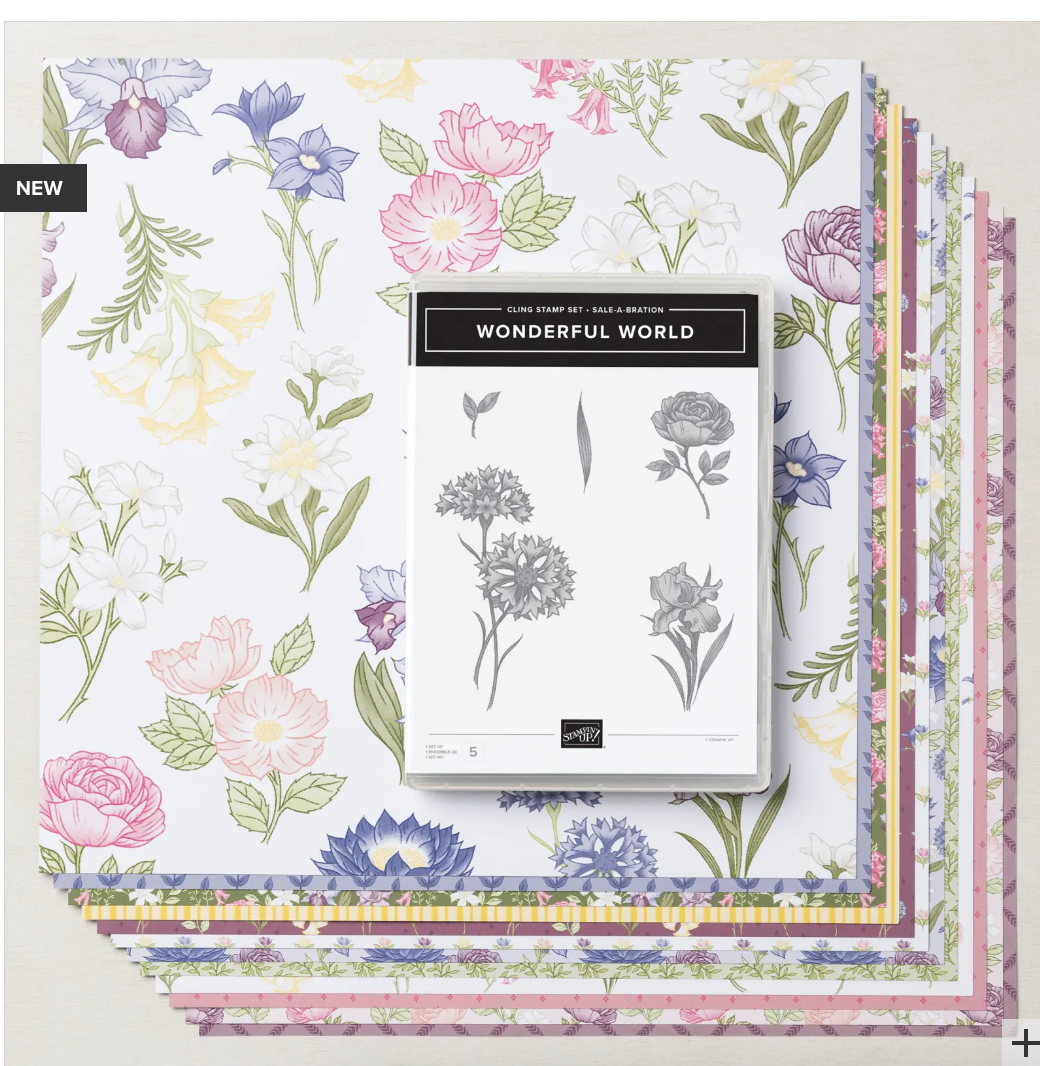
 Designer Series Paper")


 Designer Series Paper")

 Open Weave Ribbon")
 Gorgeous Grape Sheer Ribbon")


 2020–2022 In Color Ribbon")


 Designer Series Paper")


 Cotton Ribbon Combo Pack")


")
")


")
")


 Designer Series Paper")


 Chevron Weave Ribbon")

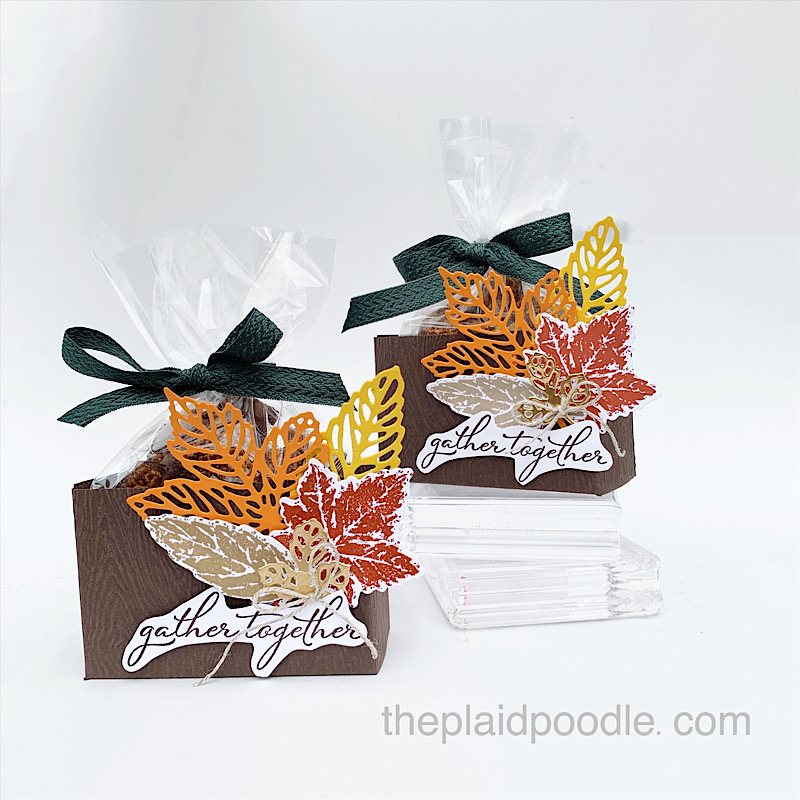
 Printed Gusseted Cellophane Bags")
")


 Designer Series Paper")