
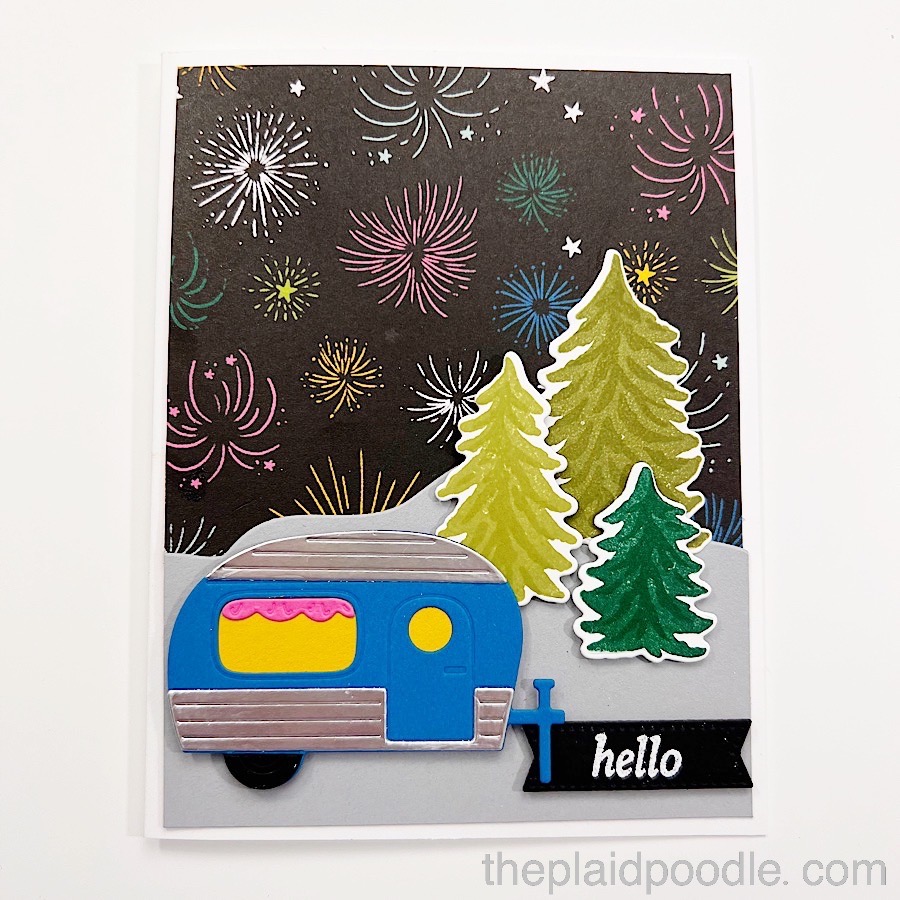
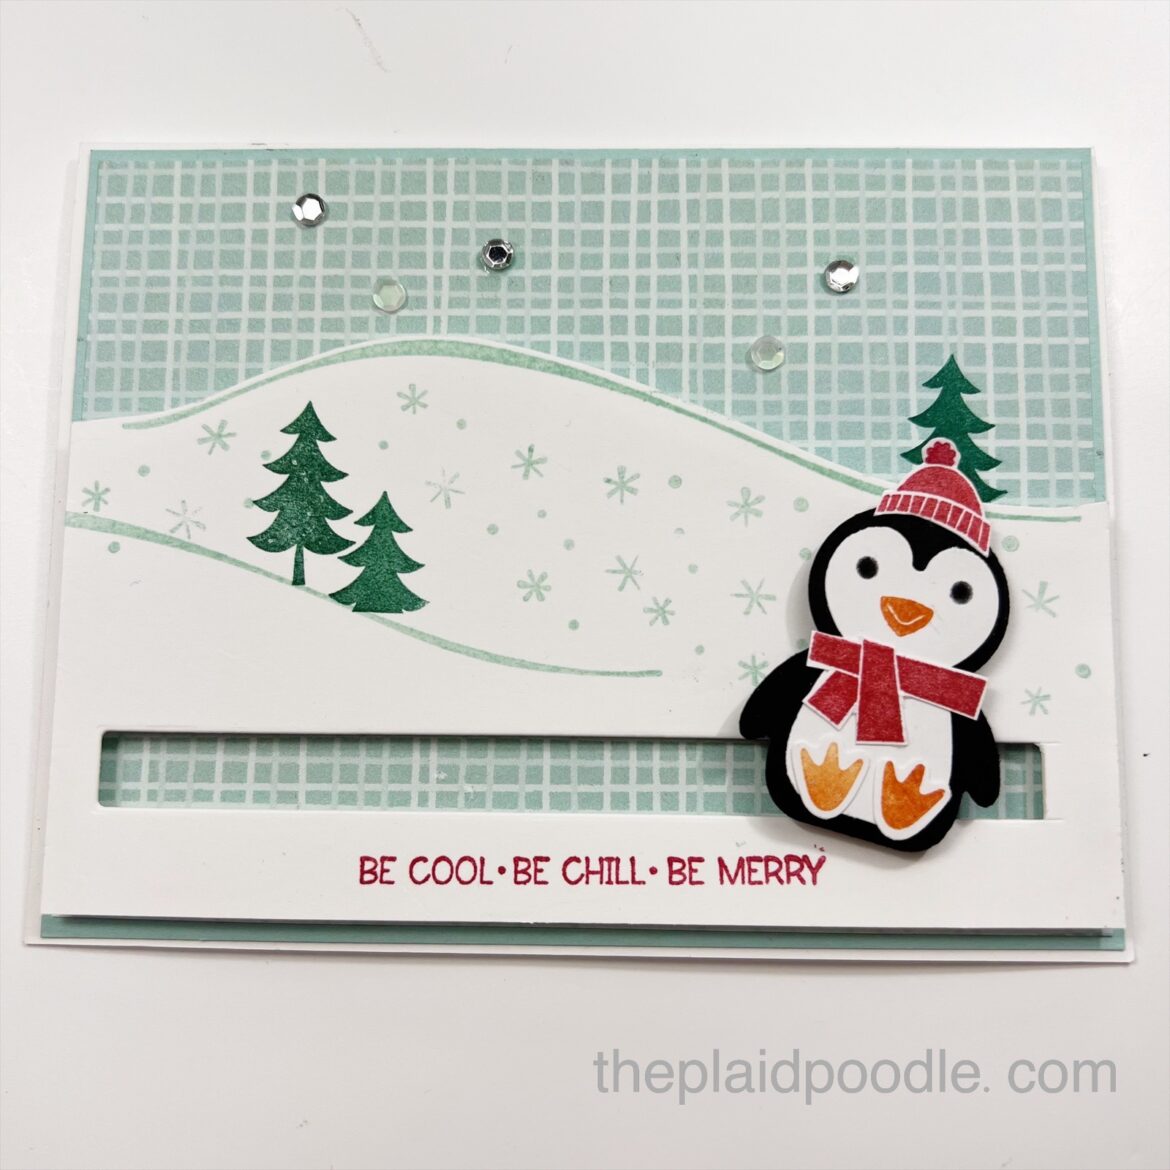
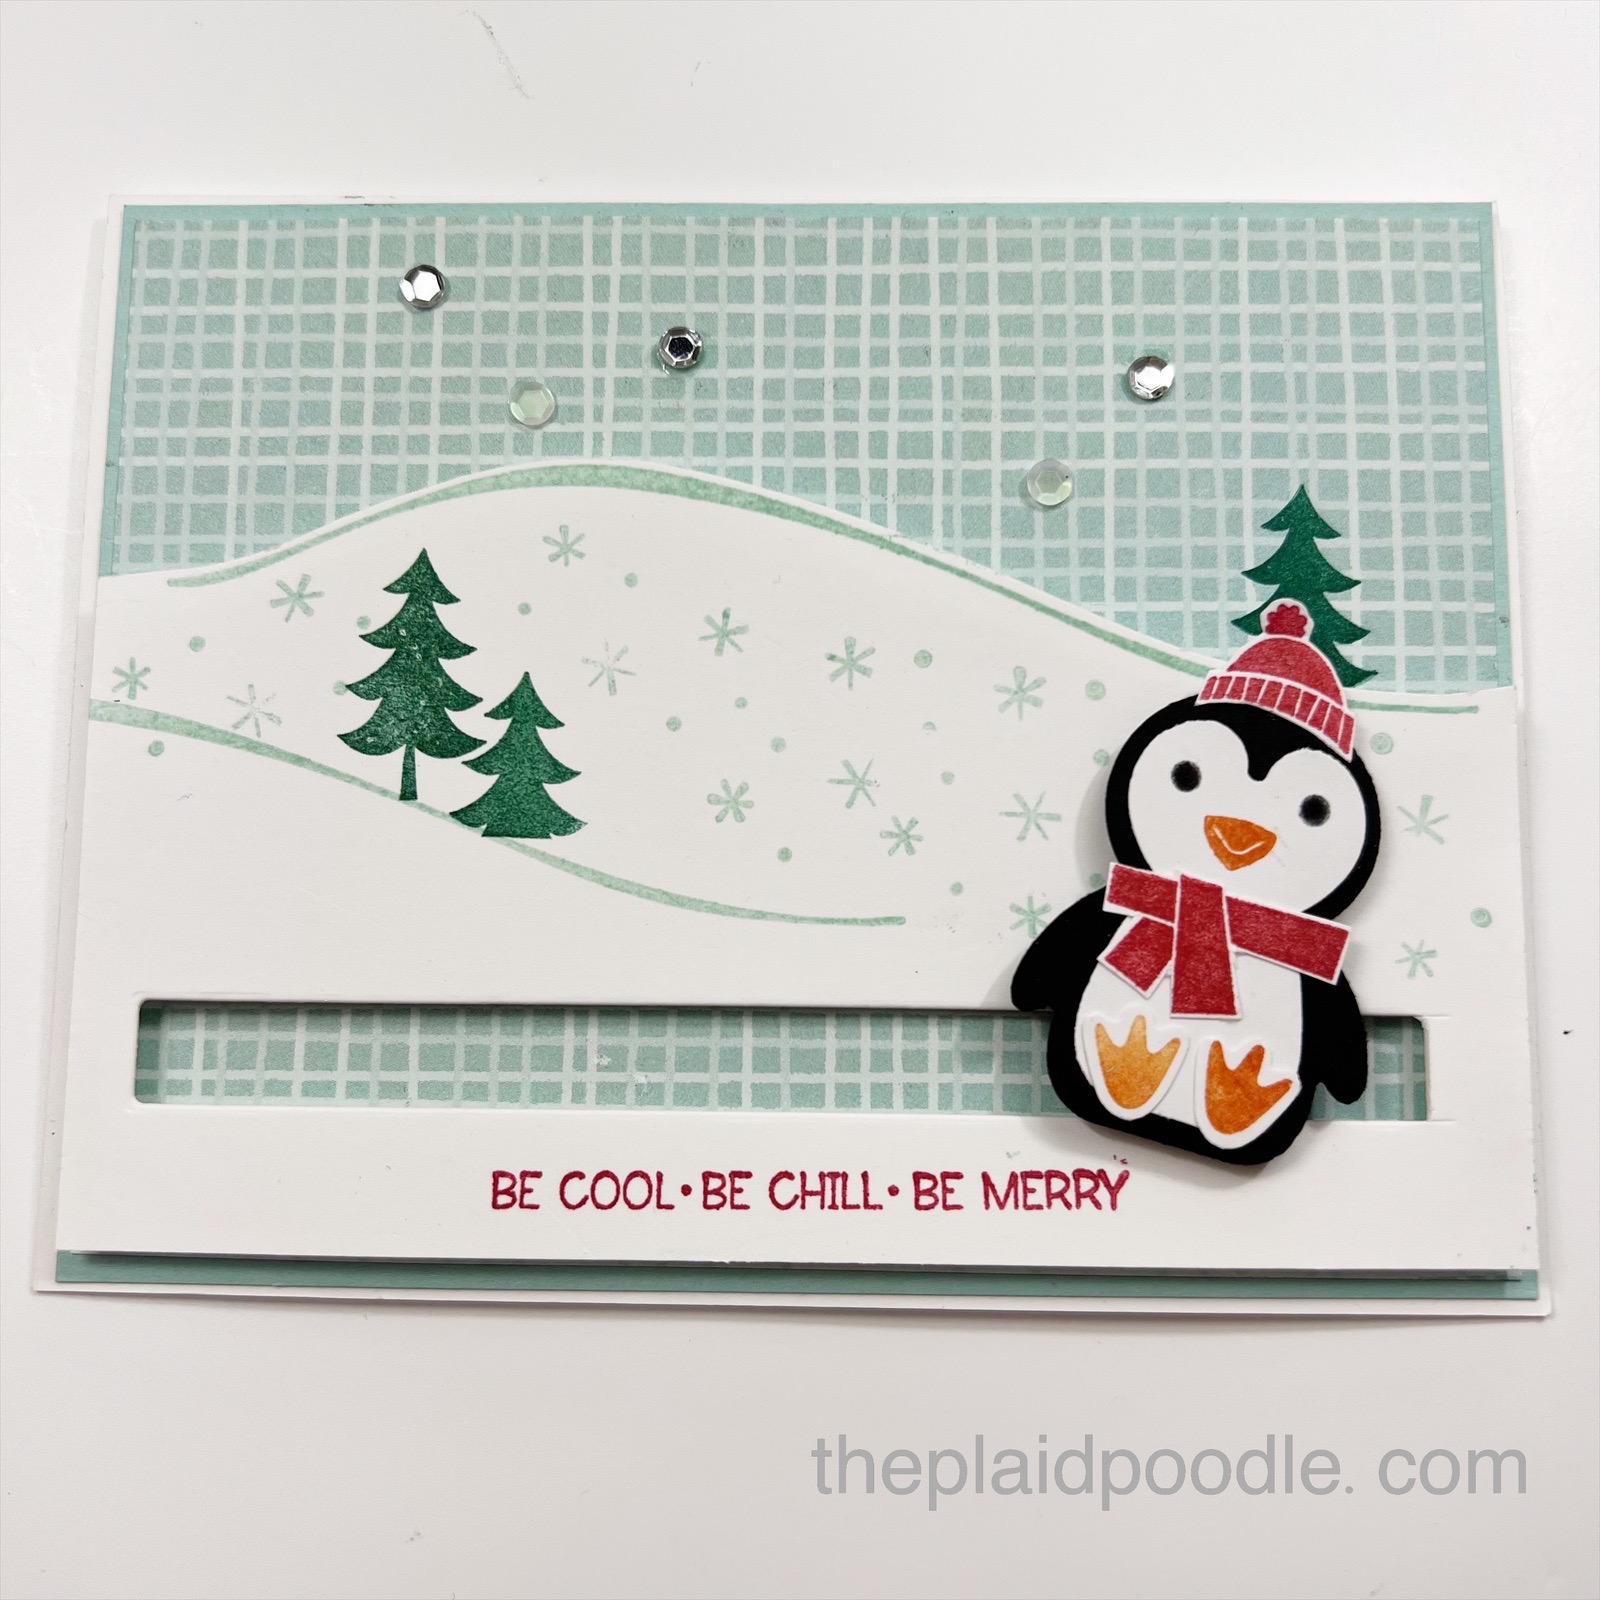
Make a Sweet Candy Canes Fun-Fold Christmas Card
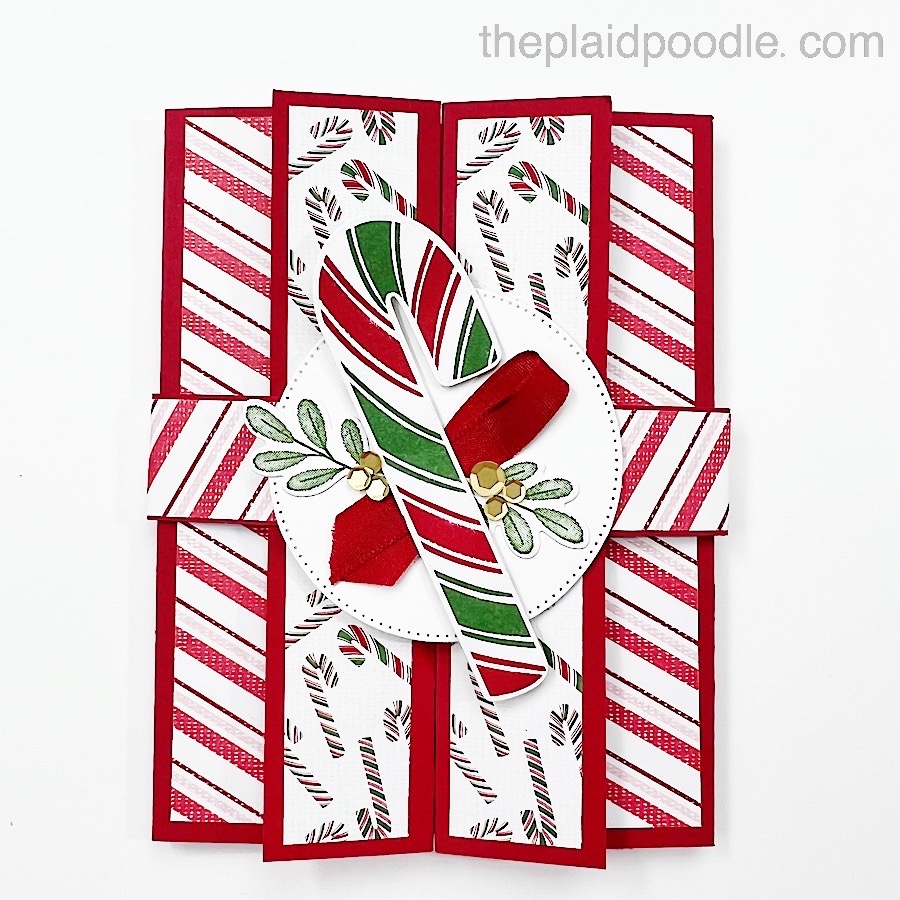
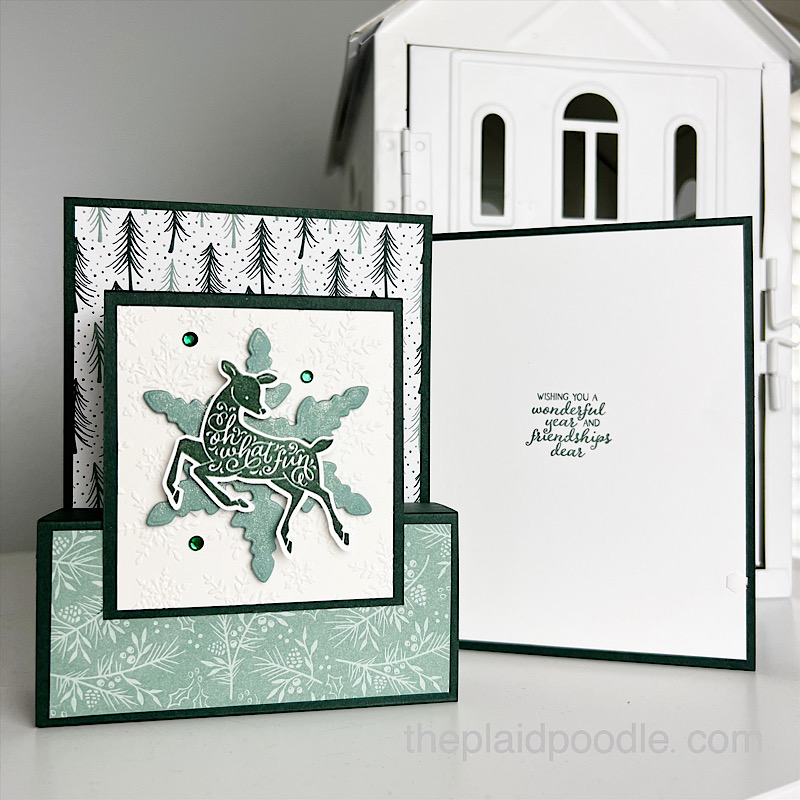
Let’s call it Christmas in July but I could not wait to make a card using the Sweet Candy Canes Bundle from Stampin’ Up! I was also in the mood for a fun-fold card today. I tried my hand at a Double Gate Fold card.
The products from the Sweetest Christmas Suite by Stampin’ Up! worked beautifully for this card. I adore how the hard work of coordinating products is already done! See the full list of products I used to make this fun-fold Christmas card below.
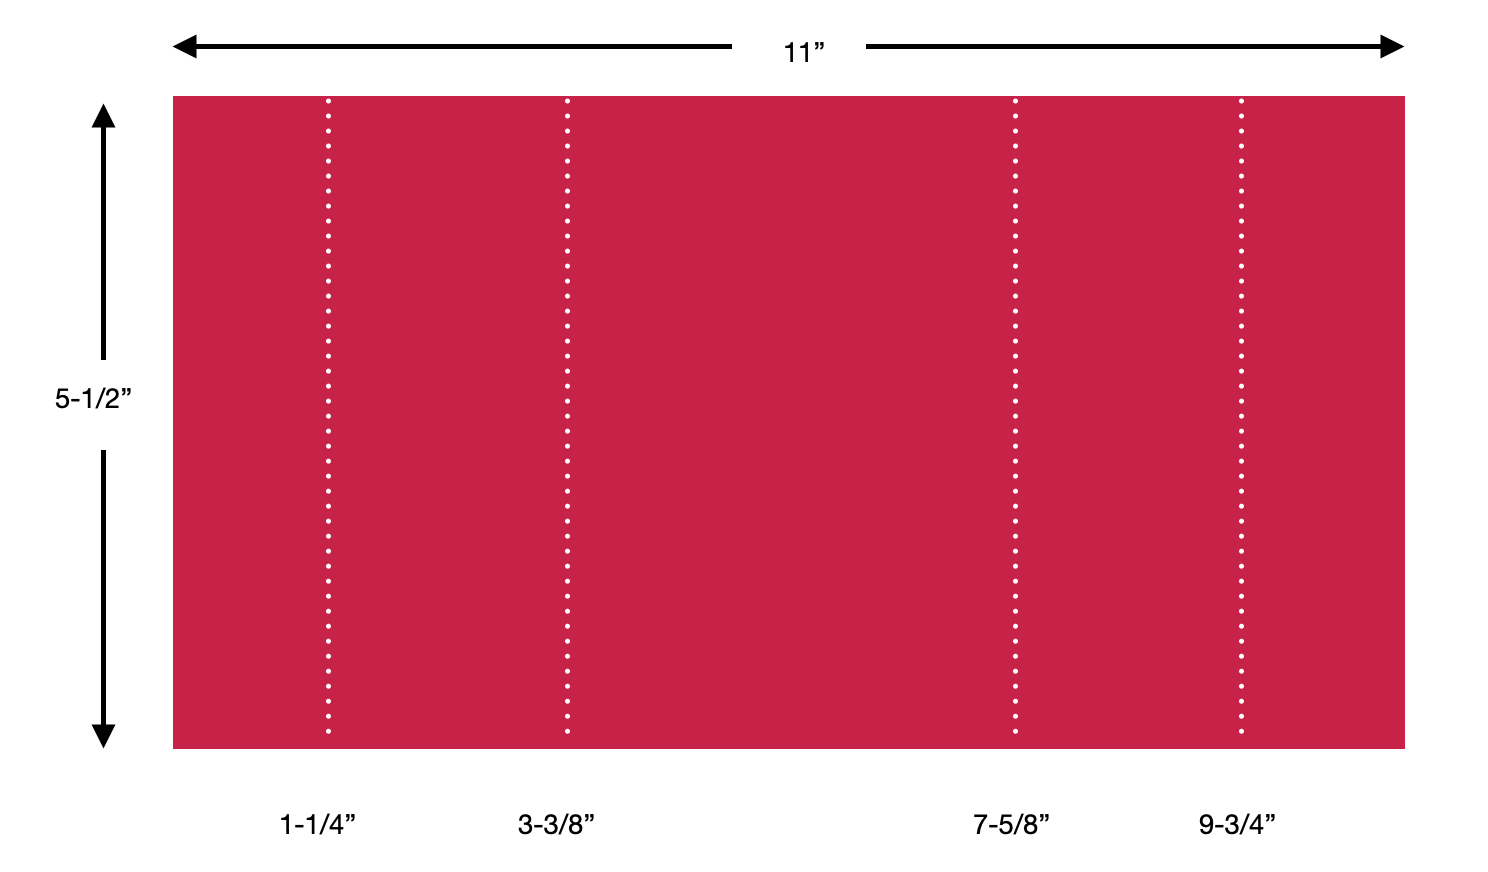
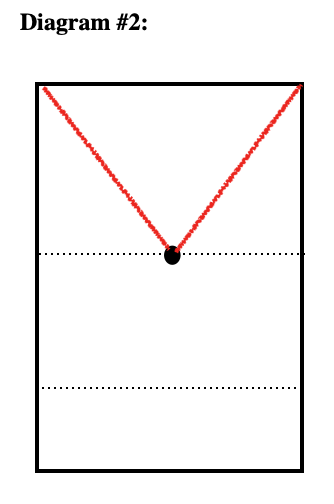
Cutting & Scoring Guide
- Real Red Cardstock = 11″ x 5-1/2″ scored at 1-1/4″, 3-3/8″, 7-5/8″ and 9-3/4″
- Sweetest Christmas Designer Series Paper = two pieces 5-1/4″ x 1-3/4″ and two pieces 5-1/4″ x 1″
- Belly Band = 11″ x 1″ Real Red cardstock and 11″ x 7/8″ Sweetest Christmas Designer Series Paper.
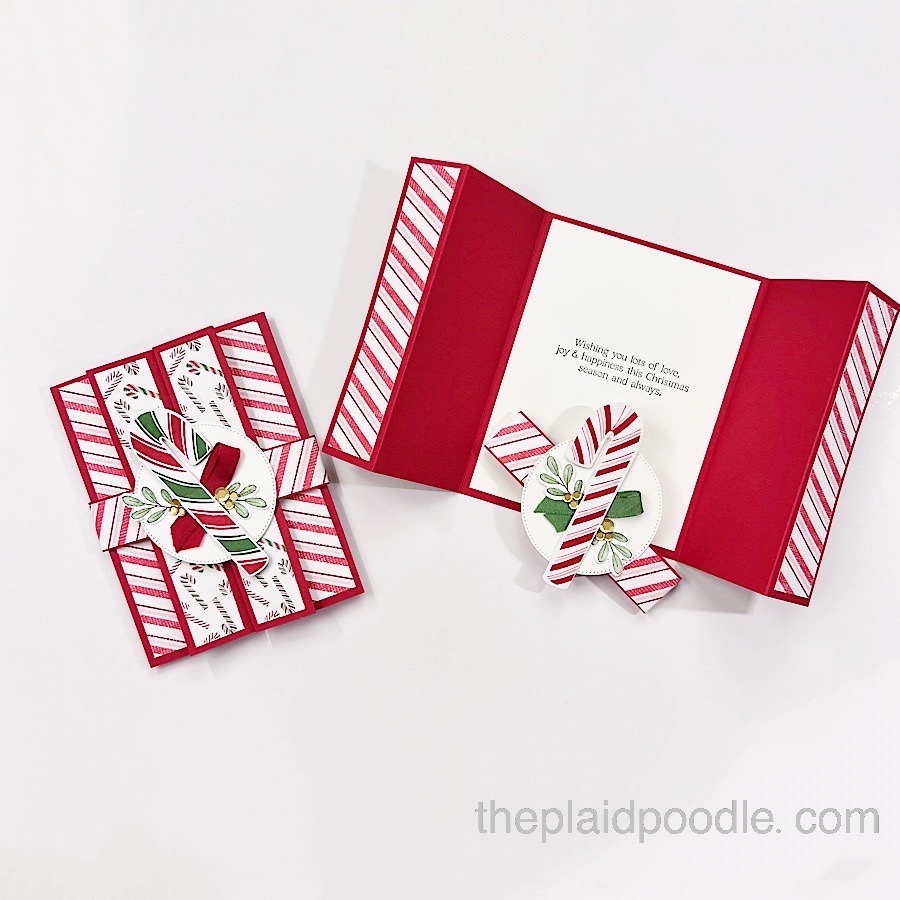
- Card Insert = 4″ x 5-1/4″ Basic White
")
")


 Designer Series Paper")

 Ribbon Combo Pack")


")


 Designer Series Paper")

 Open Weave Ribbon")
 Gorgeous Grape Sheer Ribbon")


 2020–2022 In Color Ribbon")


 Designer Series Paper")


 Cotton Ribbon Combo Pack")

")

")
")


 Specialty Designer Series Paper")
 Designer Series Paper")


 Designer Series Paper")


 Grosgrain Ribbon")


 Designer Series Paper")


")
")


 Designer Series Paper")


")
")


 Designer Series Paper")


")
")
")


 Sheer Ribbon")

")


 Chevron Weave Ribbon")


 Specialty Designer Series Paper")
