12 Weeks of Christmas Snowman Top Hat Treat Holder
Twelve Weeks of Christmas Week #1
I’m so excited to start my new Twelve Weeks of Christmas series! Each week throughout the season I will be posting a new project with full-color instructions for you to download and print for your paper crafting library! And, new this year, I’ll be including a video tutorial to go along with every Twelve Weeks project!
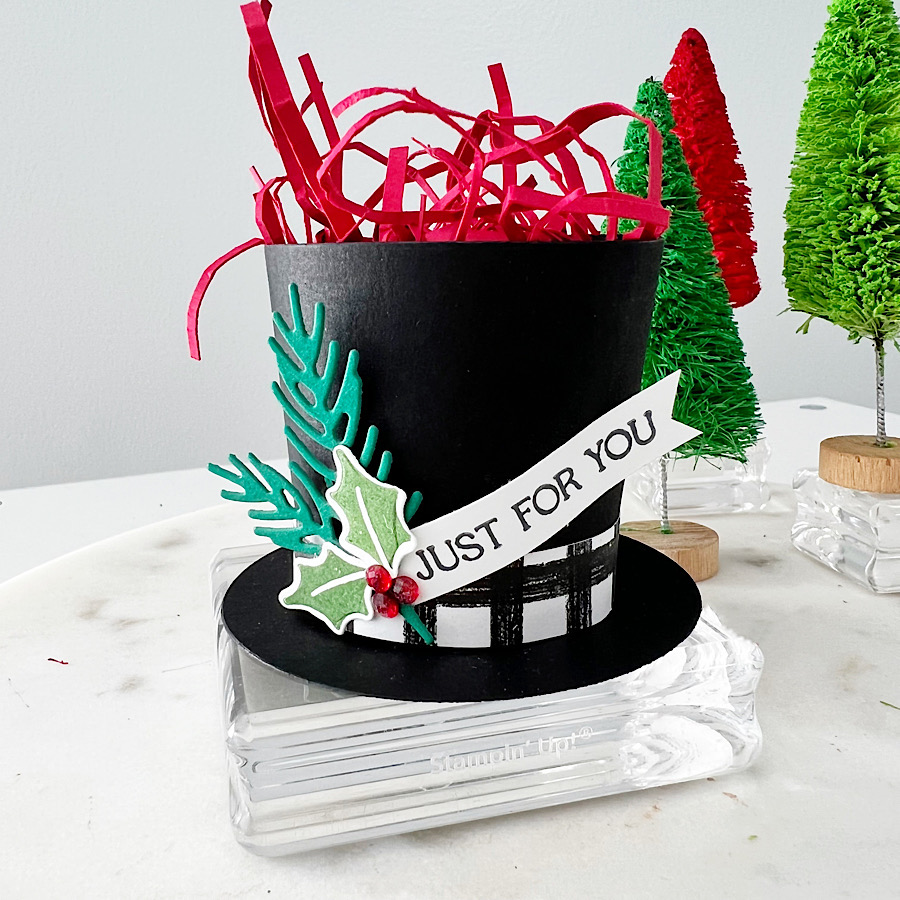
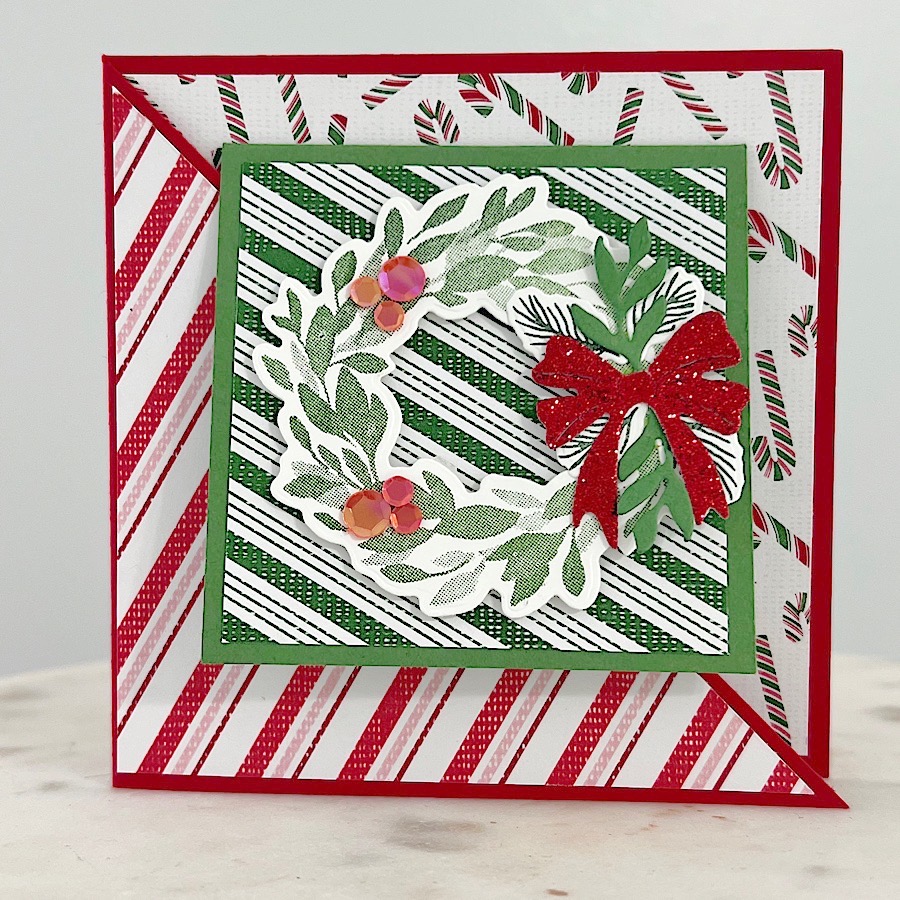
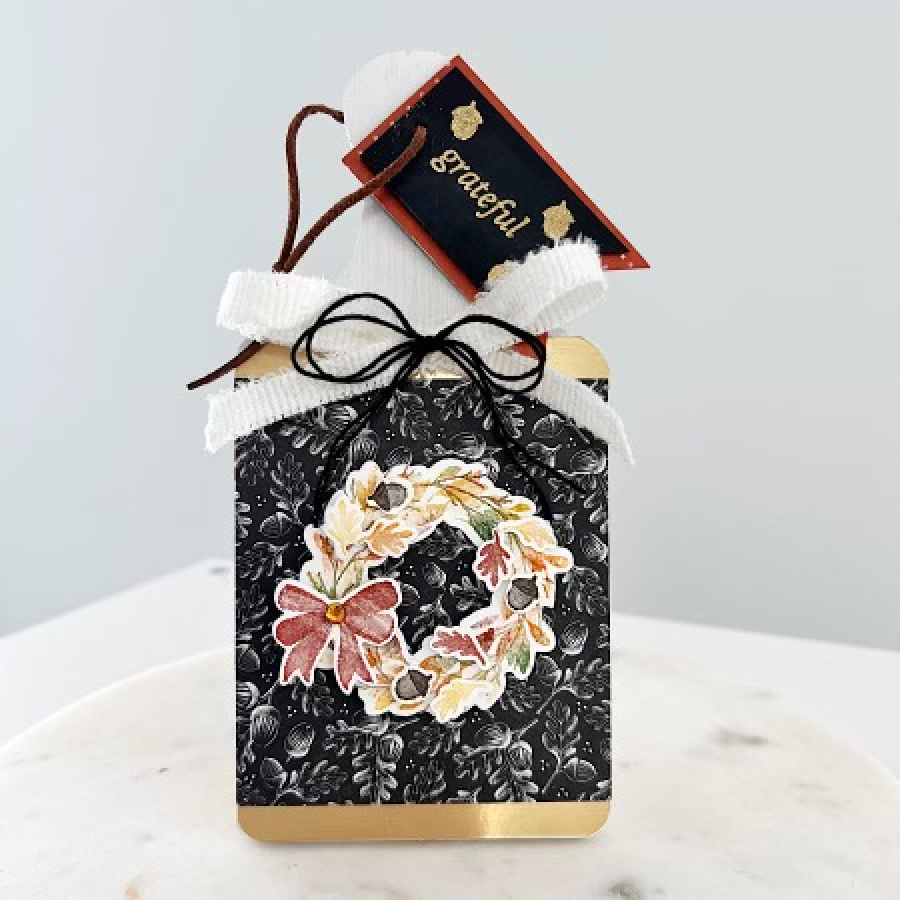
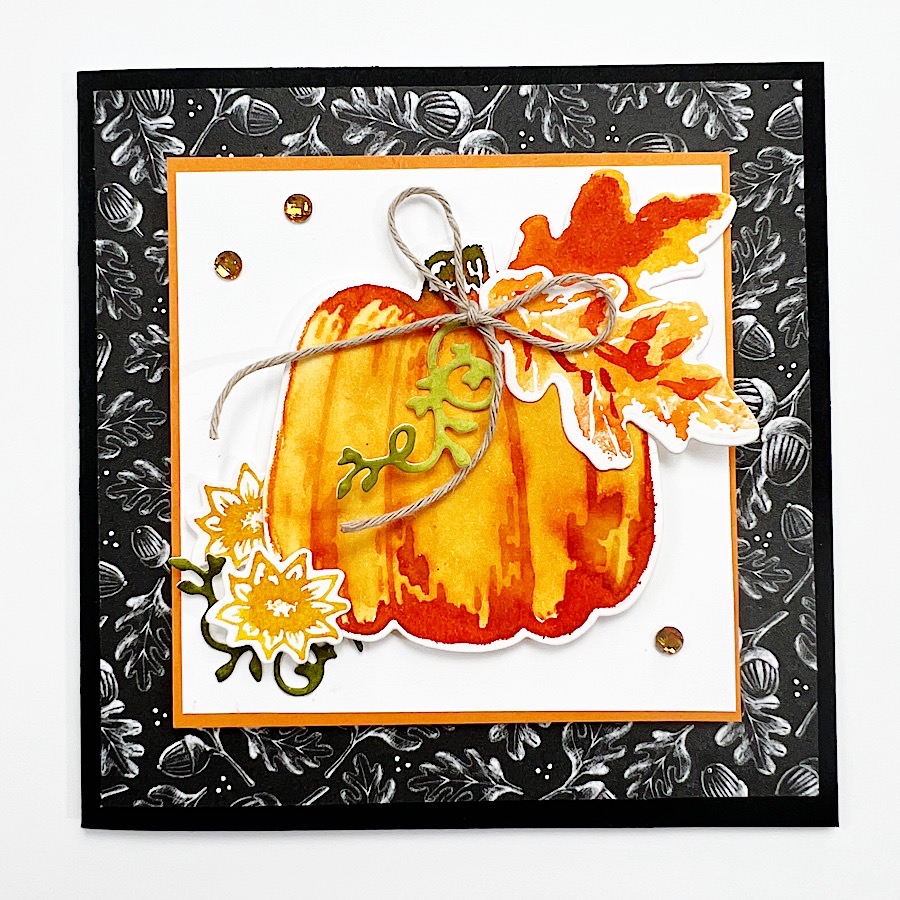
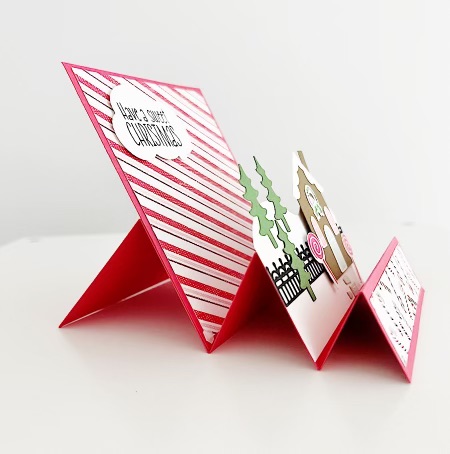
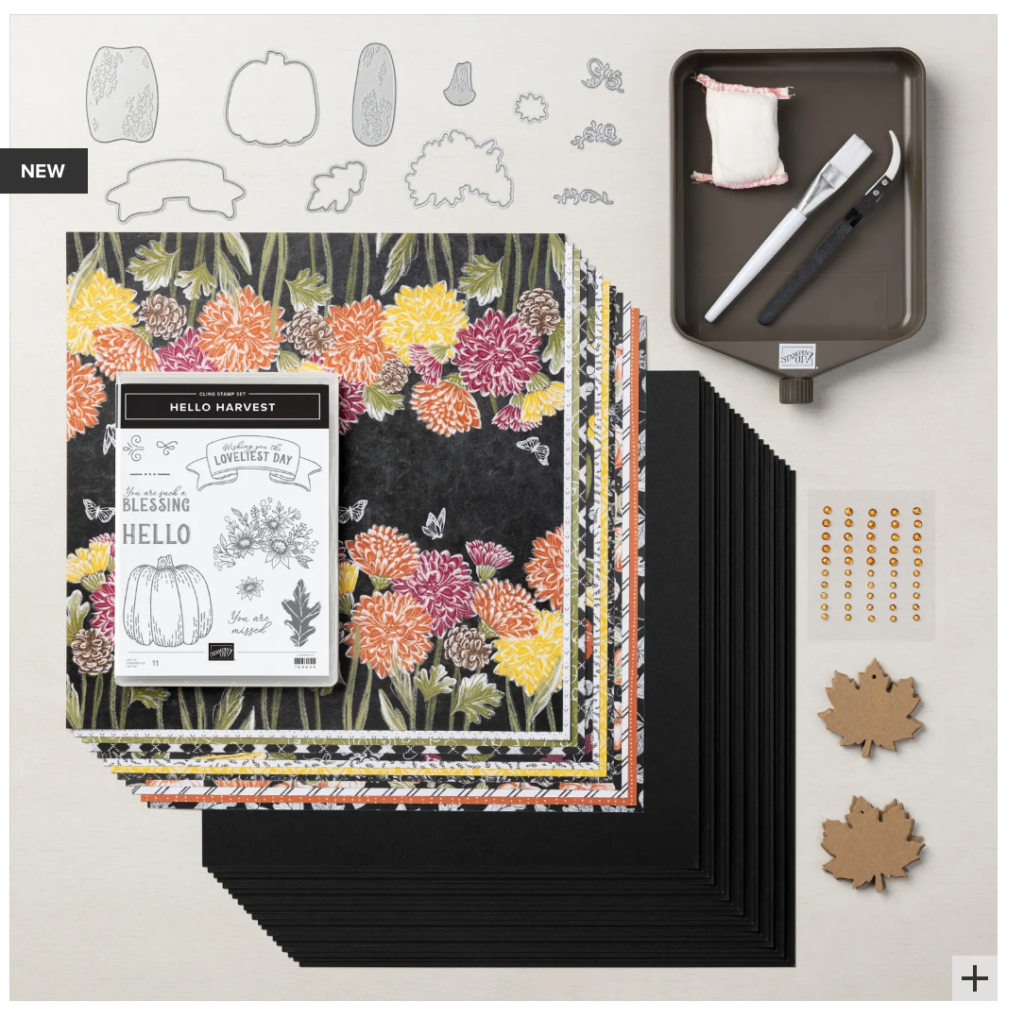
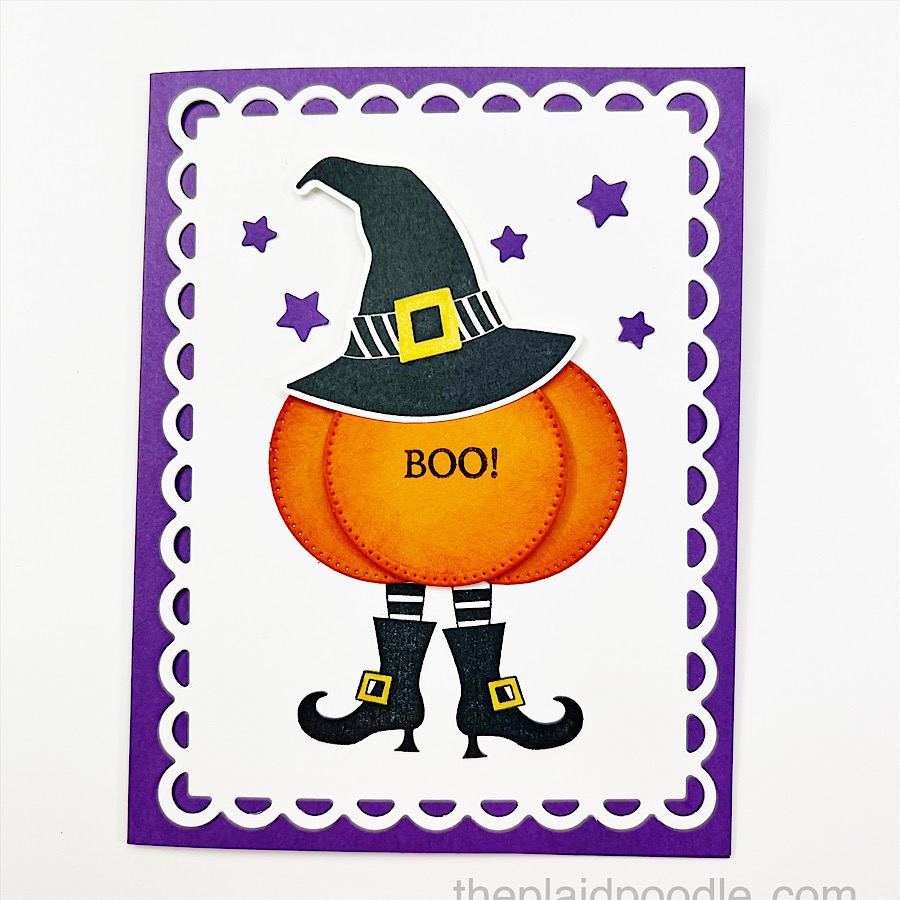
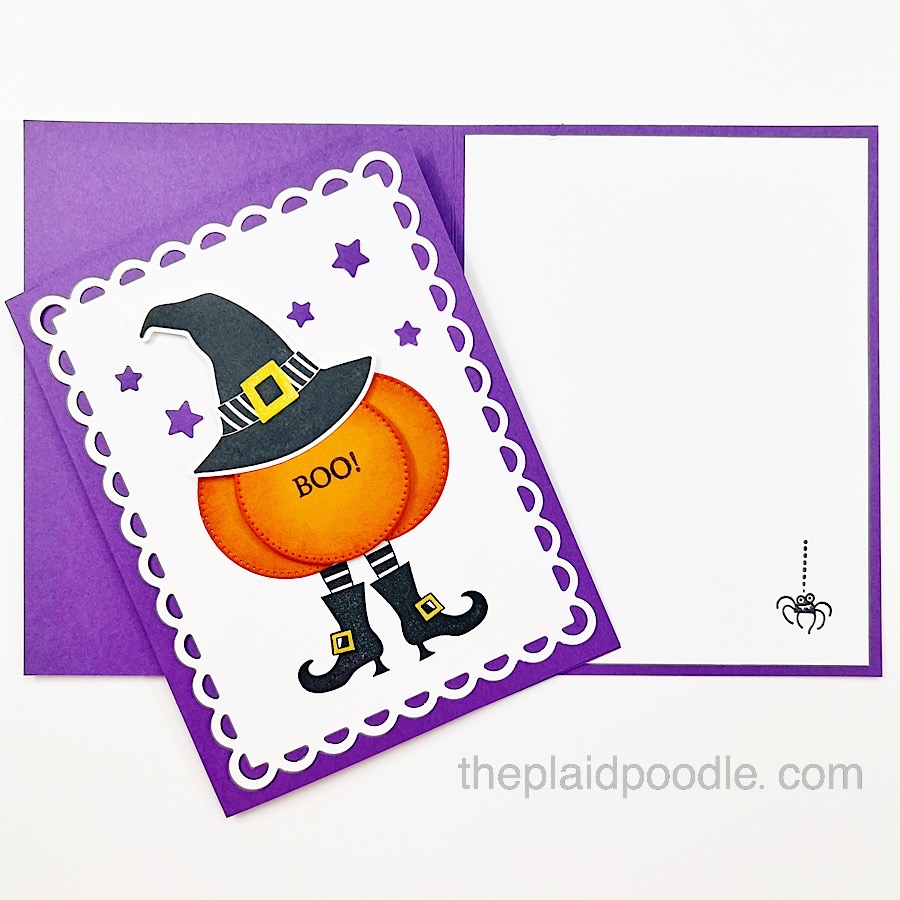
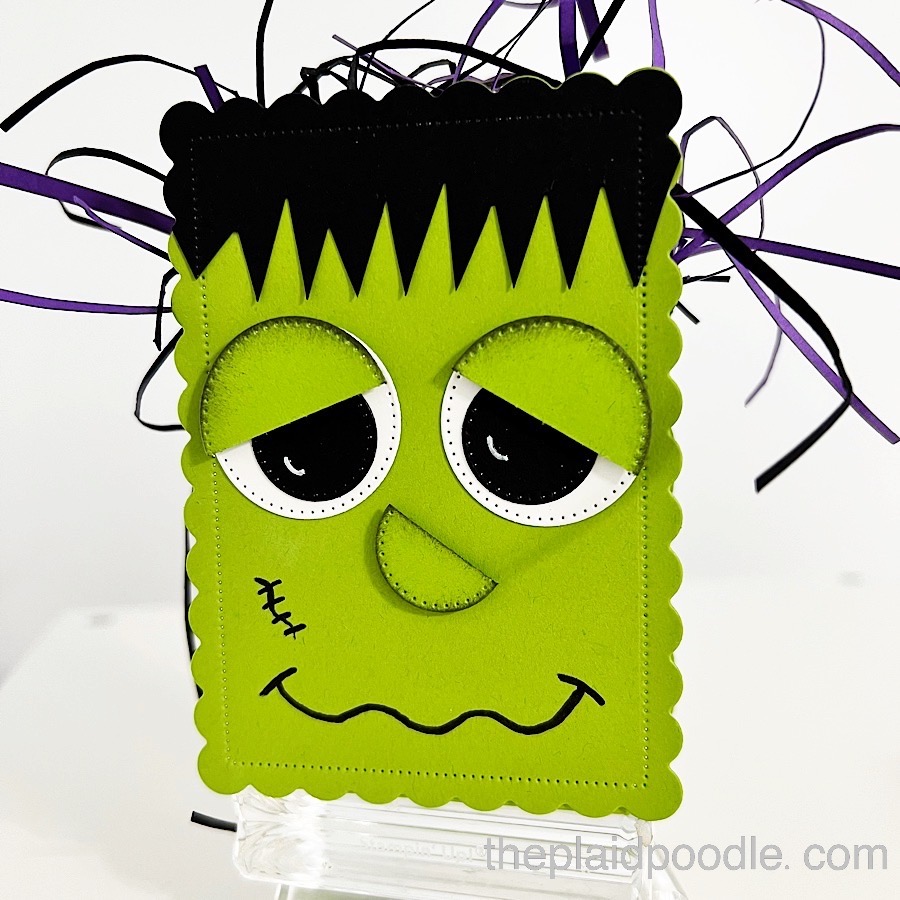
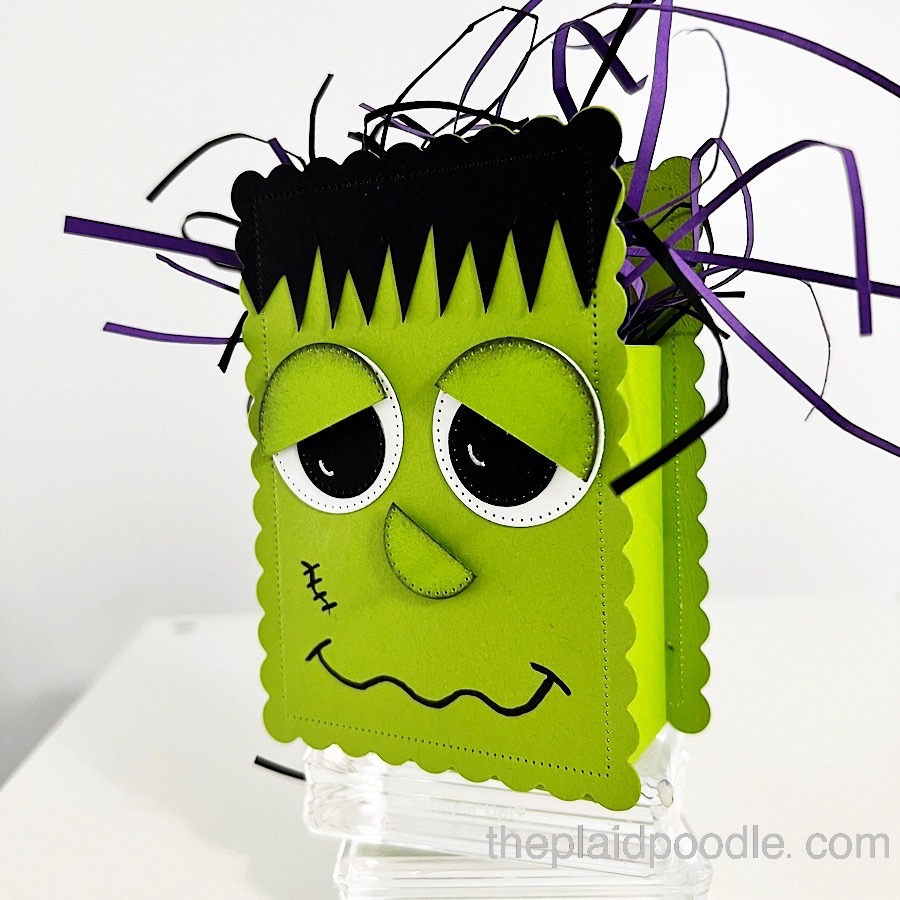
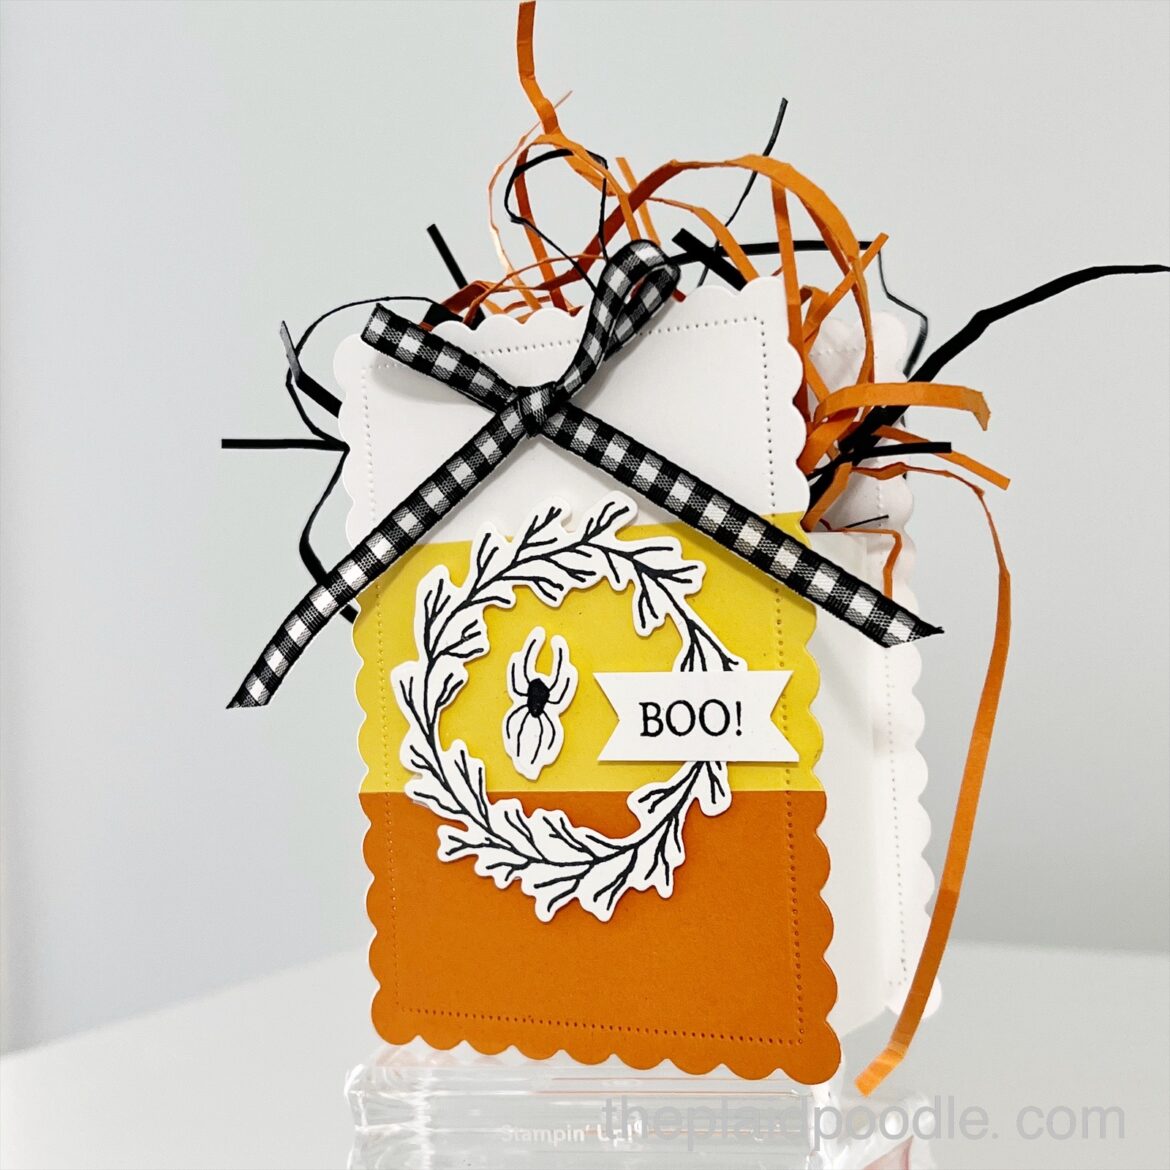
Today’s project is this sweet Snowman Top Hat Treat Holder.
These adorable treat holders measure 2″ tall by 2″ wide. They would make great party favors, dinner party placeholders, and coworker gifts. I imagine a cake plate full of them to present to your holiday guests at the dessert table.
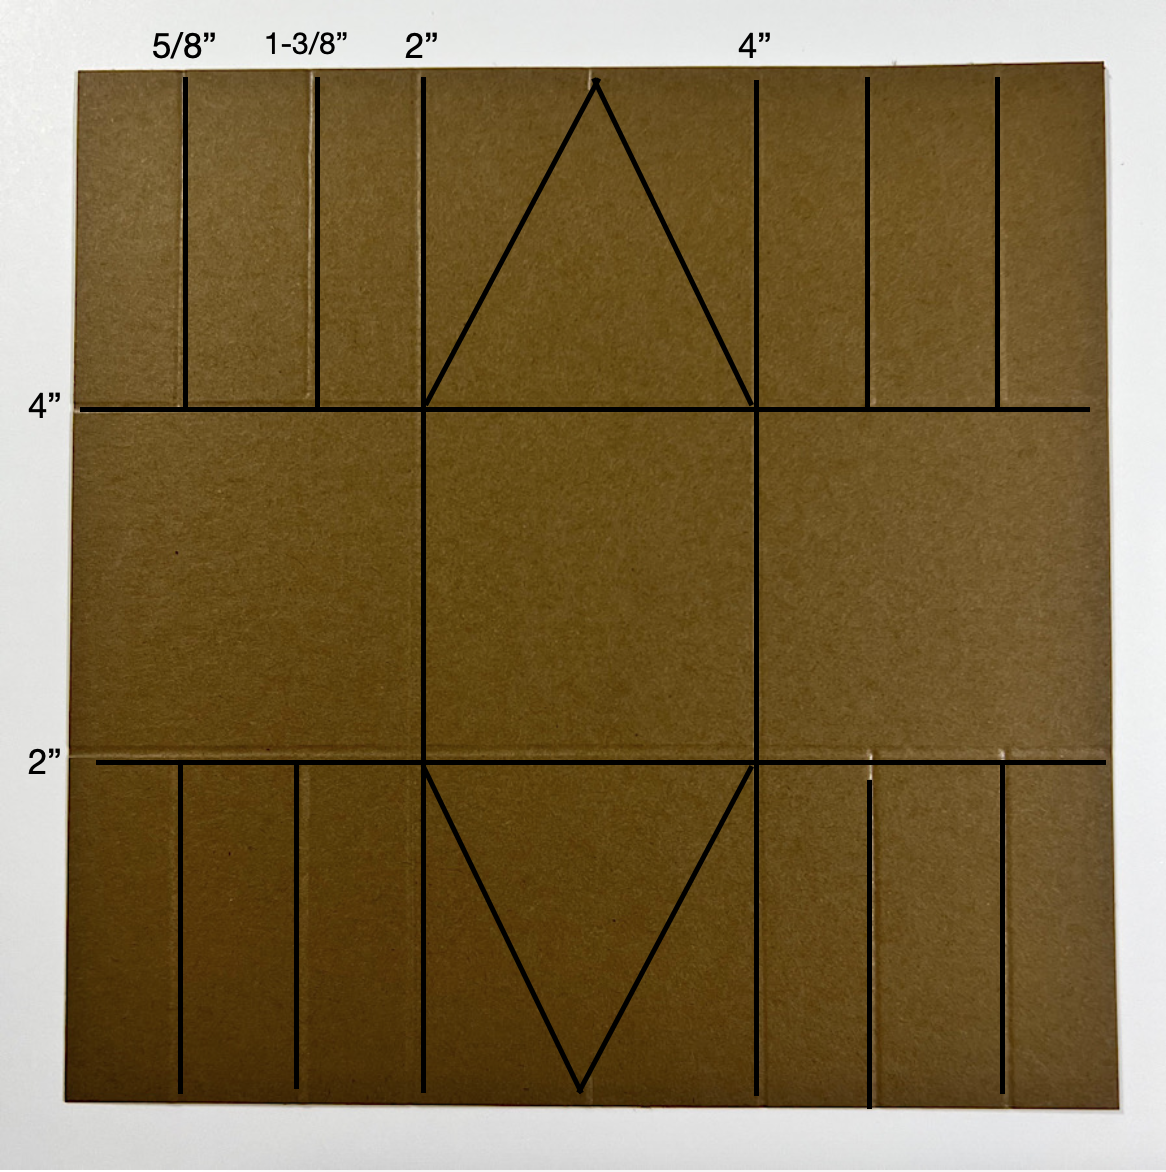
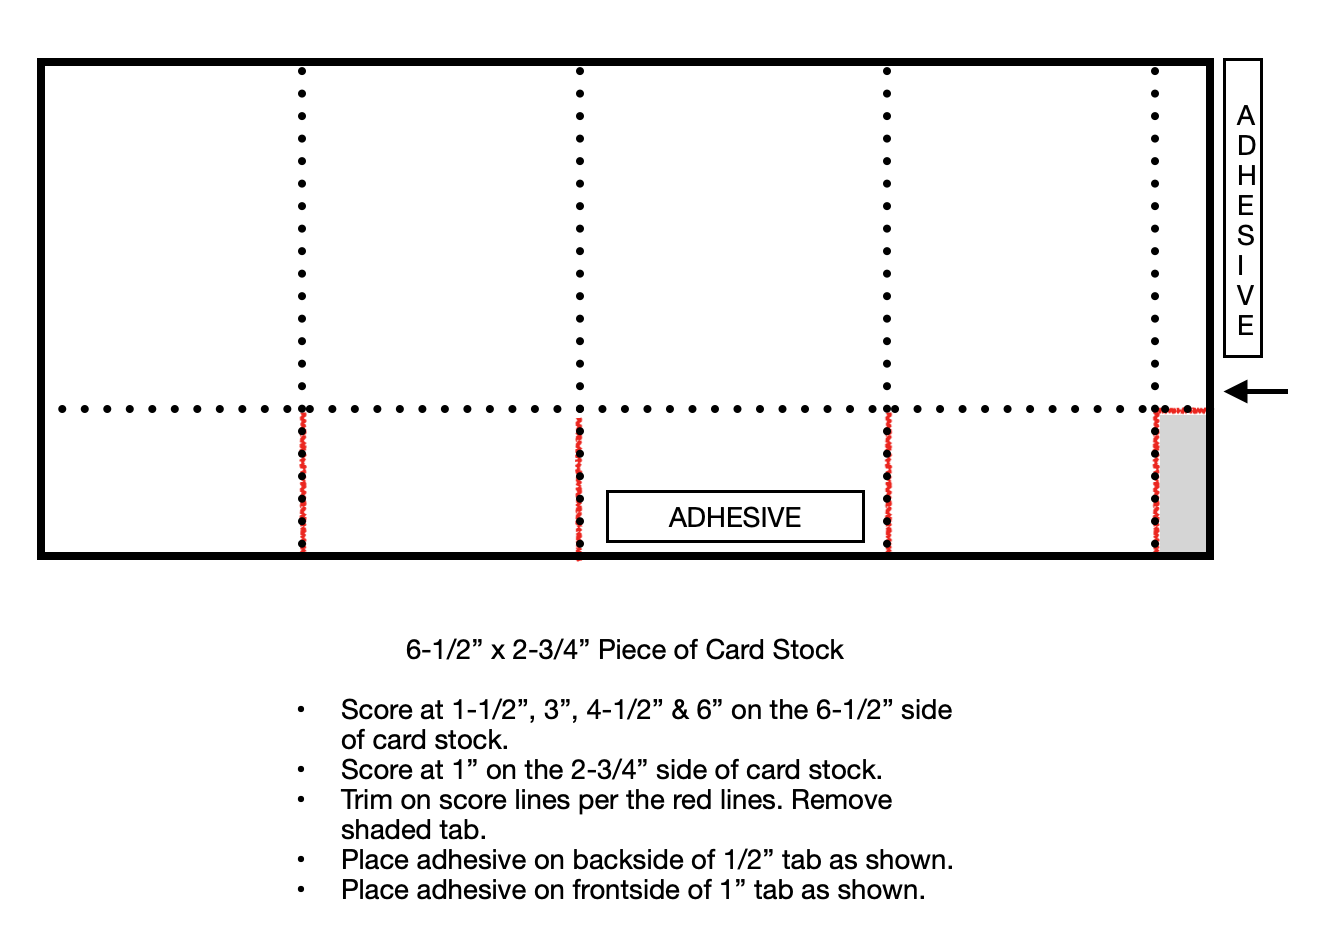
Click on the button below to view the full-color, step-by-step instructions. Feel free to download and print for your personal use.
")


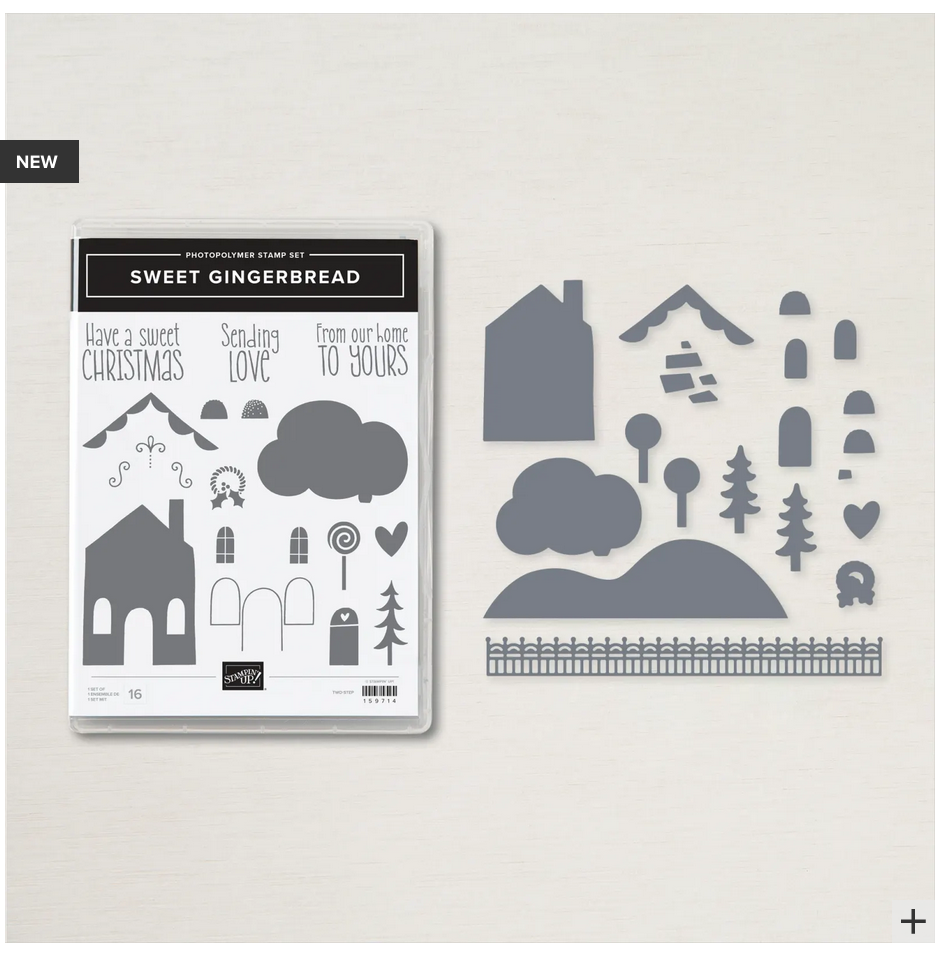
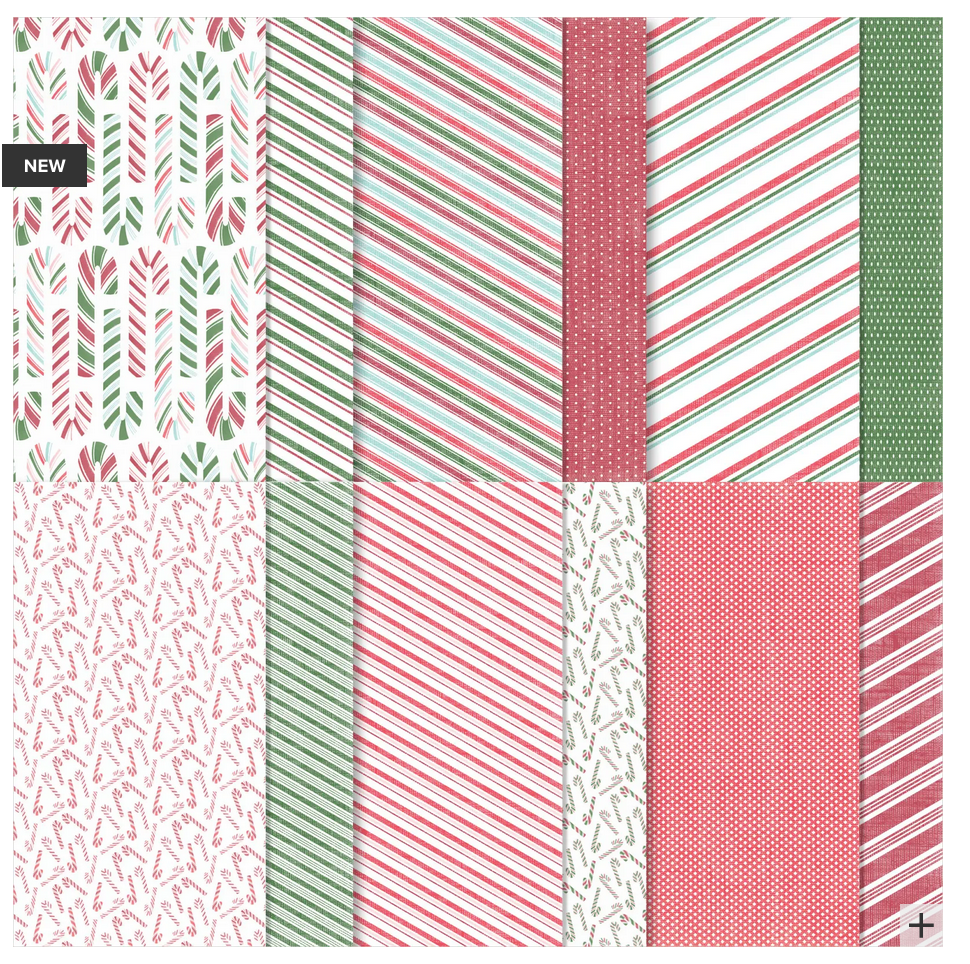
 Designer Series Paper")


")


")

 Designer Series Paper")
 Glimmer Paper")


")
")


 Designer Series Paper")


")


 Designer Series Paper")

 Frayed Ribbon")


")


")


")
")


")


")


 Gingham Ribbon")