Make a Beautiful Autumn Card
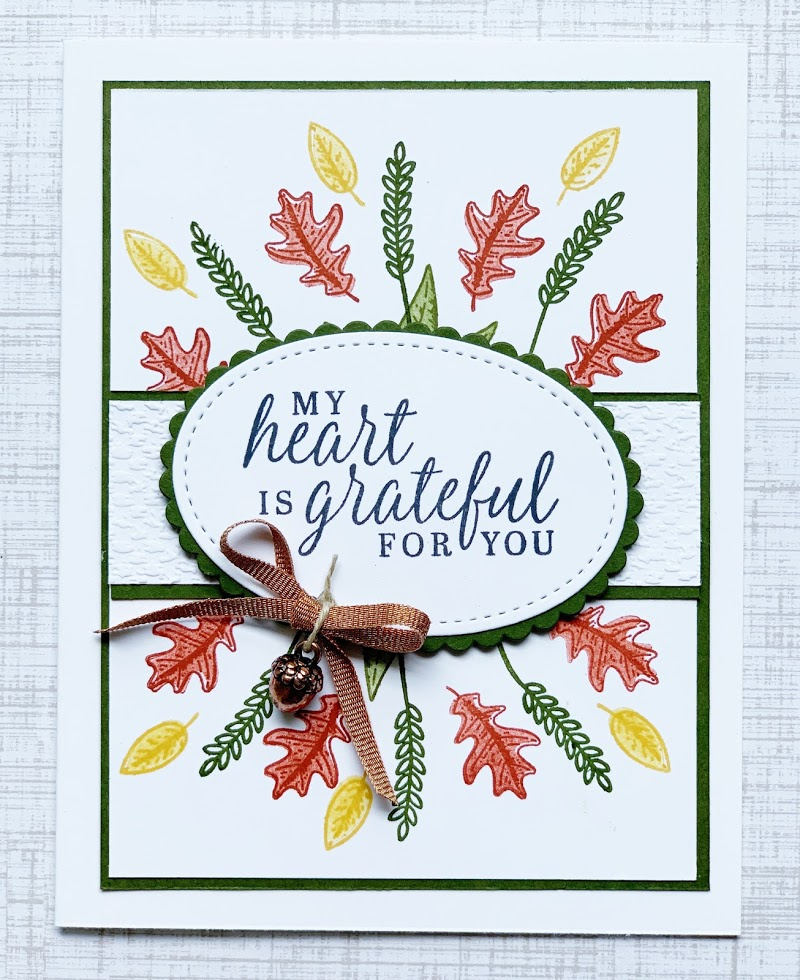
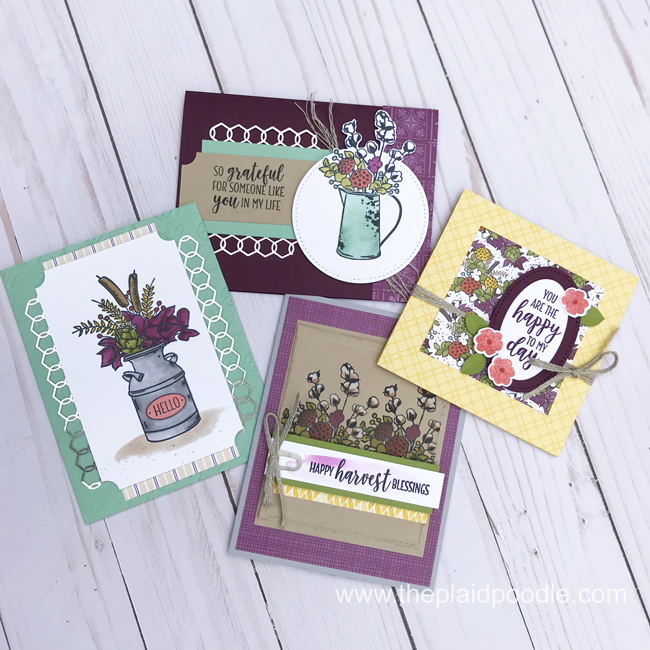
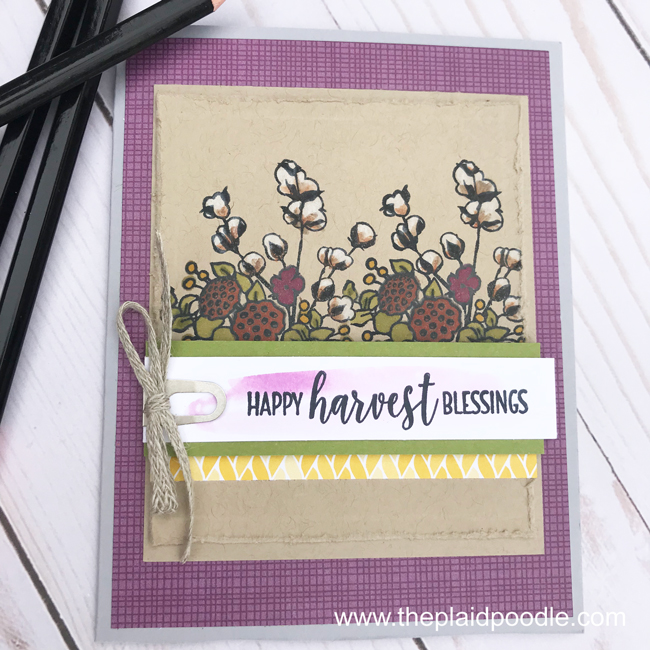
I demonstrated how to make a beautiful autumn card using the Beautiful Autumn stamp set from Stampin’ Up! today during my Coffee & a Card Facebook Live.
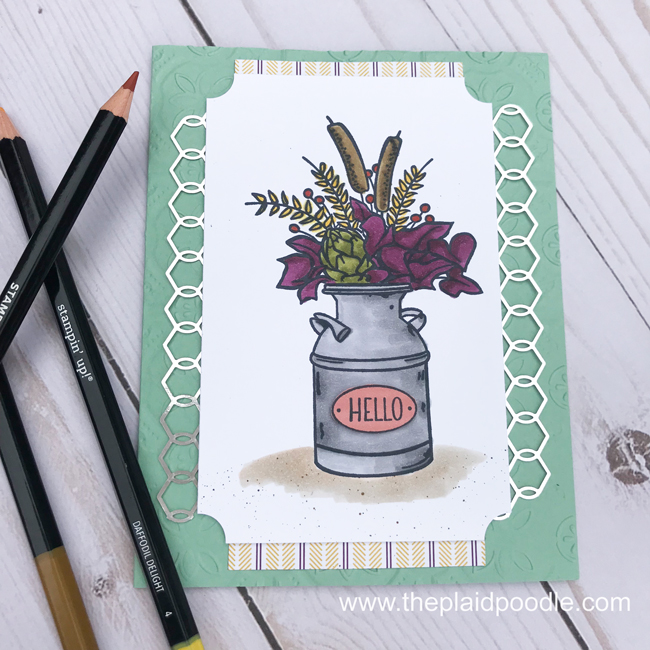
I used autumnal colors for the card and stamped them onto Whisper White card stock. I think using the white background gives this card a crisp and modern vibe.
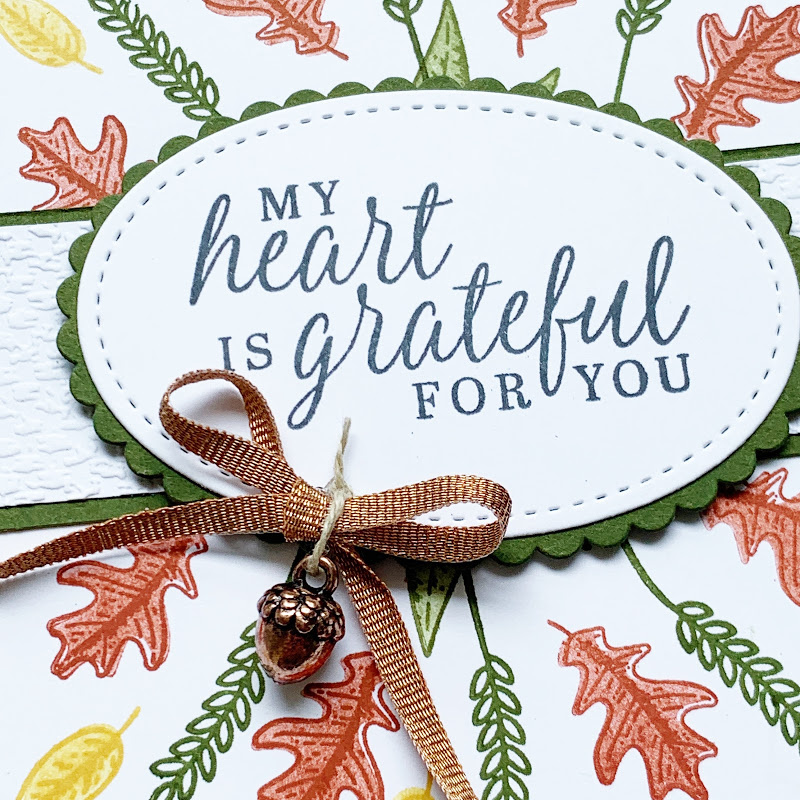
There’s lots of layers and a peek of texture from the embossed center band. My favorite thing about the card is the metallic ribbon with the acorn trinket attached.
Here is the replay from today’s Facebook Live, a list of products used and the paper dimensions:
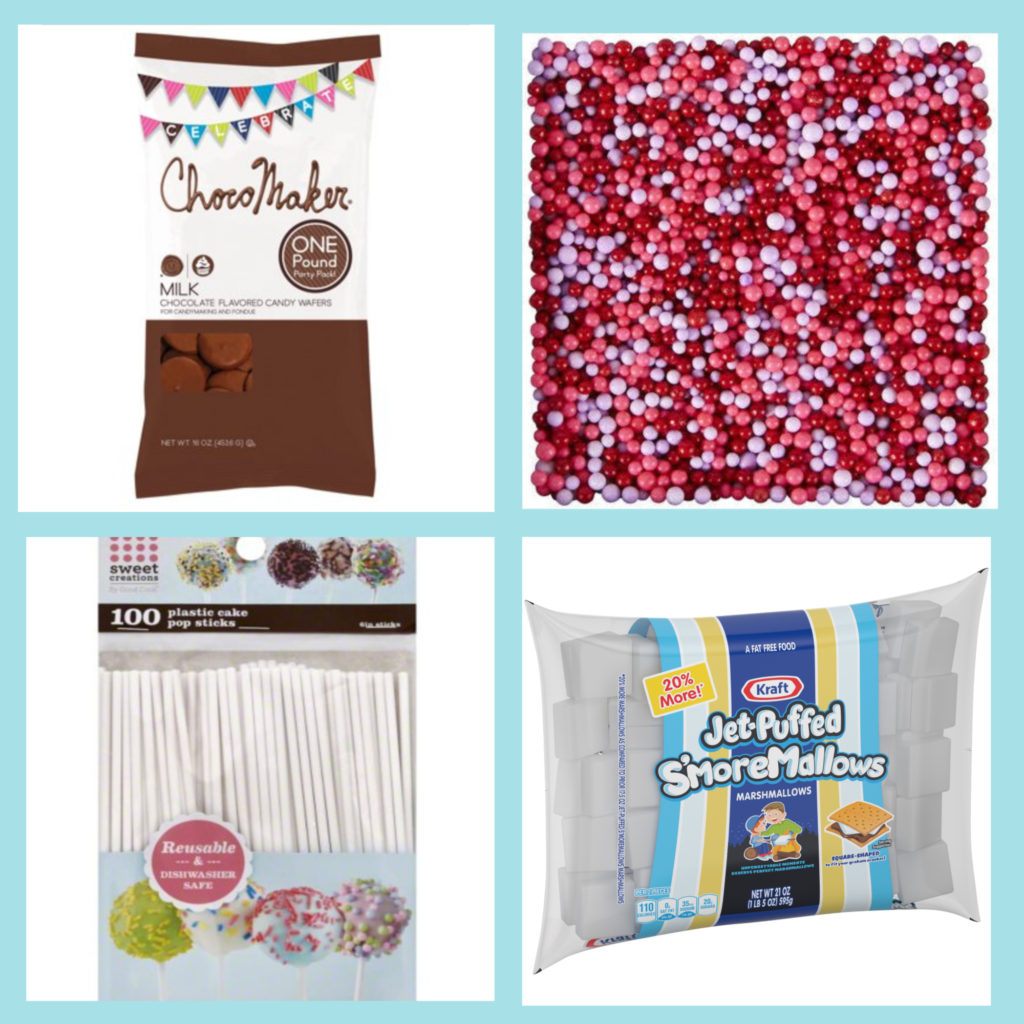
Product List


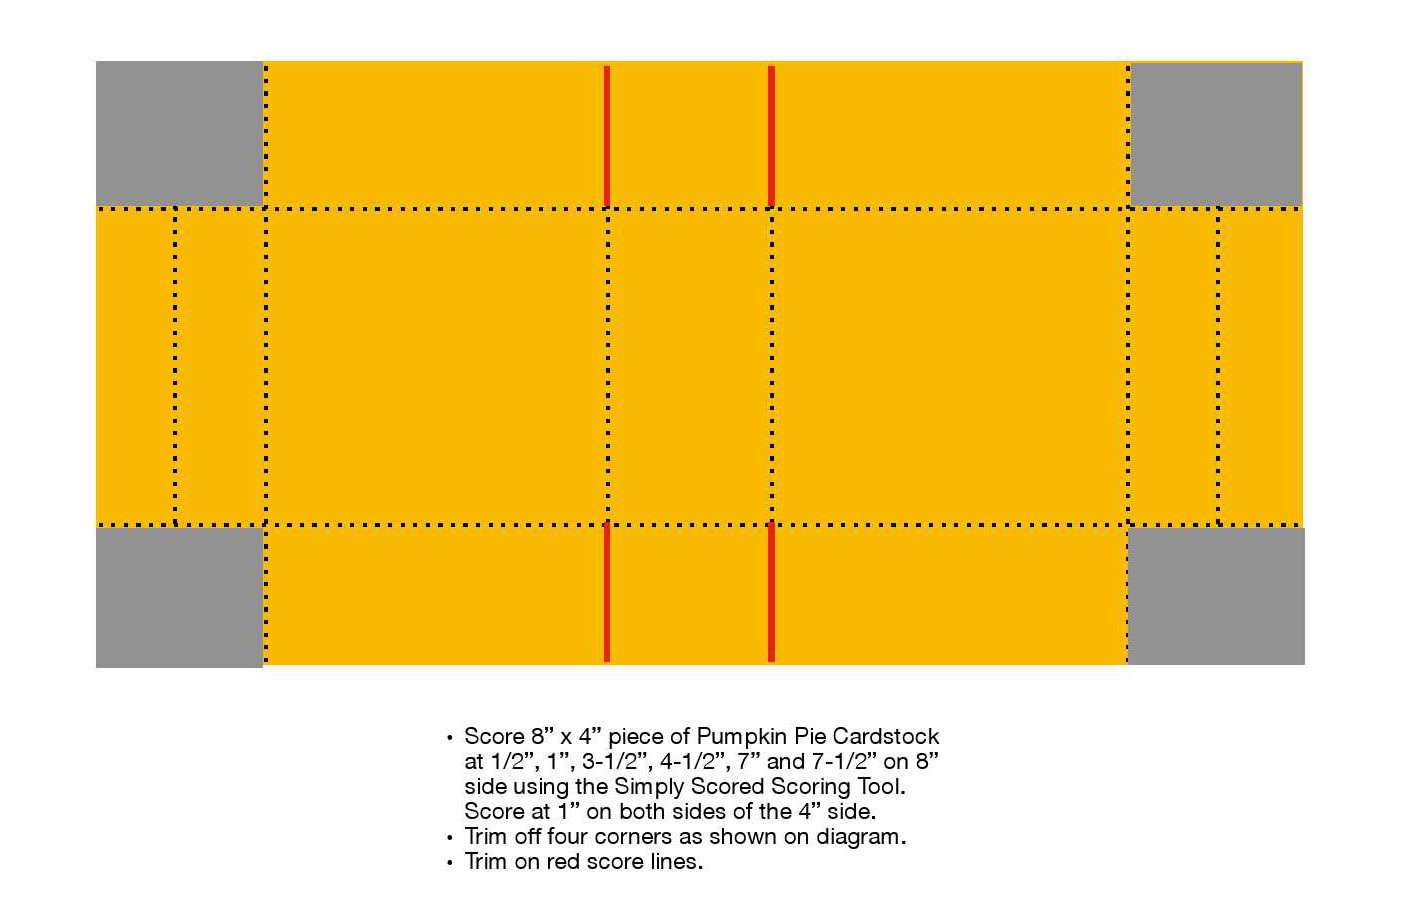
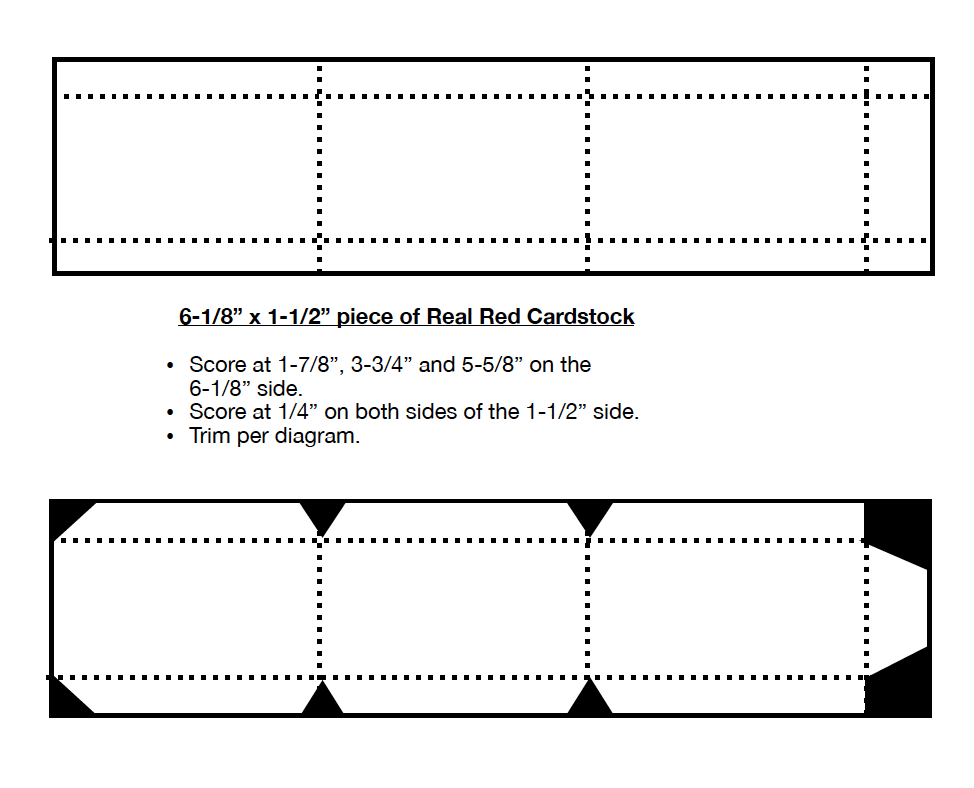
DIMENSIONS:
- THICK WHISPER WHITE: 8-1/2″ x 5-1/2″ scored at 4-1/4″ fold on score line to create card base.
- MOSSY MEADOW: First layer = 3-3/4″ x 5″, Scallop circle = 3-1/4″ x 2-1/4″, Center strip = 1-1/4″ x 3-5/8″
- WHISPER WHITE: Stamped layer = 3-5/8″ x 4-7/8″, Stitched circle = 3-1/4″ x 2-1/4″, Embossed strip = 1-1/8″ x 3-5/8″
I hope this has inspired you to make a beautiful autumn card yourself!
")
")

 Designer Series Paper")

 Printed Gusseted Cellophane Bags")
 Sheer Linen Ribbon")


")
")


")


")
")


 Designer Series Paper")


 Crinkled Seam Binding Ribbon")


 Solid Ribbon")


 Designer Series Paper")


 Specialty Designer Series Paper")


 Designer Series Paper")


 Designer Series Paper")
 Braided Linen Trim")


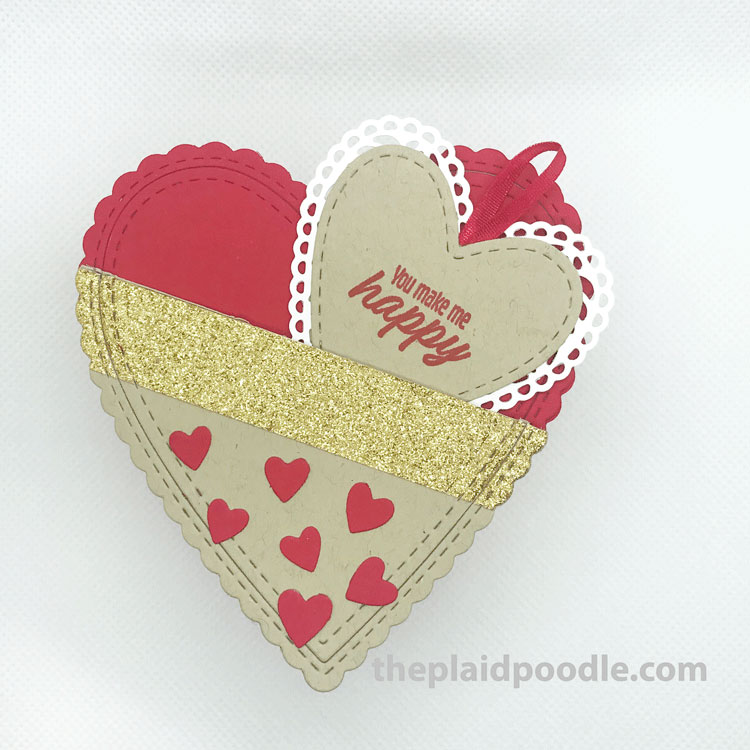
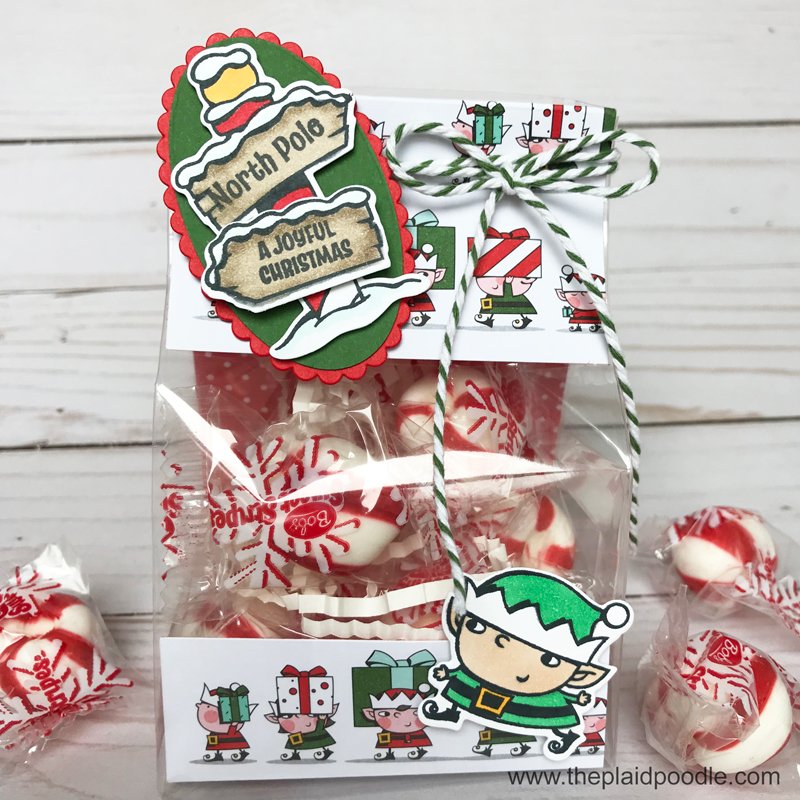
 Of course I could not leave well enough alone and added a little something extra in the form of a spooky little bat. Here is my version of the tag:
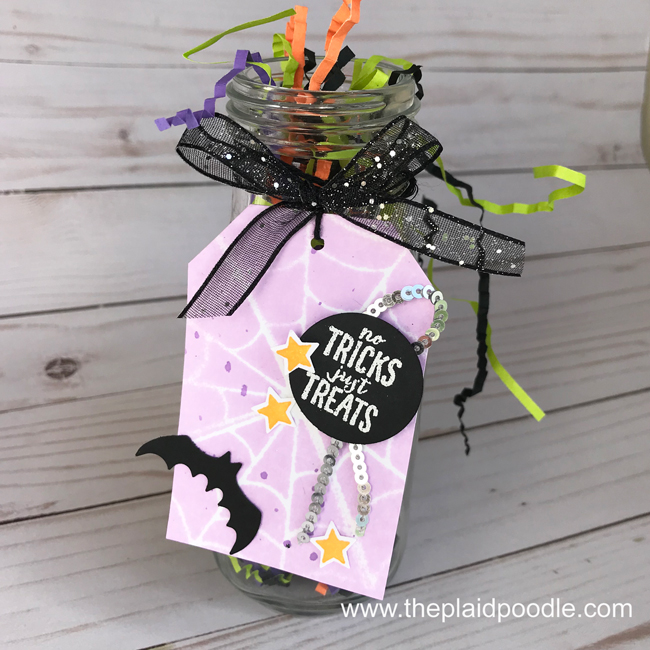


 Glittered Organdy Ribbon")

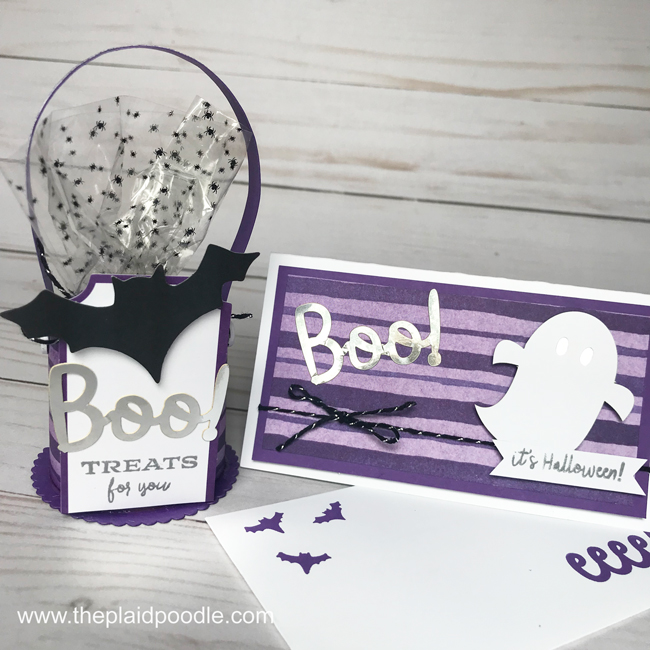
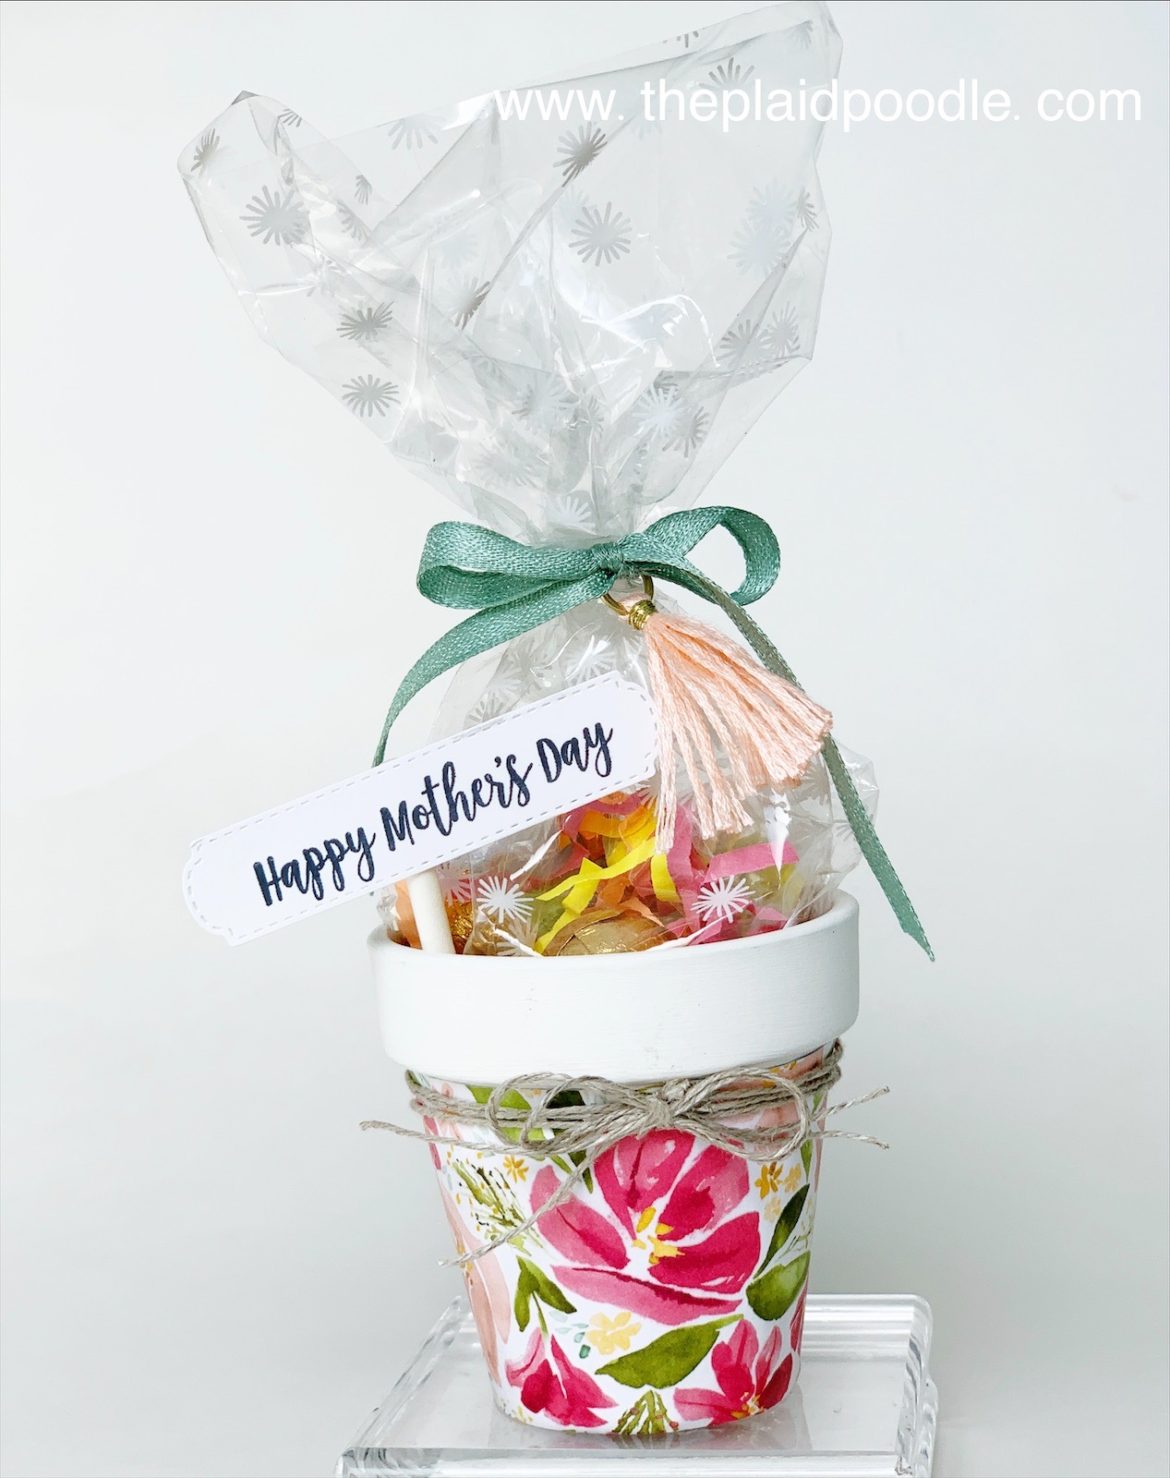
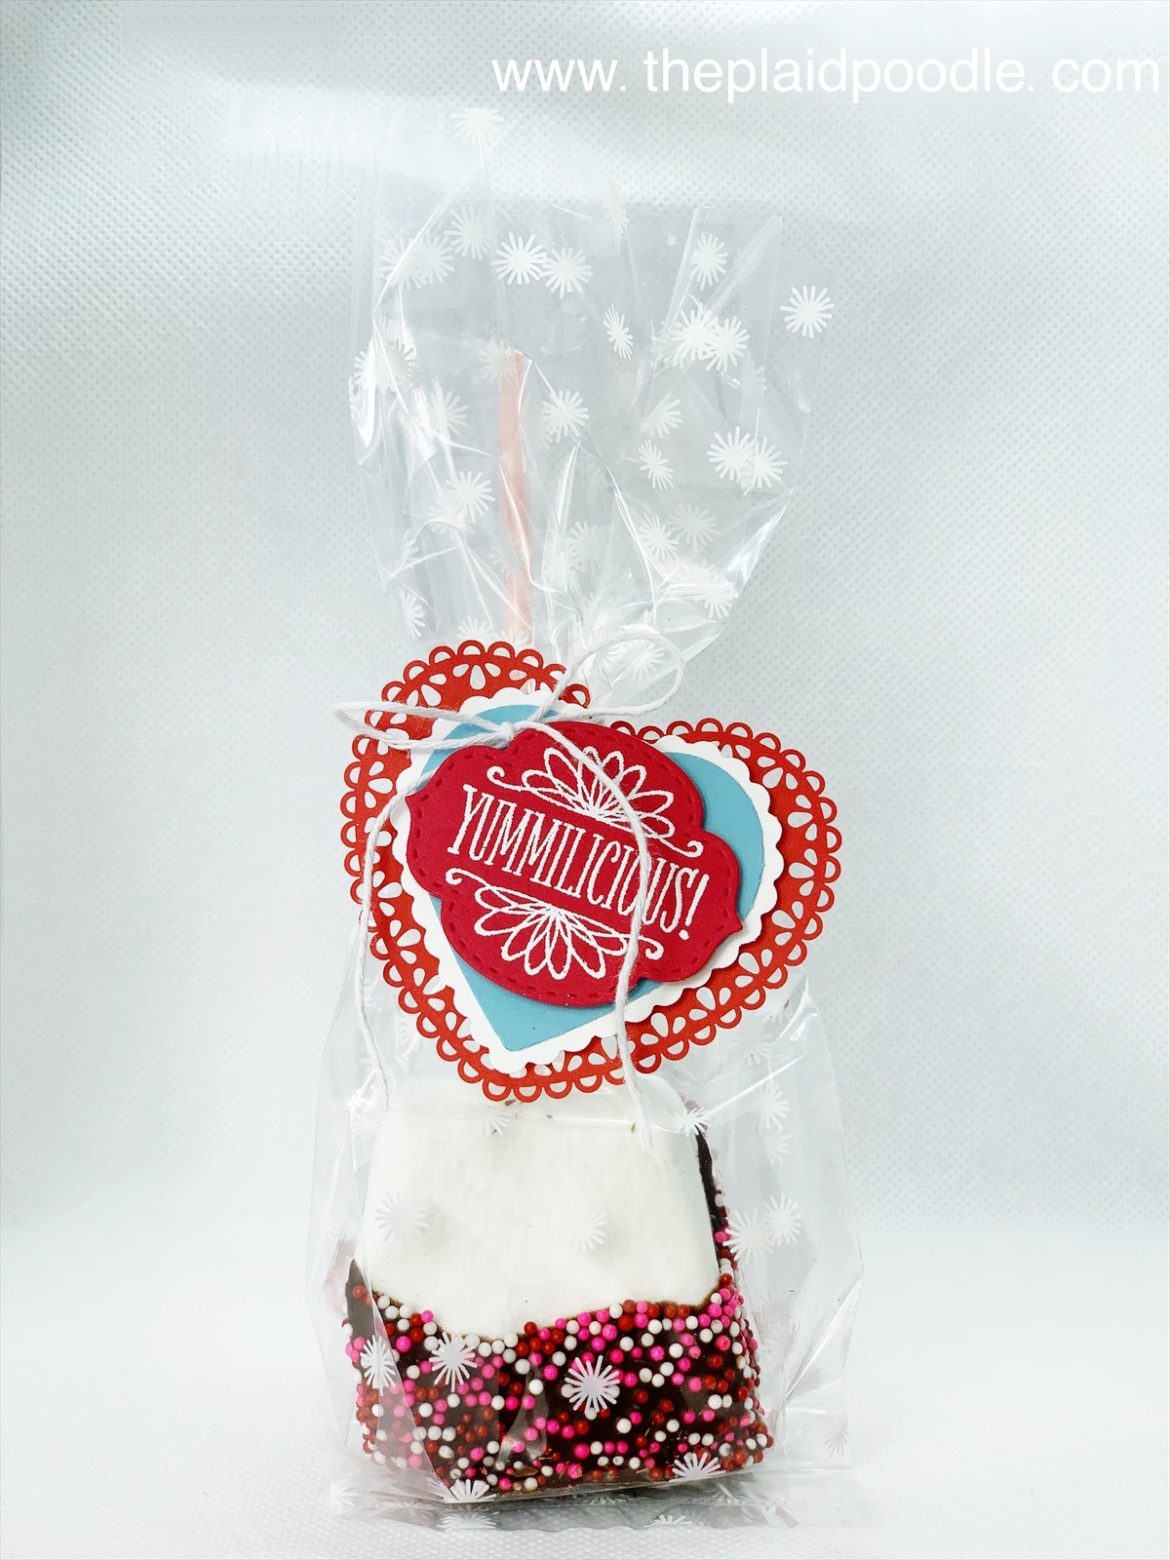
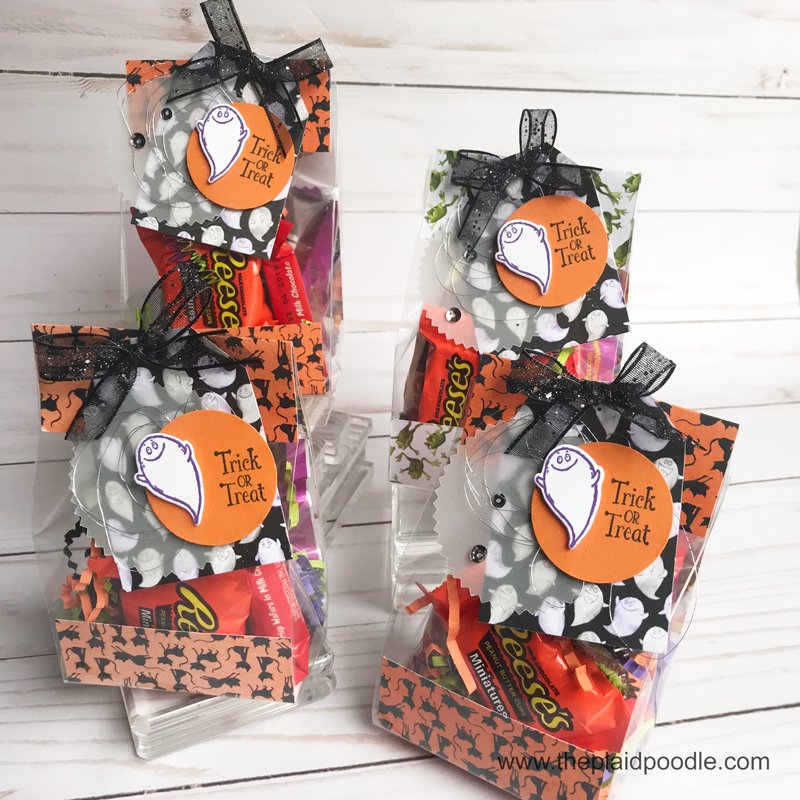
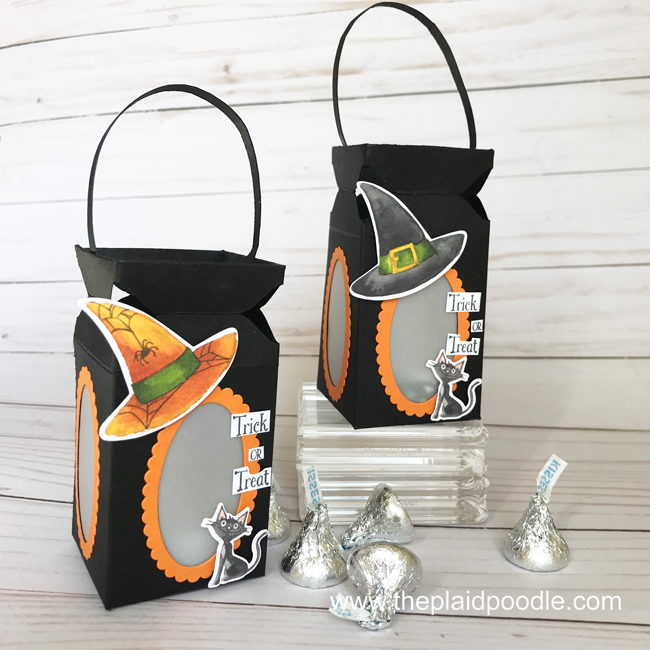
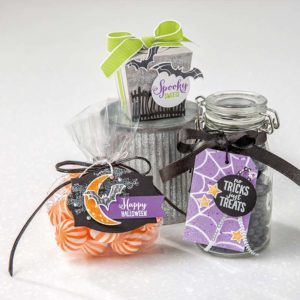
 The September Paper Pumpkin Kit from Stampin’ Up!, Frights & Delights, is so cute! The kit comes with enough supplies and embellishments to make 24 treat bags. I didn’t need all 24 treat bags so I used products from the kit to make mini “Boo Baskets” and note cards.
 The narrow note cards from Stampin’ Up! are the perfect size to slip a gift card into. Perfect for all those special, bigger Trick-or-Treaters in your life! Click on the links below to get a full-color PDF tutorial for both projects.
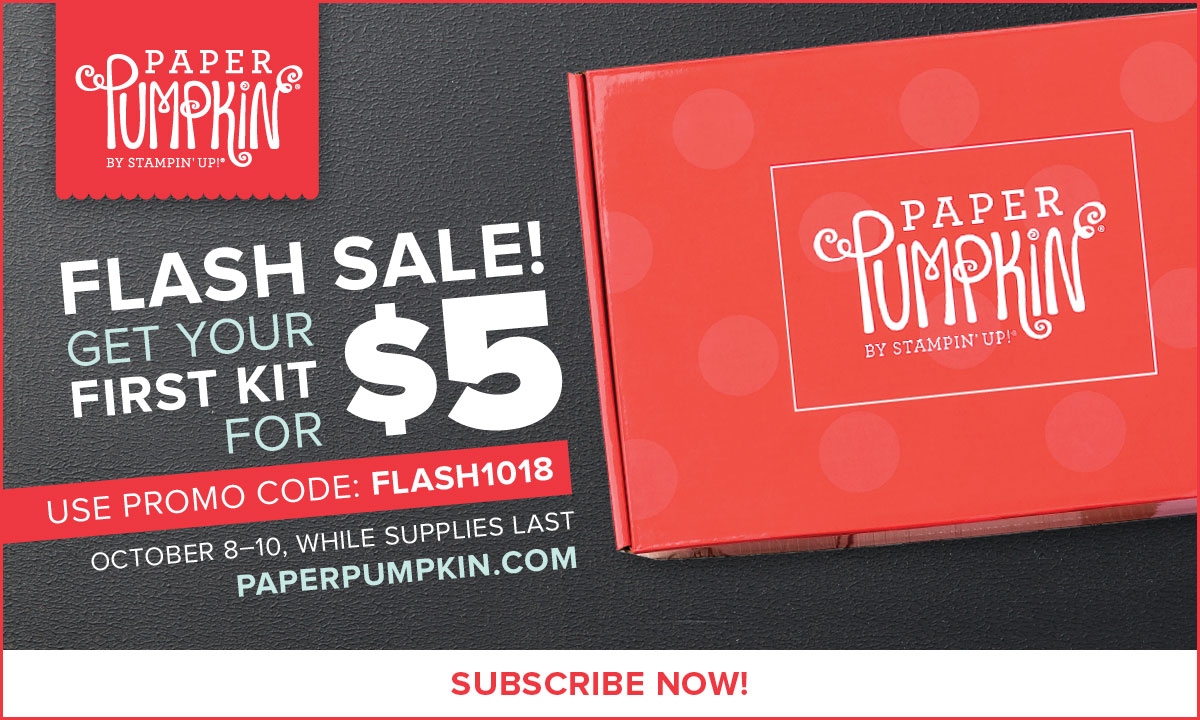 Now is a great time to give Paper Pumpkin a try because Stampin’ Up! is offering new subscribers the Frights & Delights Paper Pumpkin Kit for just $5! But you have to hurry – today, October 10th is the final day to take advantage of the offer.
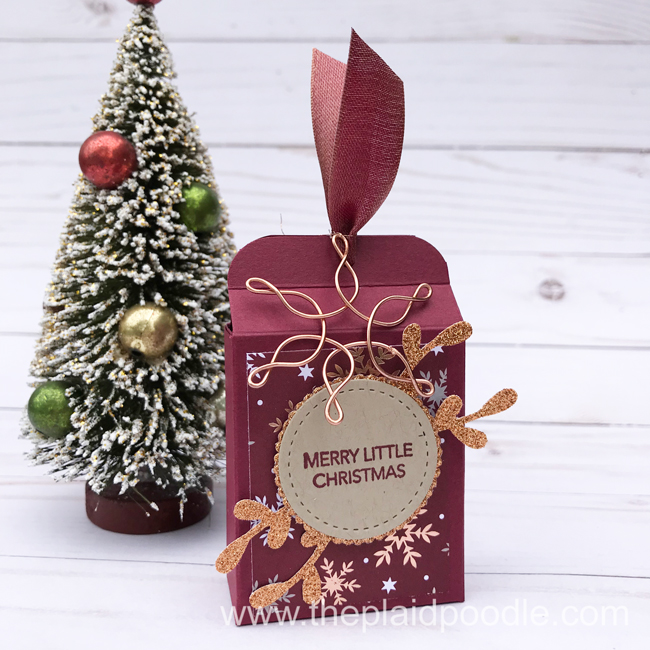


 Specialty Designer Series Paper")

 Reversible Ribbon")