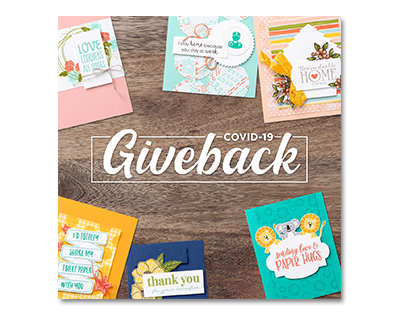
I’m so excited to announce Card Classes to Go! Our current situation is preventing us from meeting in person but just because we can’t be together doesn’t mean we can’t continue crafting!
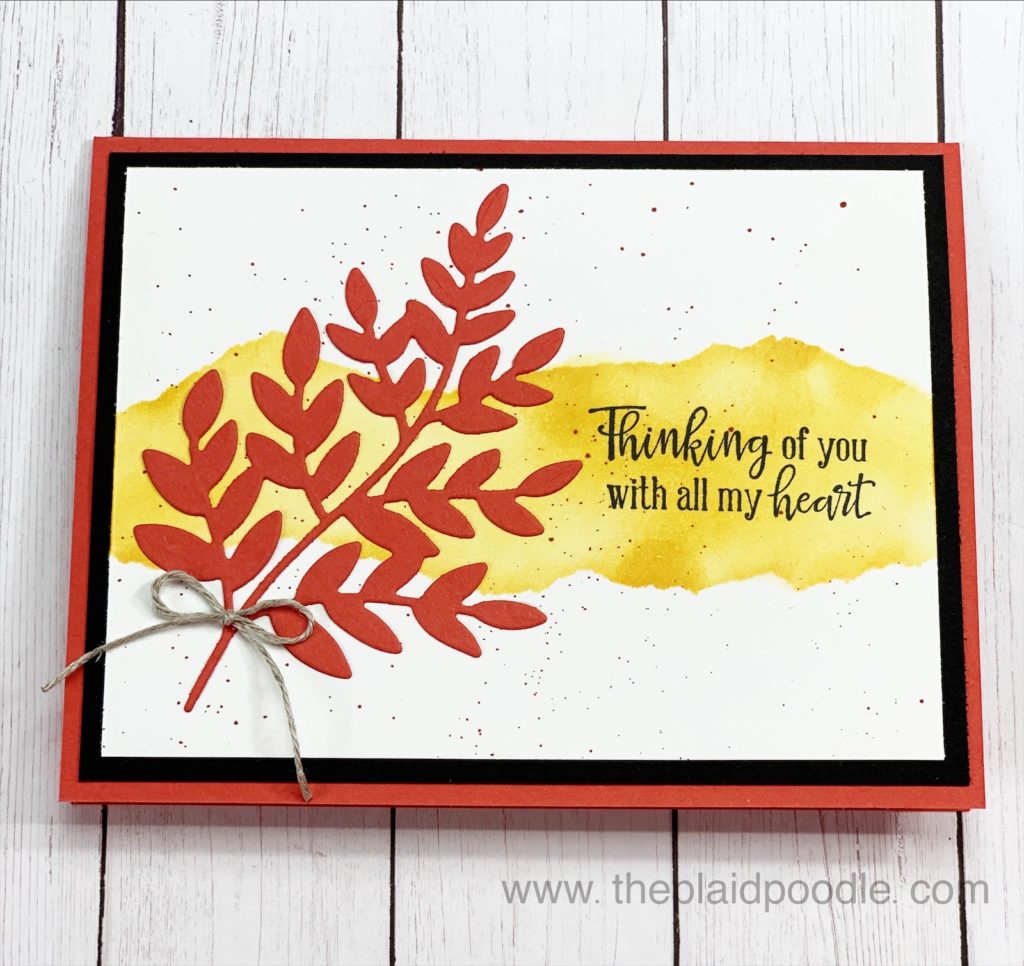
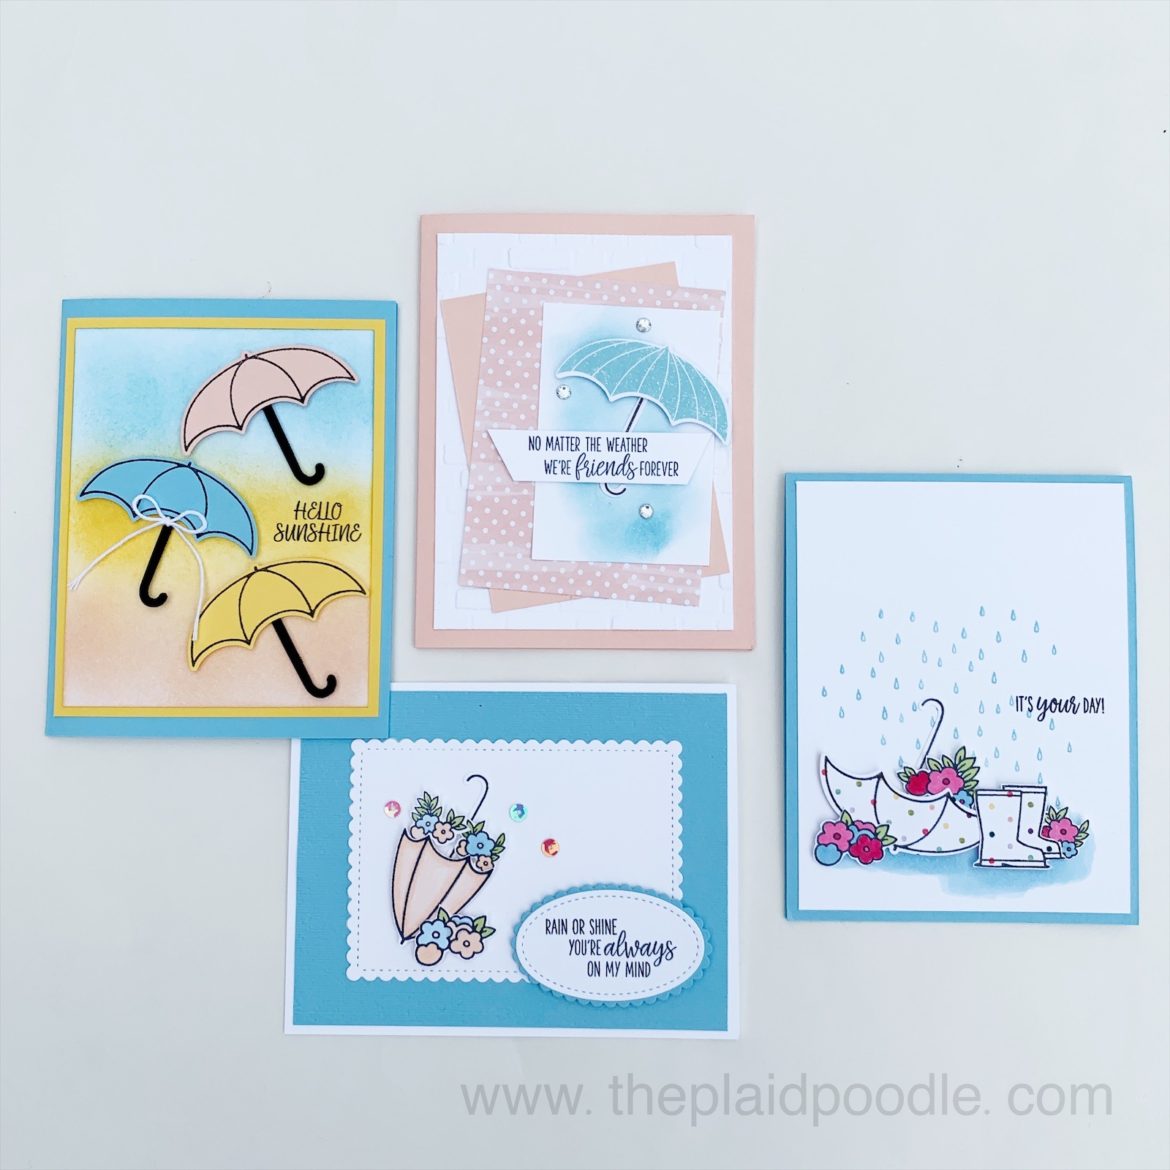
The April Card Class to Go features the Under My Umbrella Bundle. There are three class options to choose from.
Under My Umbrella OPTION #1
$40 (plus $8 priority shipping or free porch pick-up)*
Option #1 is the whole kit and caboodle. It includes everything you need to complete all the class projects. Included are:
Under My Umbrella OPTION #2
$15 (plus $8 priority shipping or free porch pick-up)*
Option #2 is the Class to Go Kit for those of you who already own the Under My Umbrella Bundle. You will need the stamps and punch to create these projects, so only choose this option if you already own them. Your class to go kit will include:
- Package of Rhinestone Basic Jewels
- A Stamping Sponge (free!)
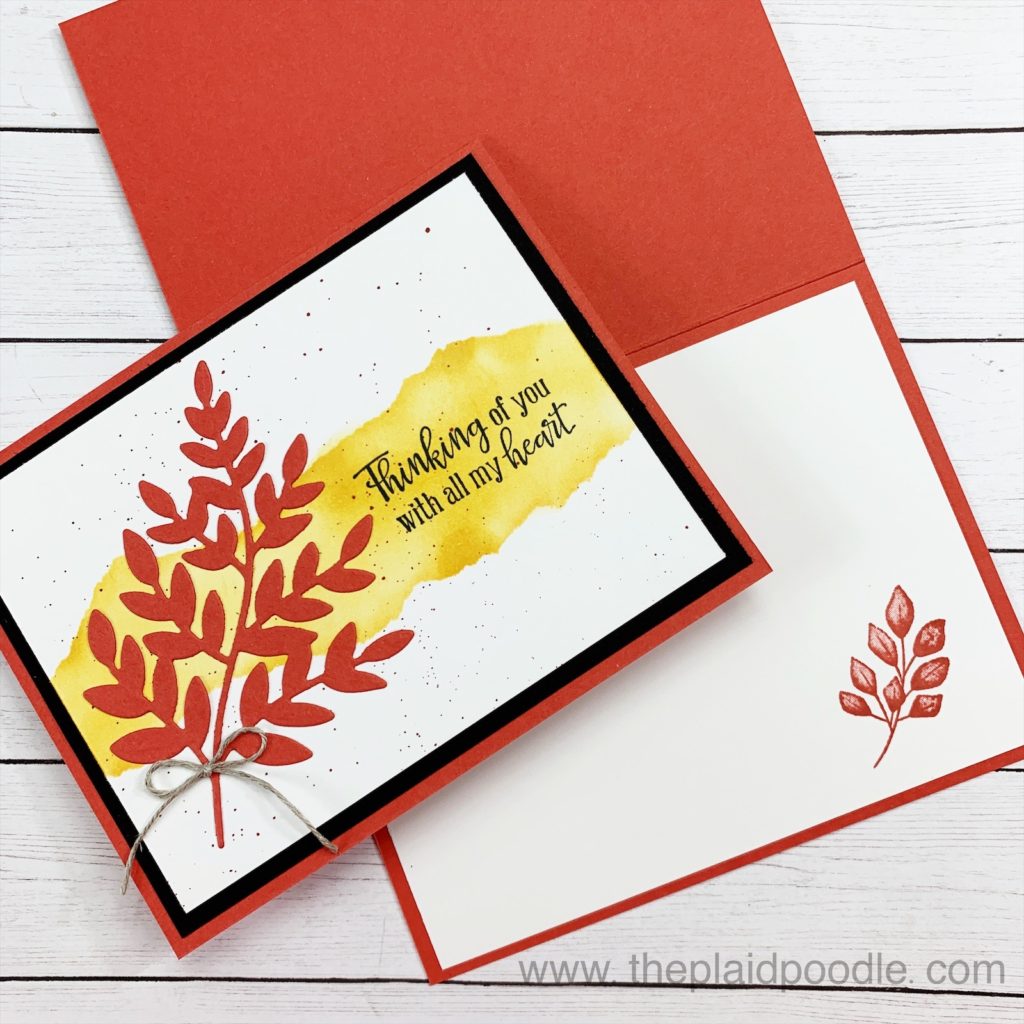
- Paper & embellishment supplies cut & scored and ready to create four multi-layer cards – card inserts & envelopes included!
- Access to exclusive online class. The Online Classroom Includes full color photos, measurements, written instructions, supply lists and a step-by-step video tutorial.*
Under My Umbrella OPTION #3
Online Only – FREE with Qualifying Purchase*
Shop online with me making a purchase of $50 or more (before tax and shipping) using HOST CODE: JEYKXMSV and receive access to the Online Classroom FREE! The Online Classroom Includes full color photos, measurements, written instructions, supply lists and a step-by-step video tutorial.*
*Registration for the April Card Class to Go closes on Thursday, April 9, 2020. Class Kits will be mailed or available for porch pickup on Friday, April 17, 2020. The Option #3, Online Only Class will be available Monday, April 6, 2020.
Additional/similar supplies needed to complete projects:
- Adhesive
- Memento Tuxedo Black Ink
- Daffodil Delight Ink
- Petal Pink Ink
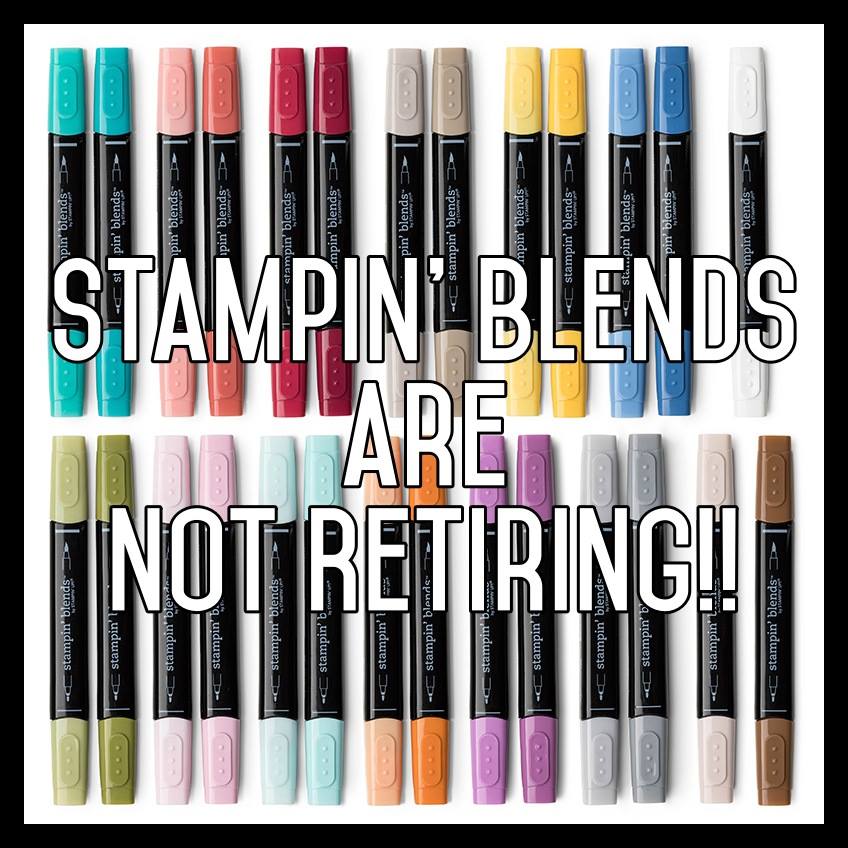
- Stampin’ Blends: Dark Balmy Blue, Light & Dark Petal Pink, Light & Dark Lovely Lipstick and Light Granny Apple Green
NOTE: All class kits and included product will be ordered and prepared together after the registration deadline of Thursday, April 9, 2020. This is a preorder. Per SU policy, I do not have product on hand to ship. It takes about one week after the registration deadline for me to prepare and ship all class kits. Anticipated ship date or porch pick-up is Friday, April 17, 2020.


")
")


")


")
")
")

")


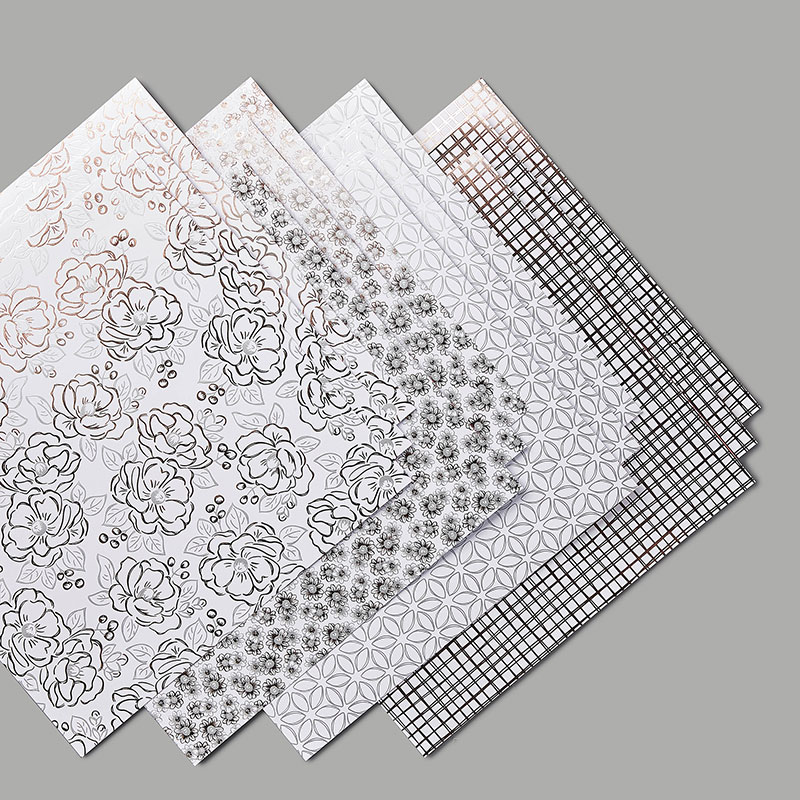
 Designer Series Paper")


 Flax Ribbon")
 Grosgrain Ribbon")


")


")


 Polka Dot Tulle Ribbon")


")
")

 Designer Series Paper")
 Printed Gusseted Cellophane Bags")
 Sheer Linen Ribbon")


 Designer Series Paper")


")