
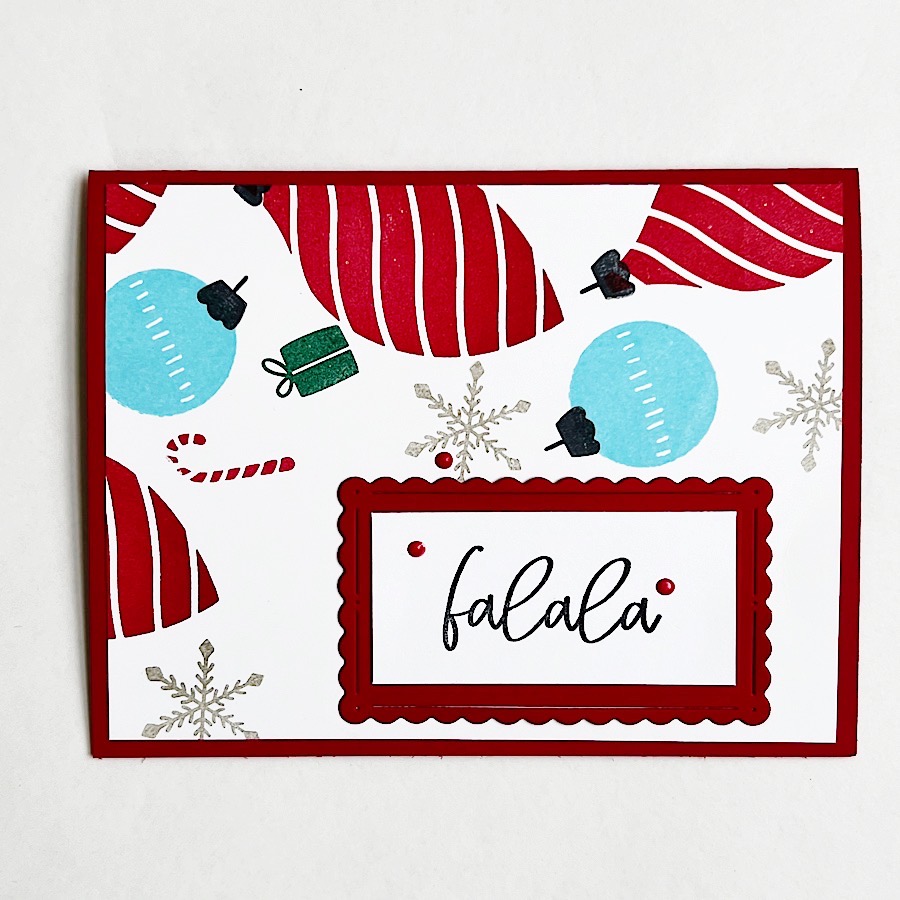
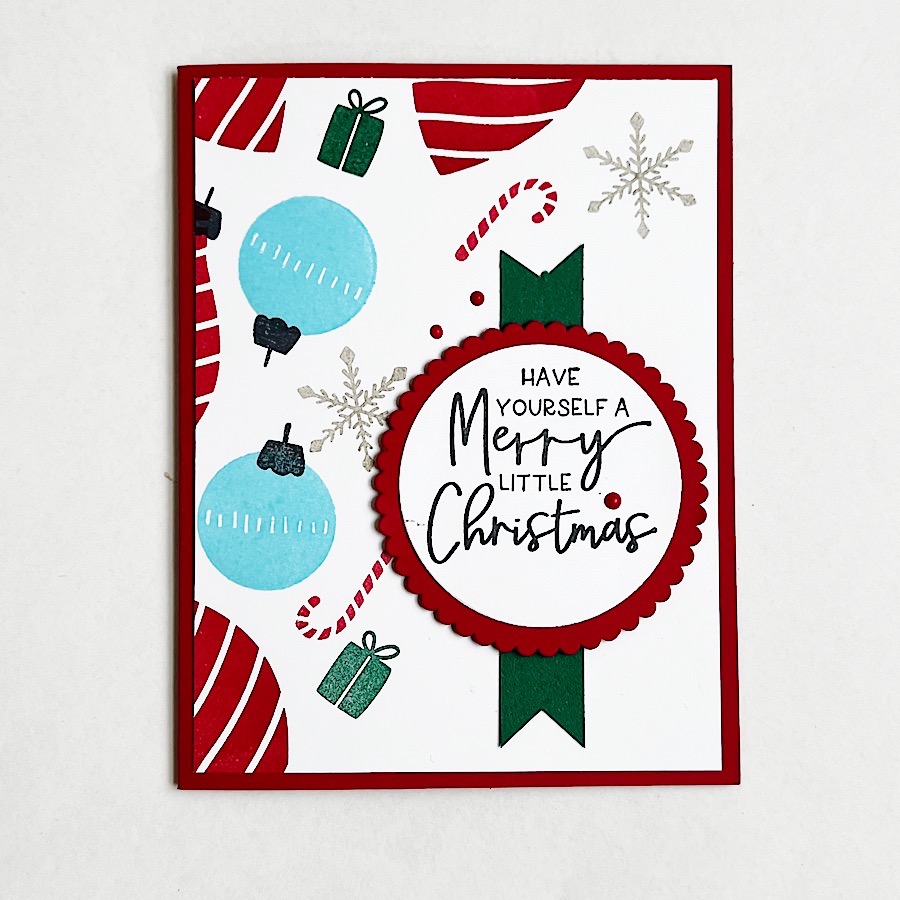
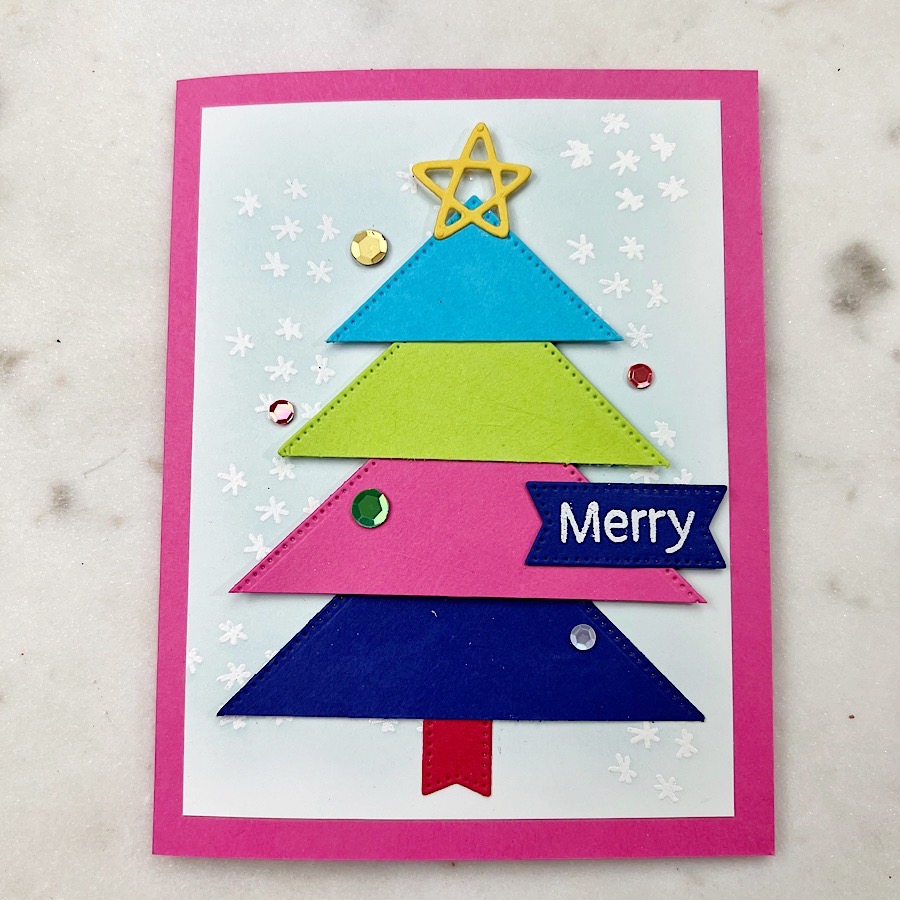
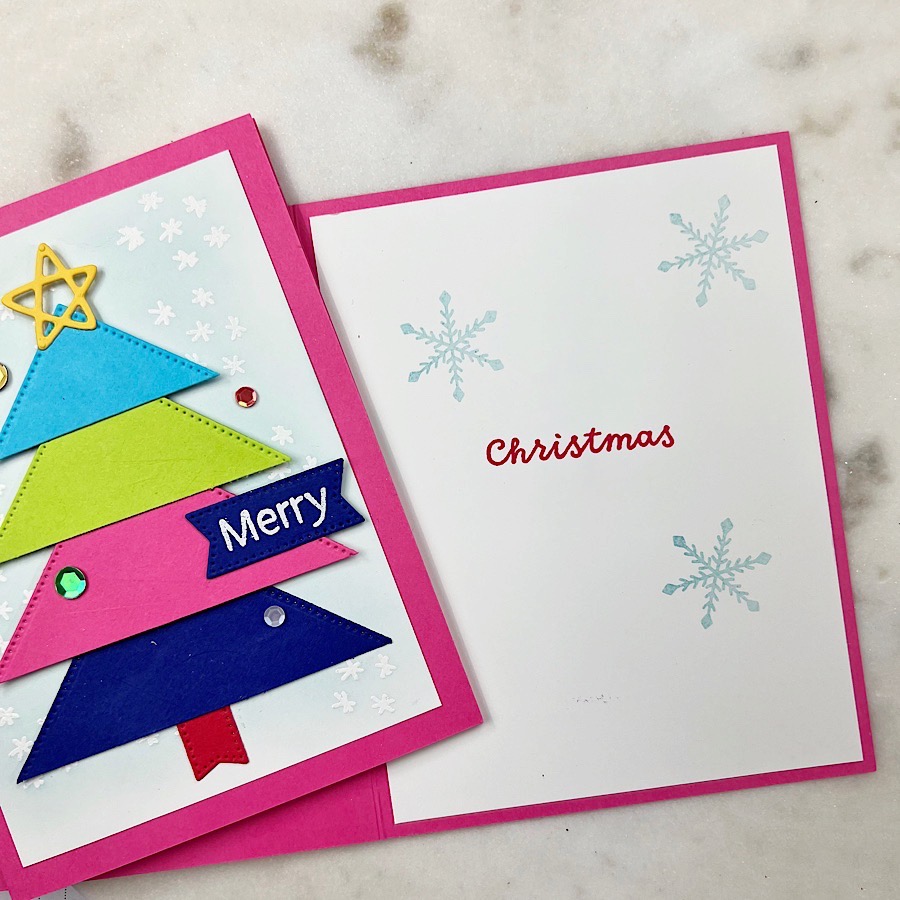
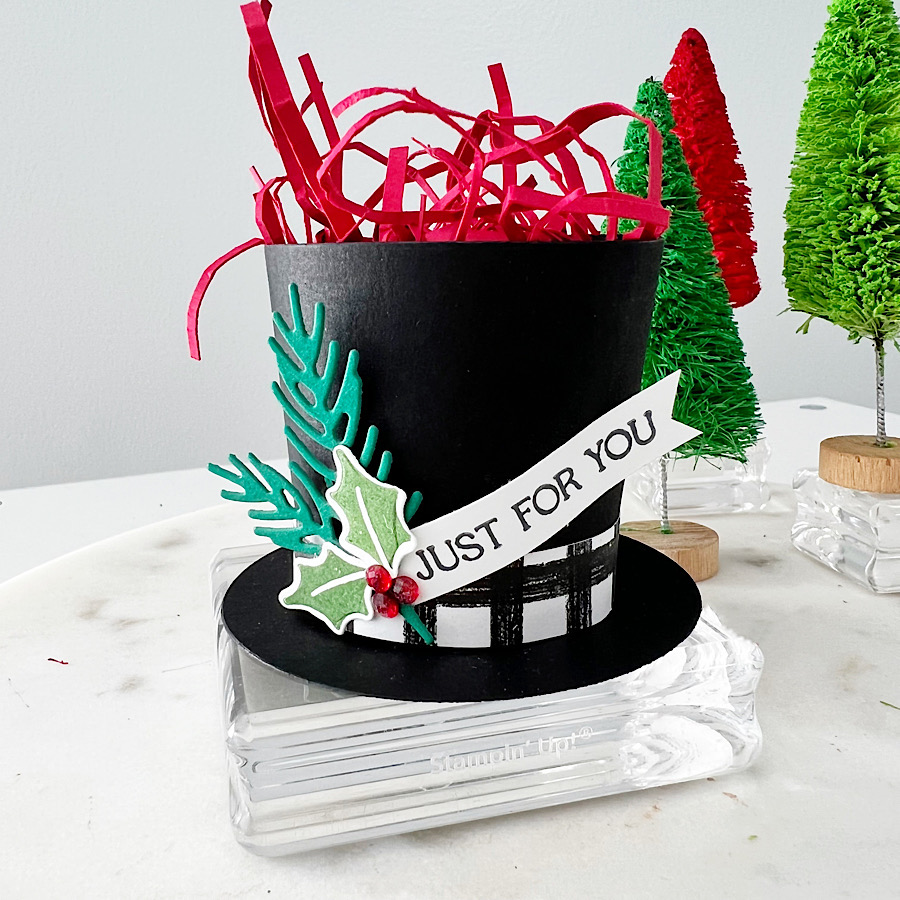
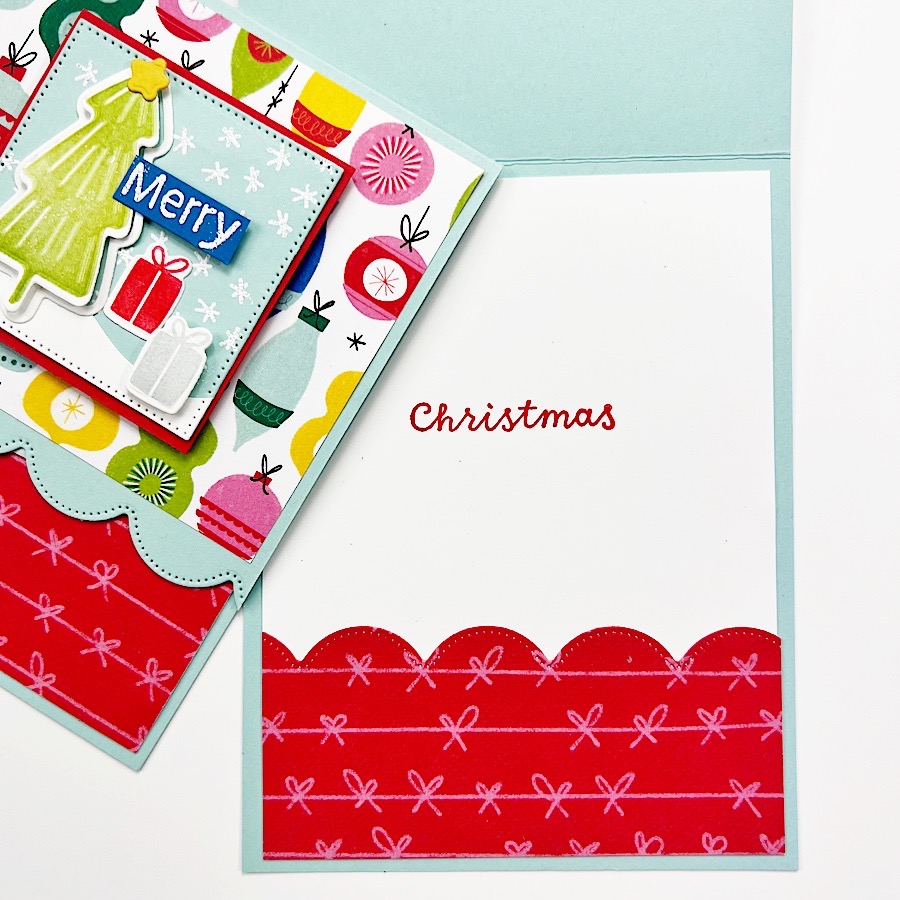
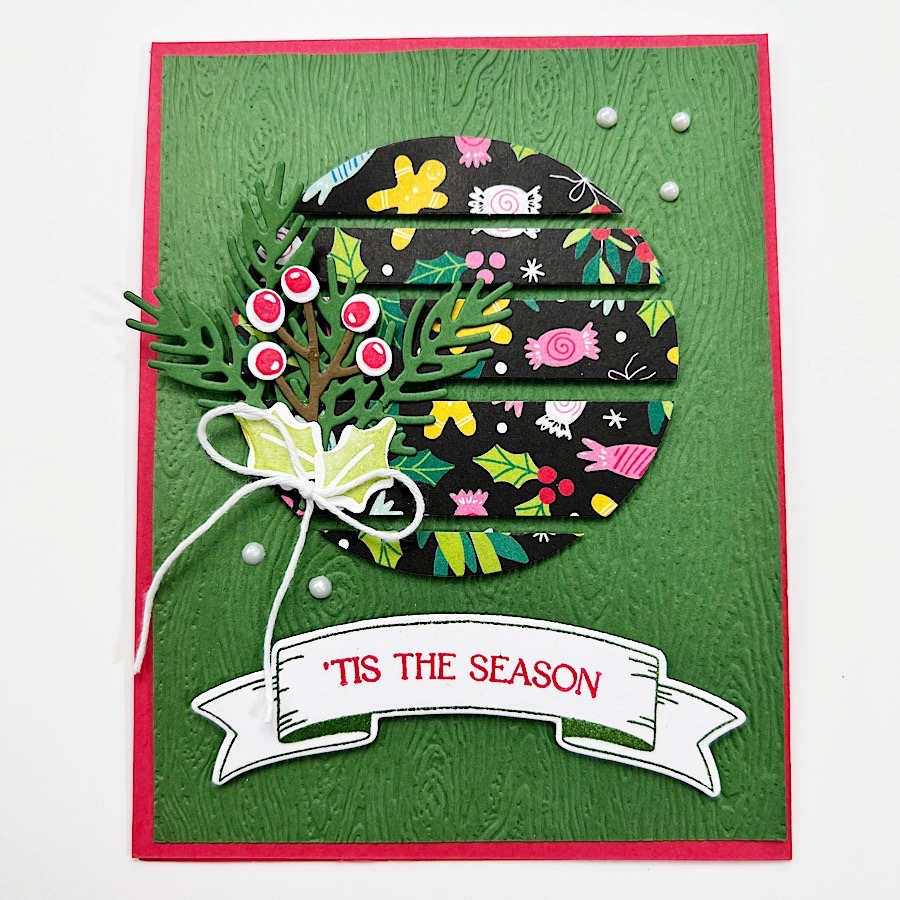
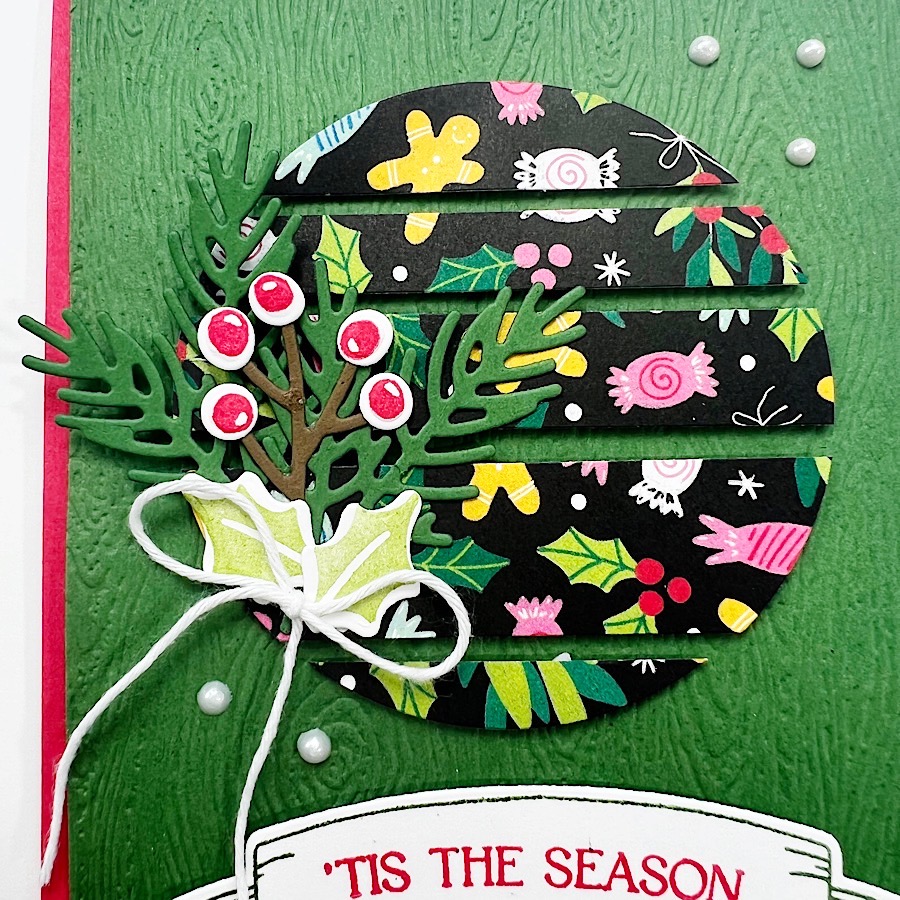
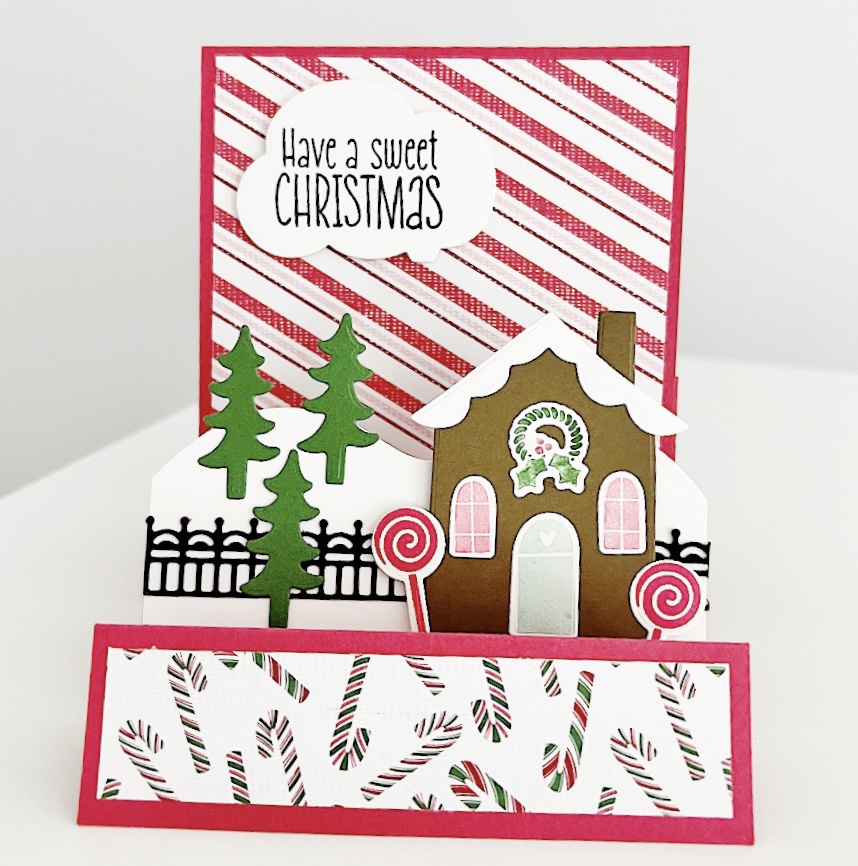
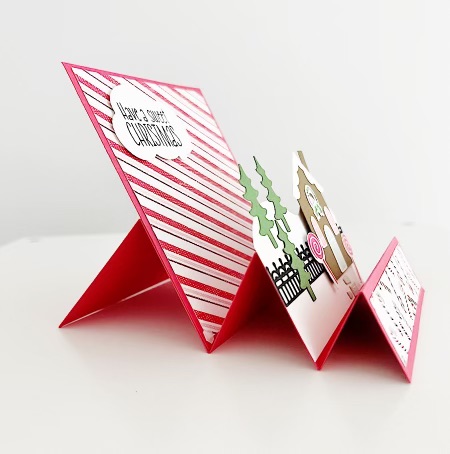
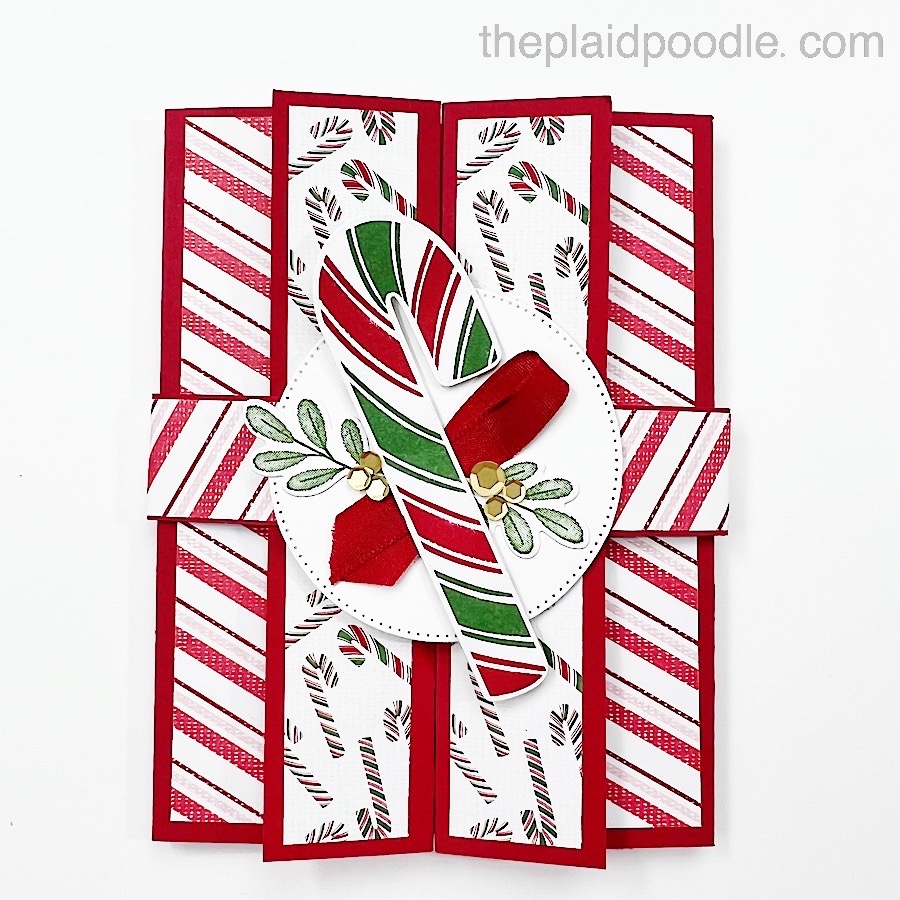
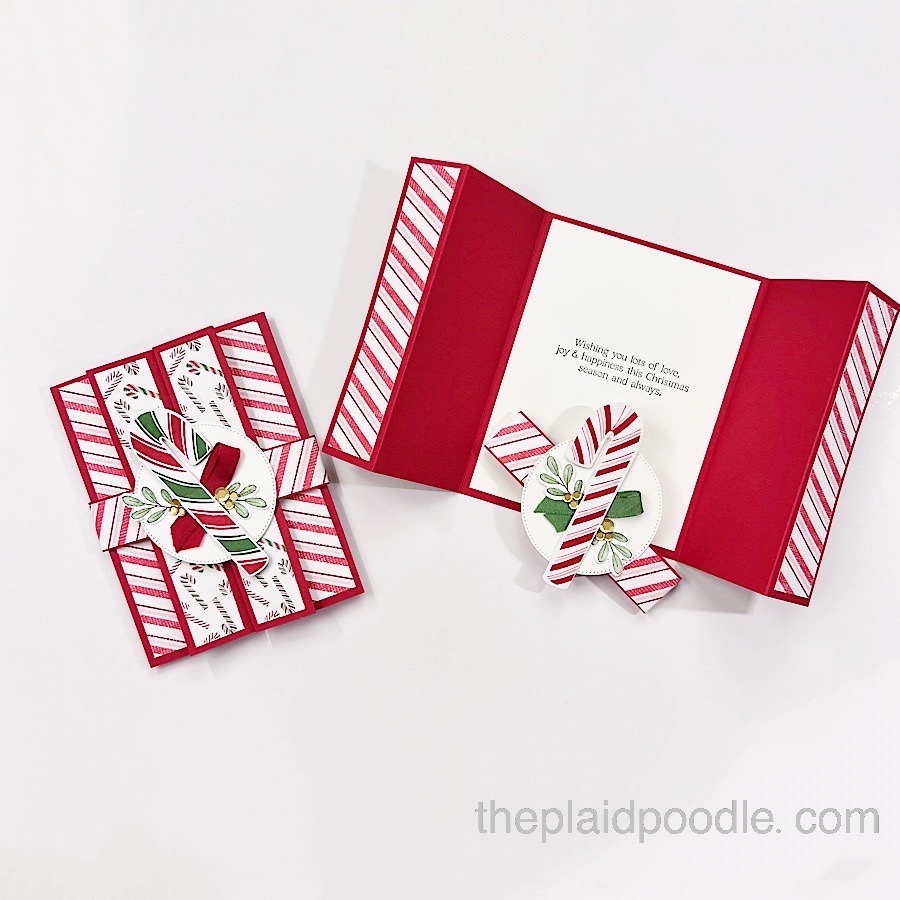
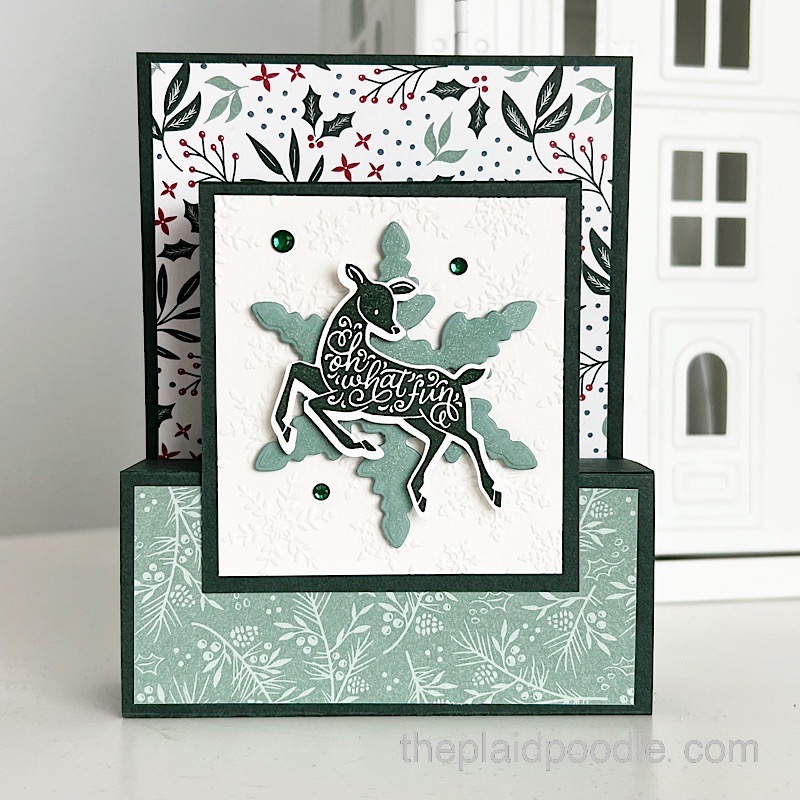
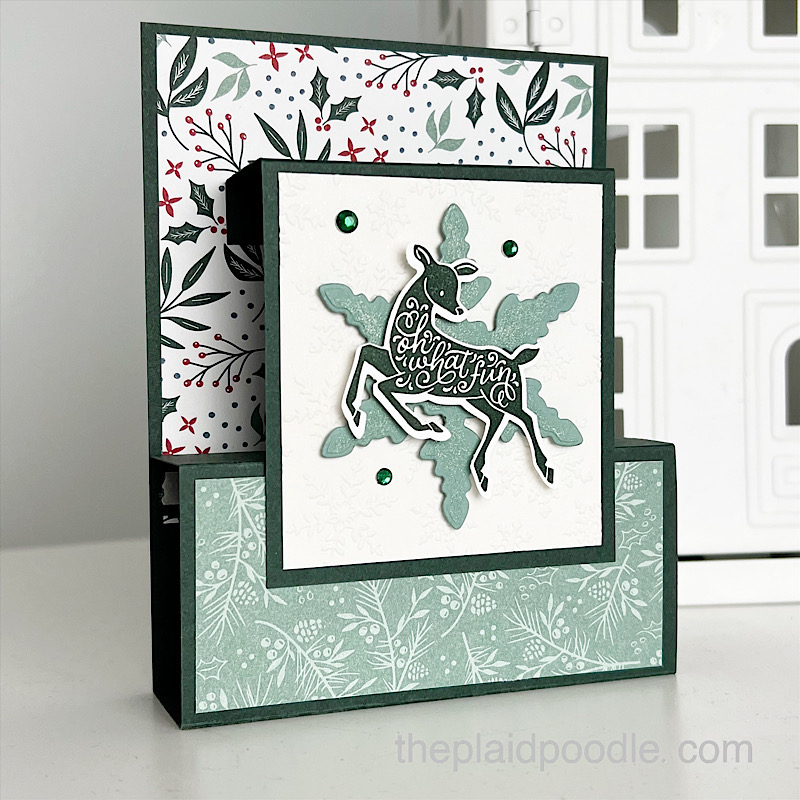
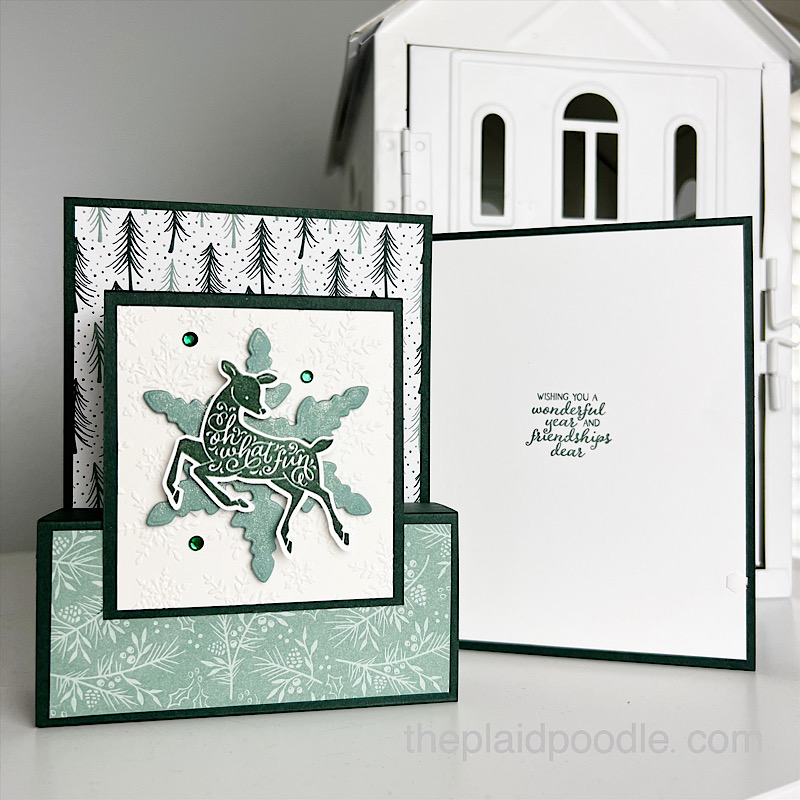
Spruced Up Christmas Card made using the Four Corners Technique
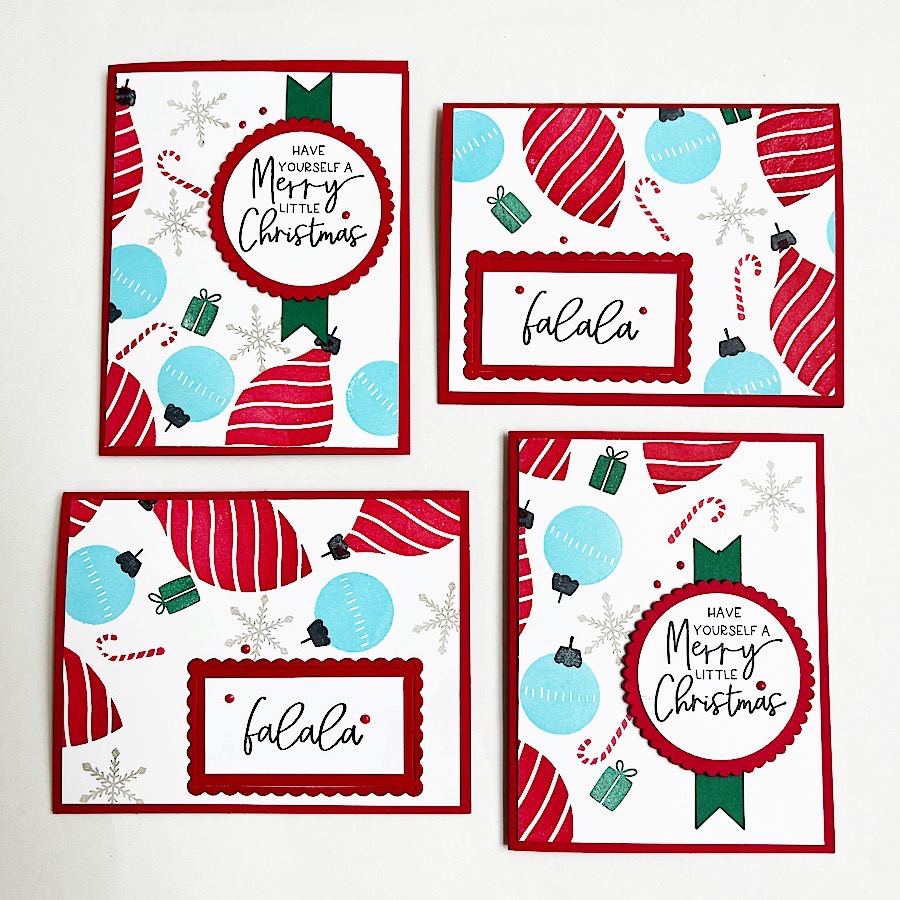
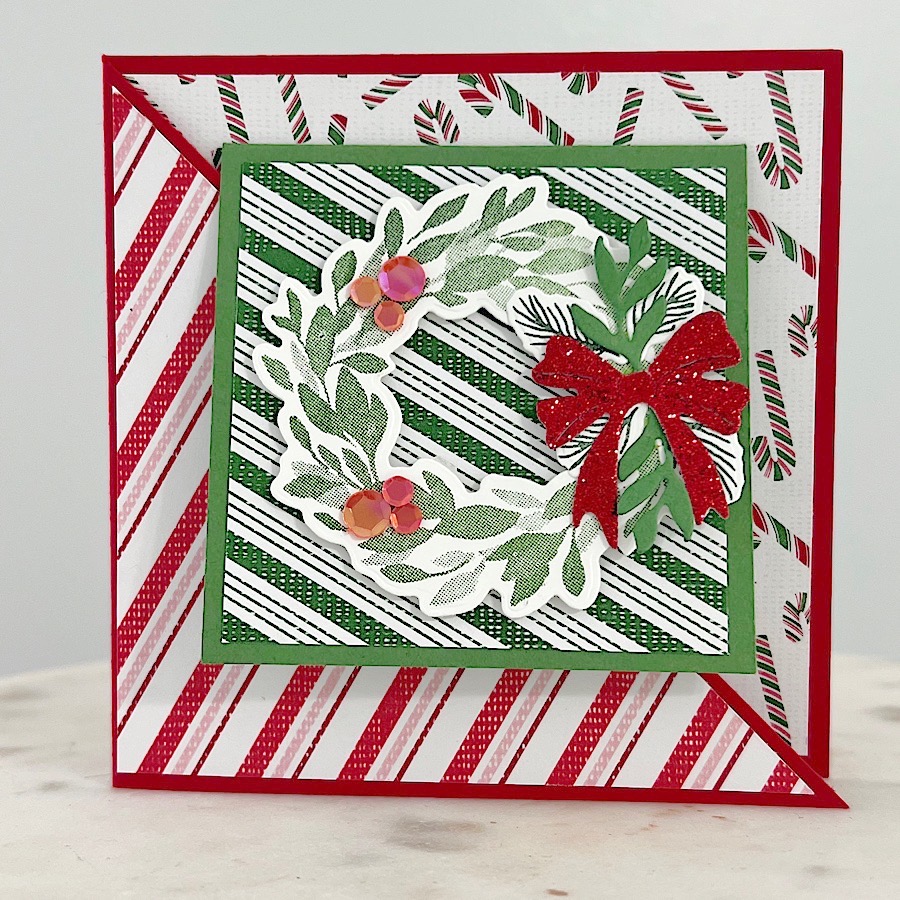
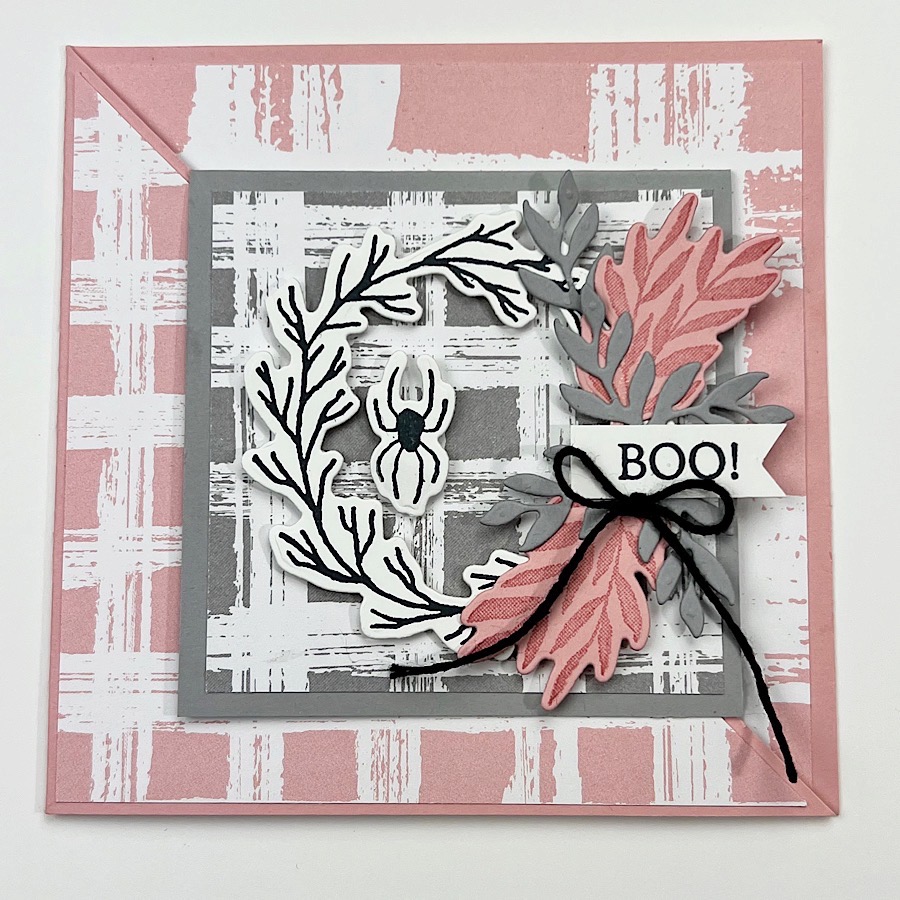
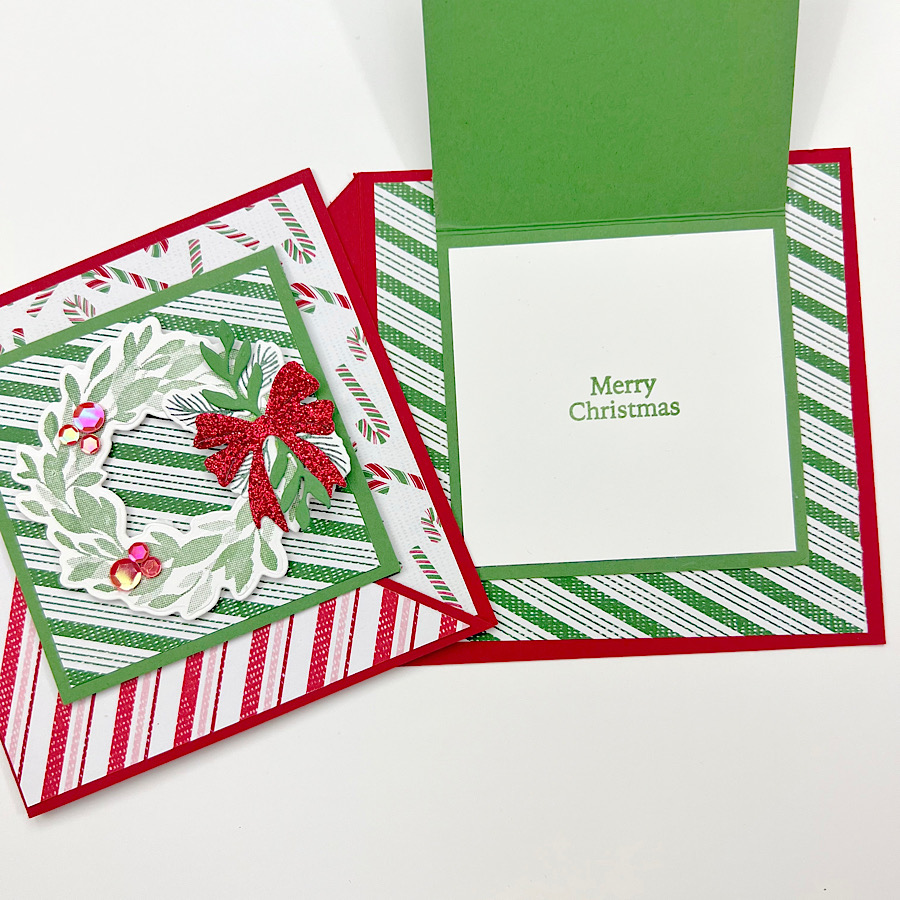
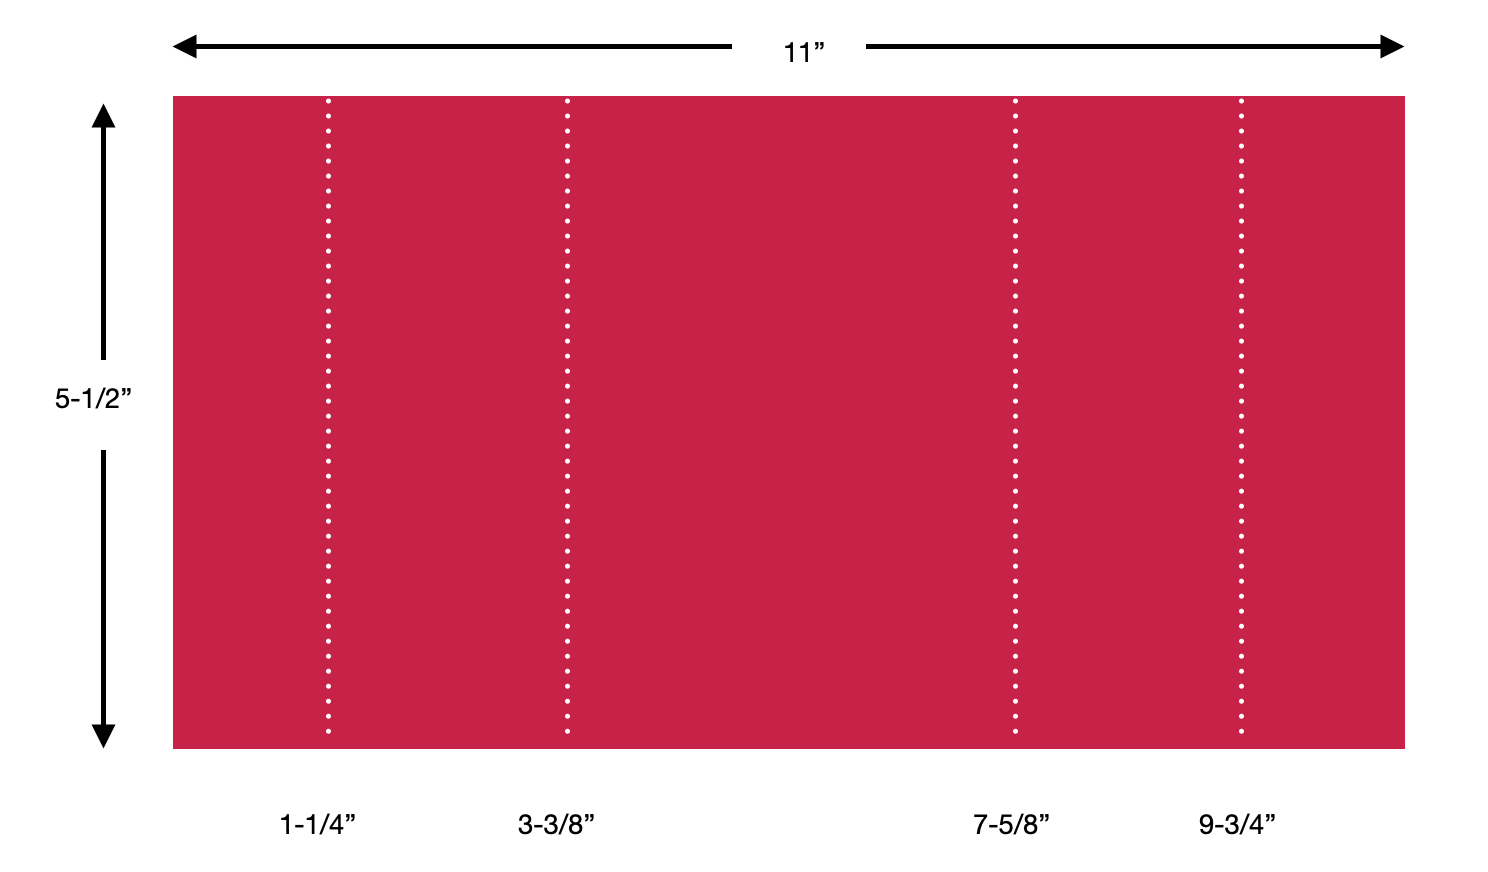
Make four cards at once? Yes, please! Today’s cards are brought to you by the Four Corners Technique. This was my first time using this technique and I will try it again!
Make sure you watch the video replay from today’s Make-it-Monday Facebook Live to learn how fun and easy cards are to make using the Four Corners Technique.
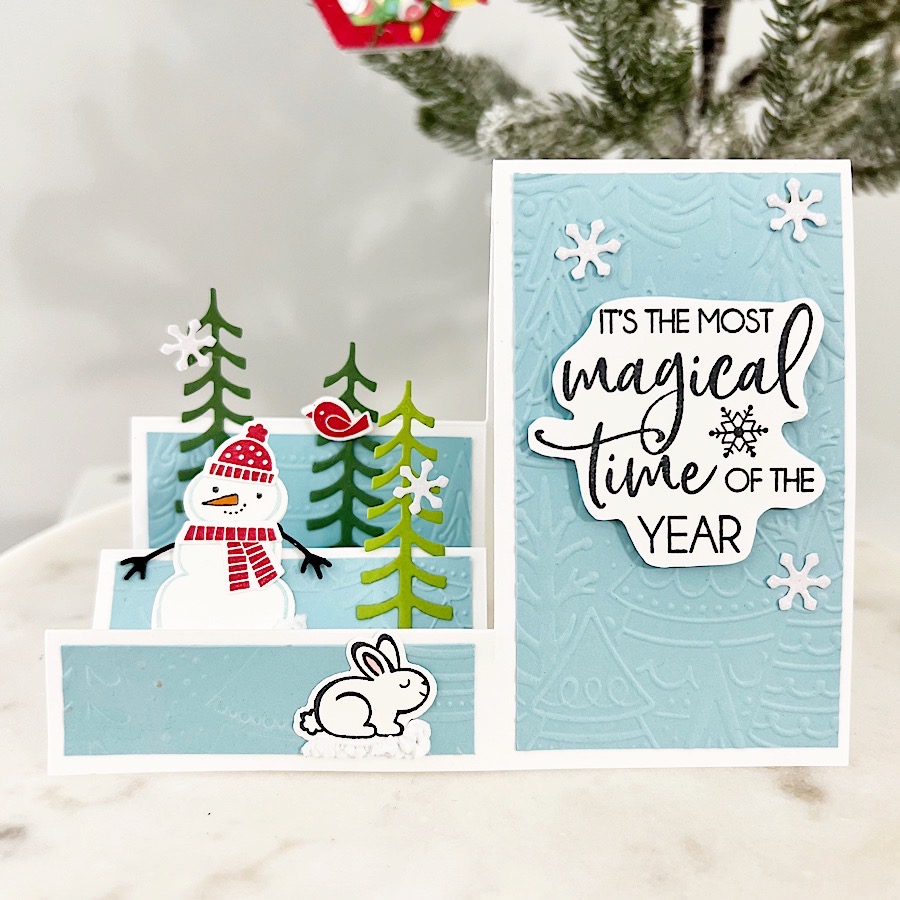
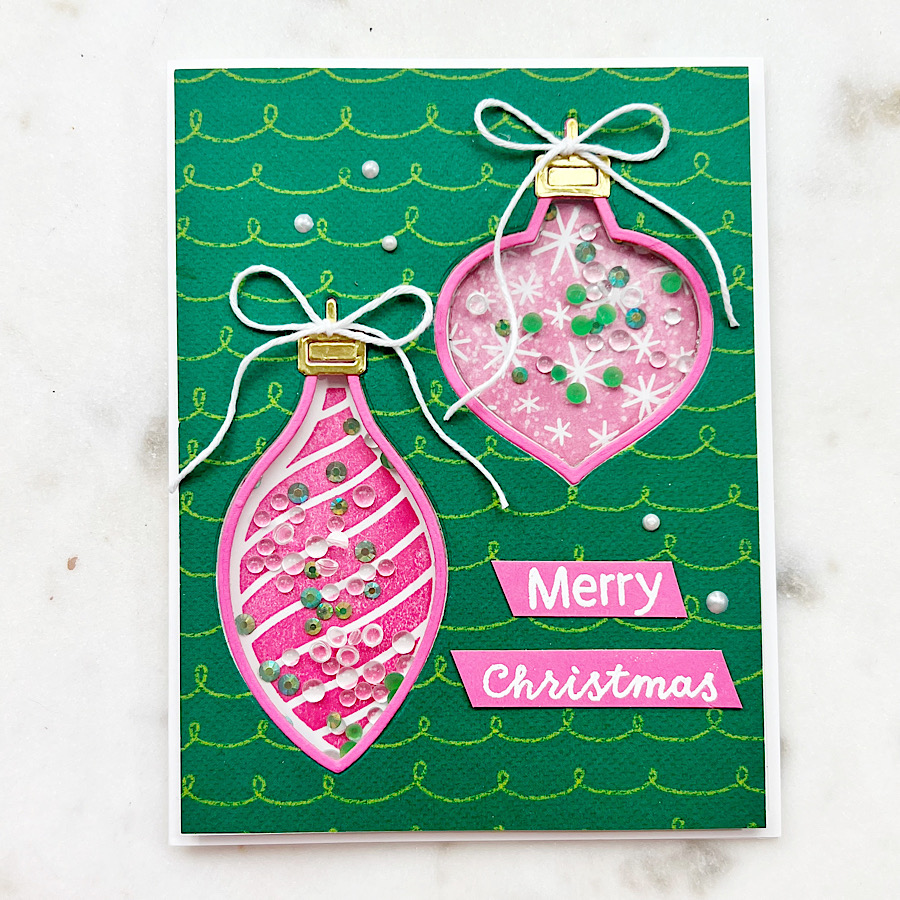
Several comments during the Facebook live were about the colors I used in the cards. My new favorite Christmas color combo is Real Red with Tahitian Tide.
") $45.00 |  $35.00 |  $35.00 |  $8.00 |  $8.00 |
 $8.00 |  $8.00 |  $6.00 |  $9.25 |  $10.25 |
 $9.25 |  $15.00 |  $25.00 |  $125.00 |  $8.00 |
 $4.25 |
")


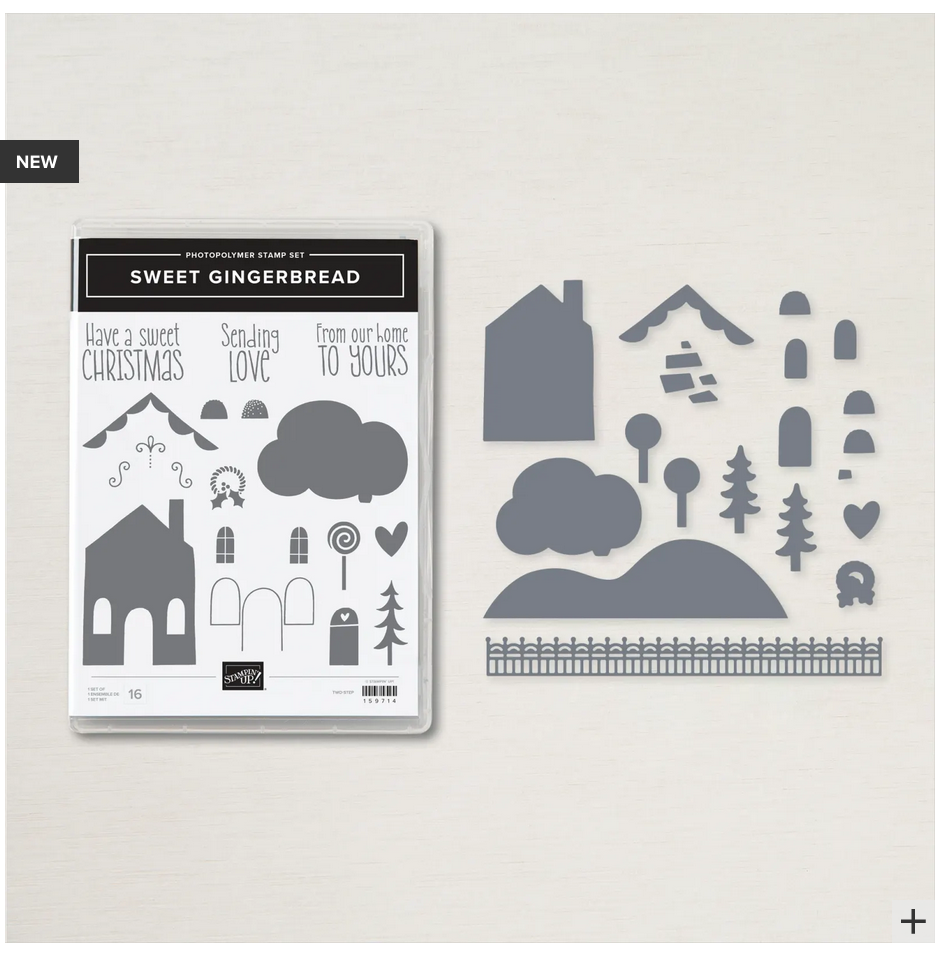
 Glimmer Paper")


")


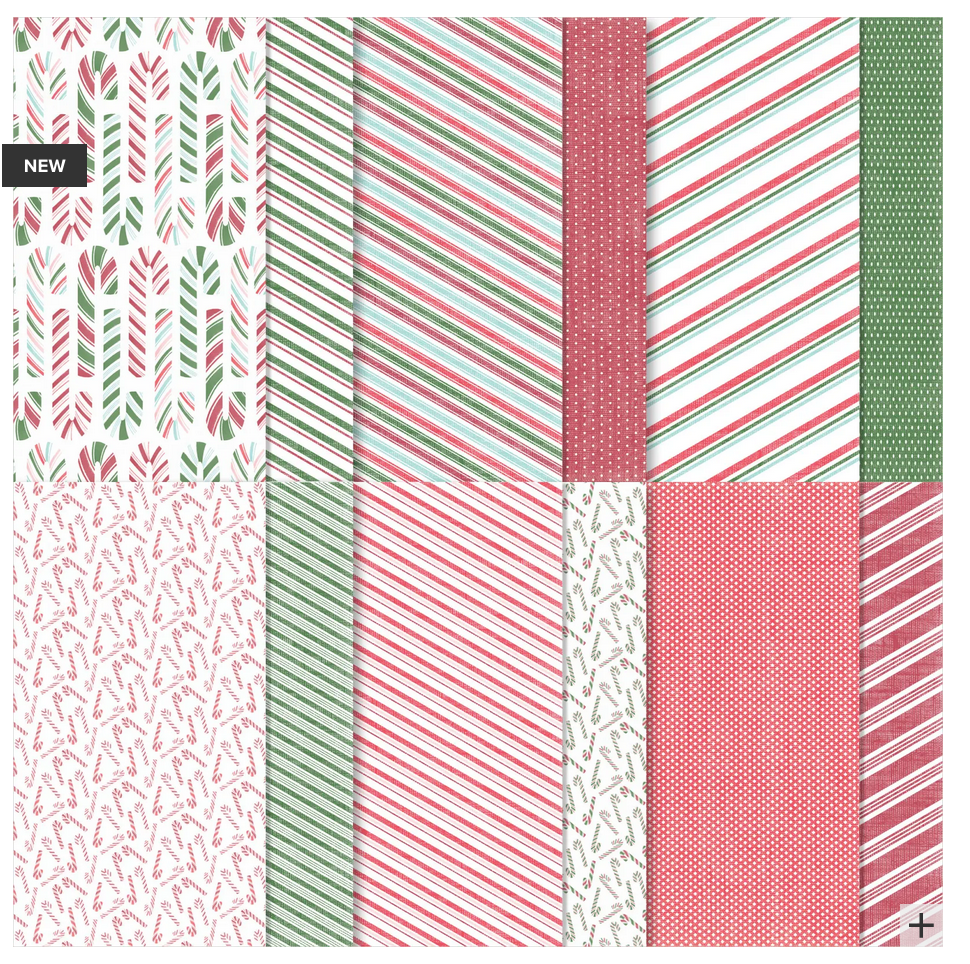
 Designer Series Paper")


 Designer Series Paper")


")

 Designer Series Paper")


")


")


")


")
")


")
")

 Ribbon Combo Pack")


")
")


 Designer Series Paper")


")
")
")

 Designer Series Paper")


 Sheer Ribbon")
")


 Chevron Weave Ribbon")