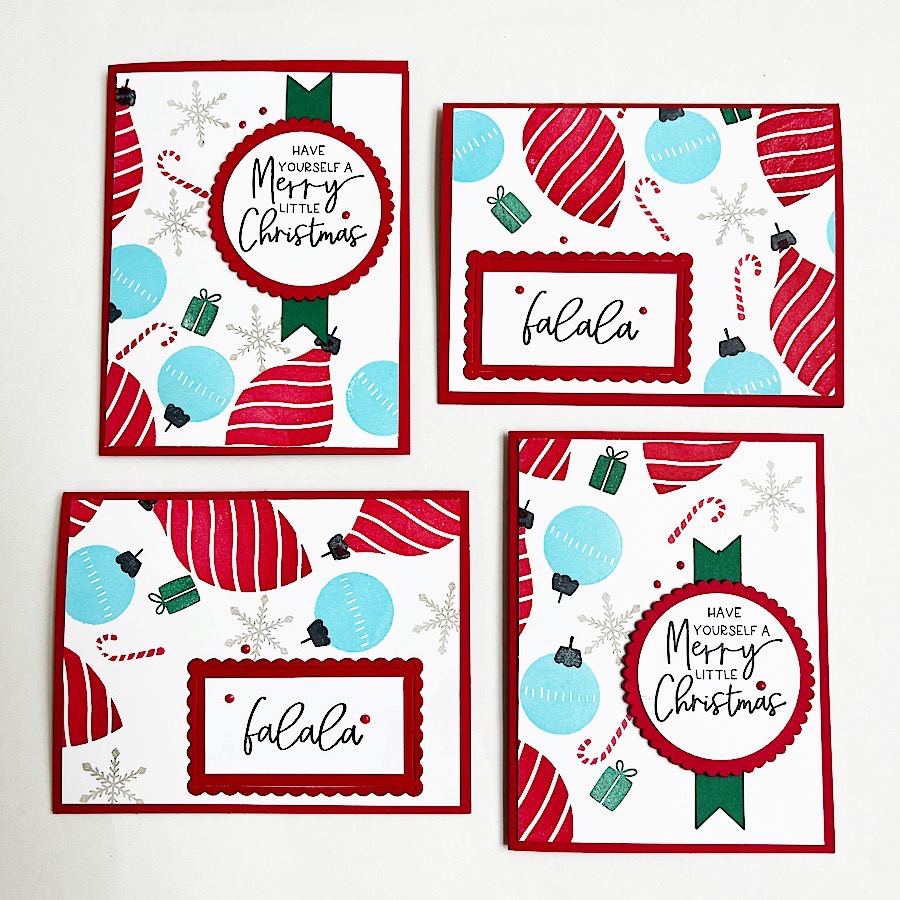
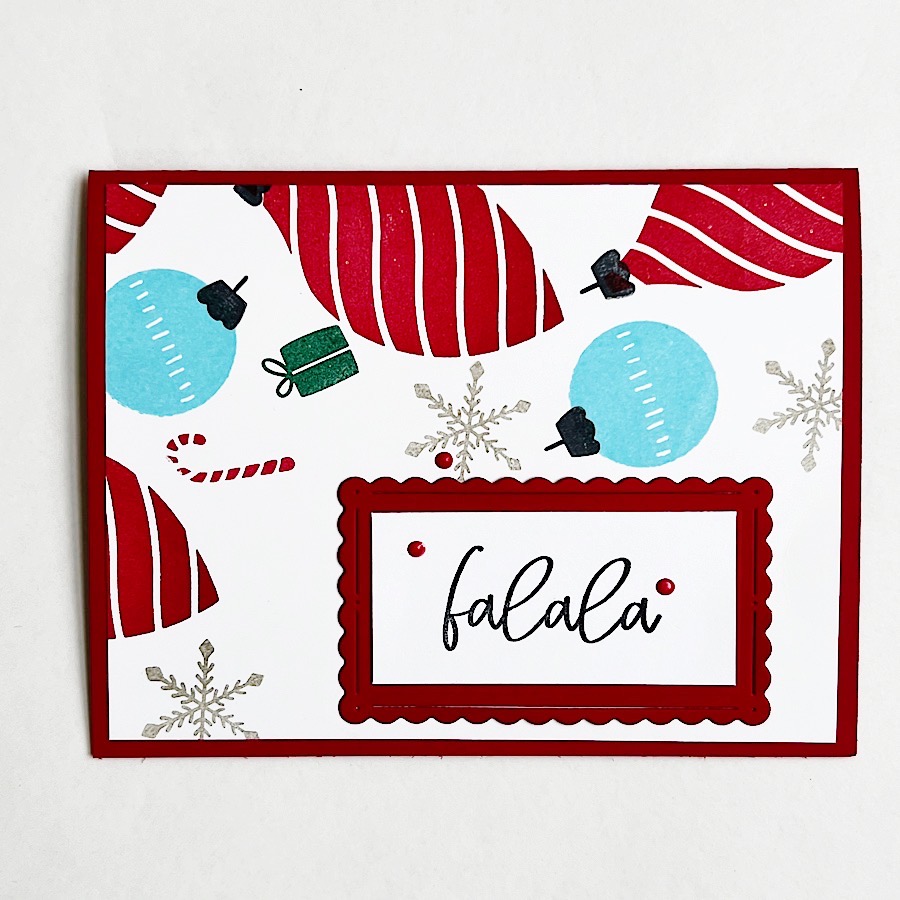
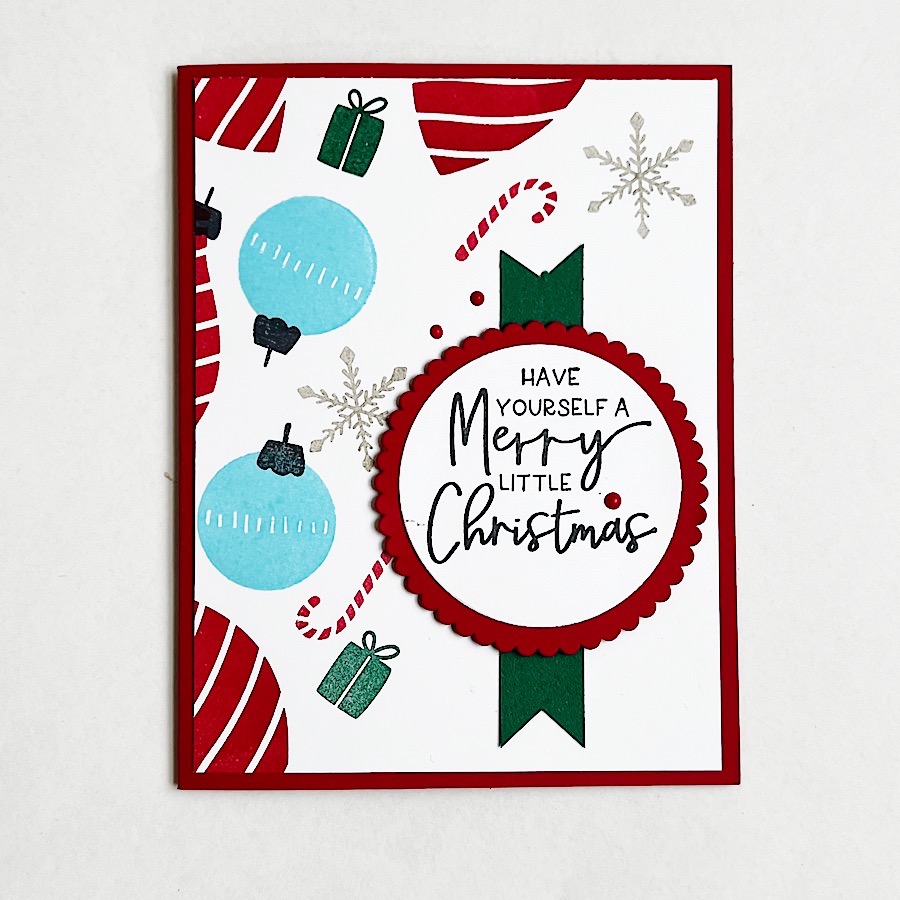
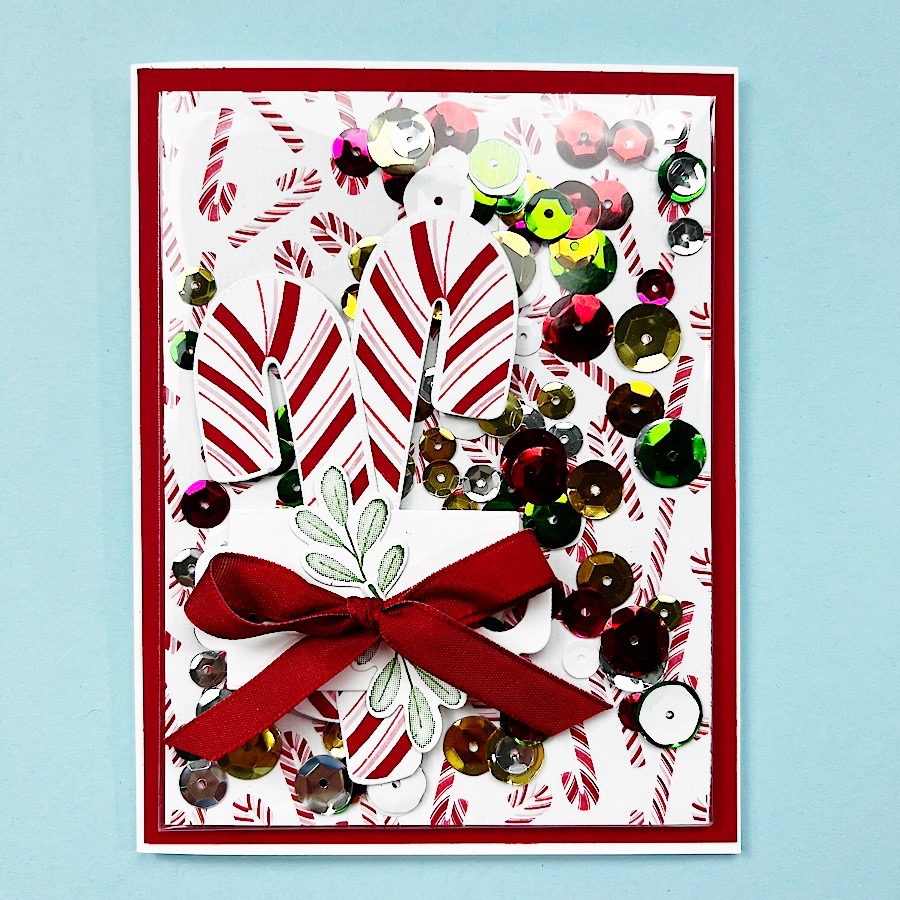
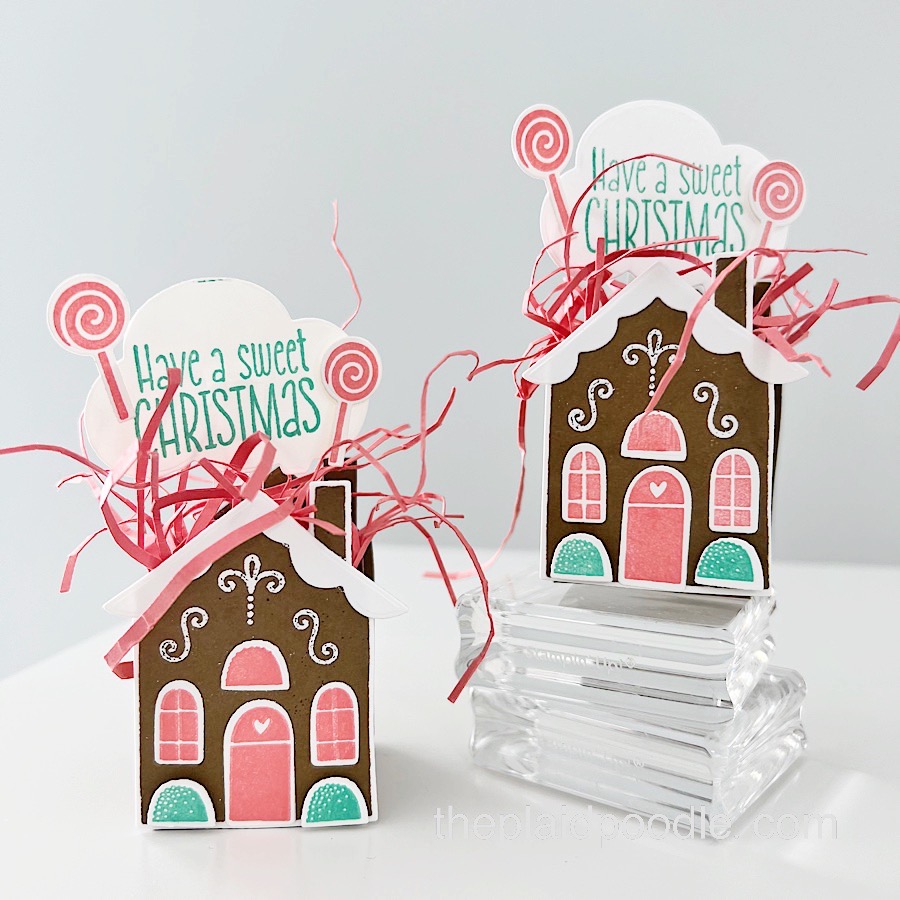
12 Weeks of Christmas Framed & Festive Scrapbook Page

Twelve Weeks of Christmas Week #11
It’s week eleven of my new Twelve Weeks of Christmas series! Each week throughout the season I will be posting a new project with full-color instructions for you to download and print for your paper crafting library!
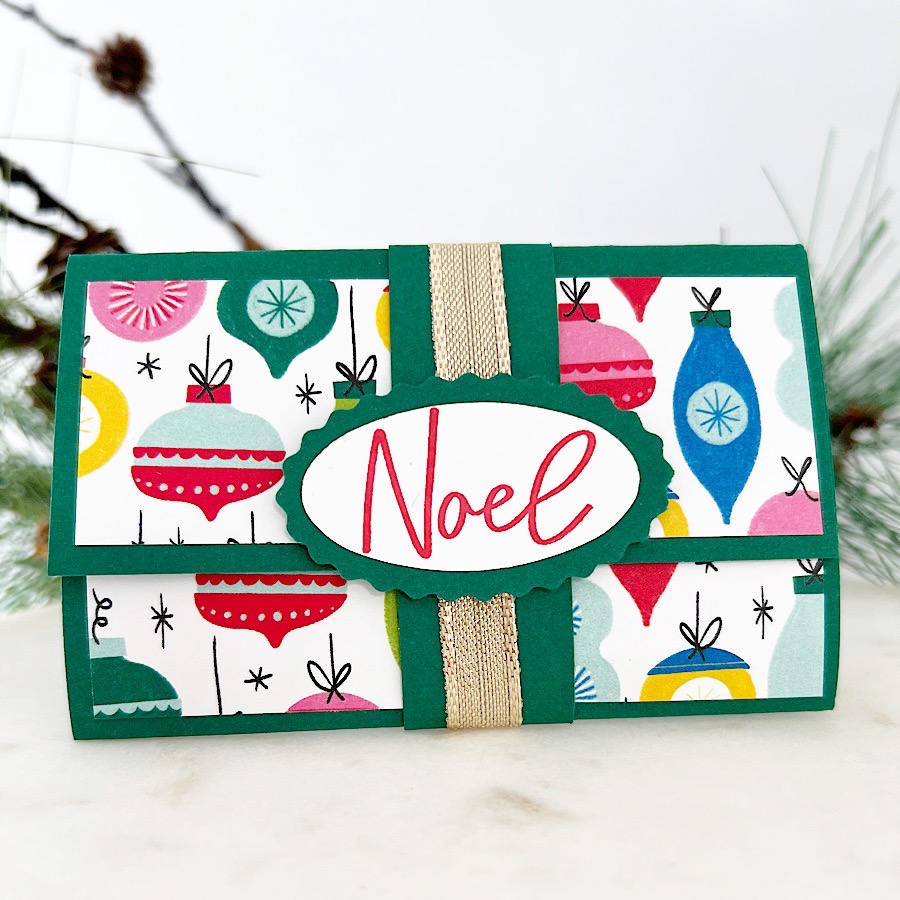
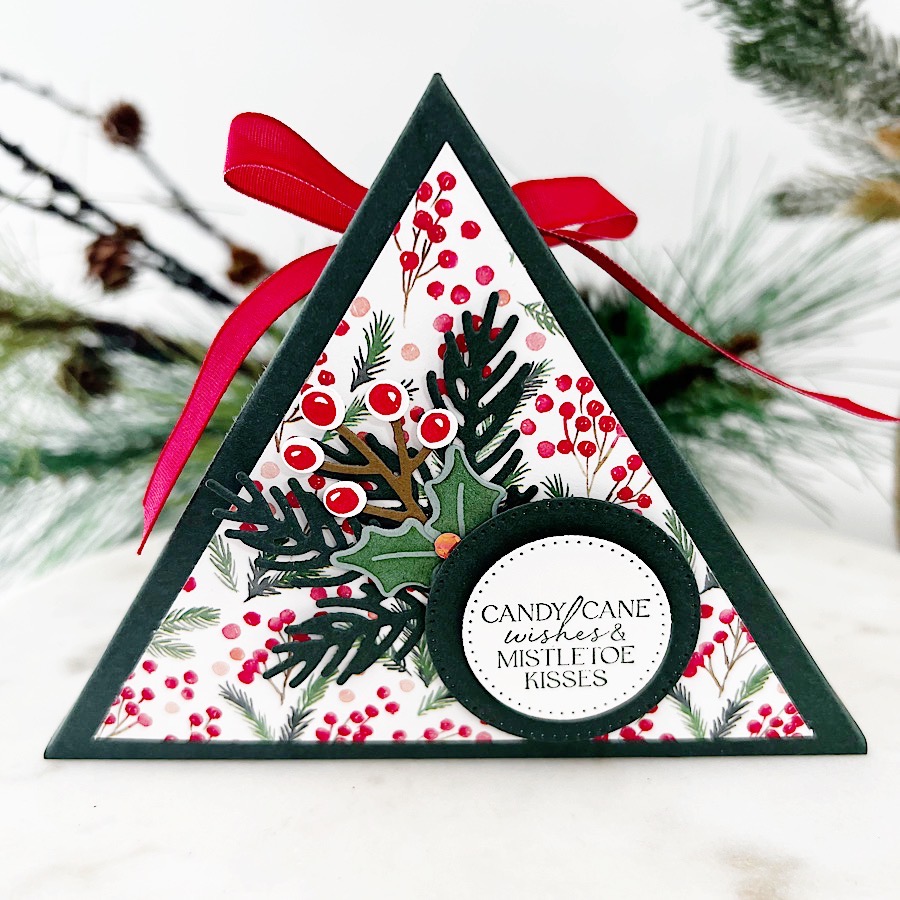
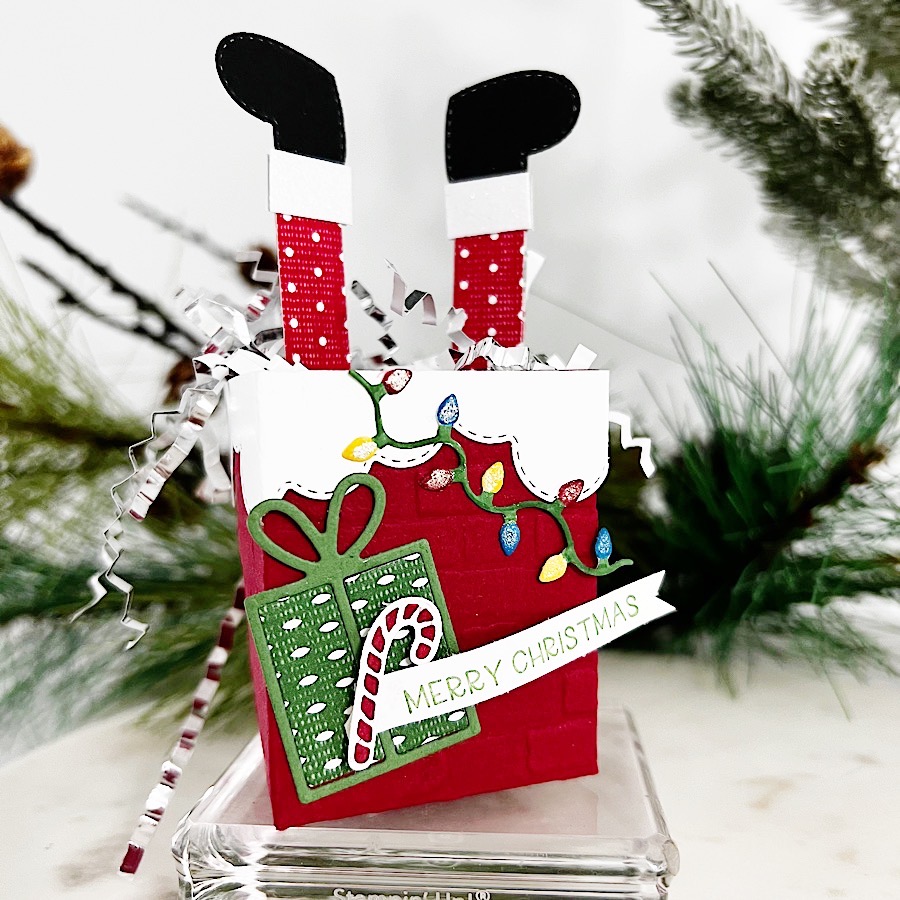
Today’s project is this Framed & Festive Scrapbook Page:
Click on the button below to view the full-color, step-by-step instructions. Feel free to download and print for your personal use.
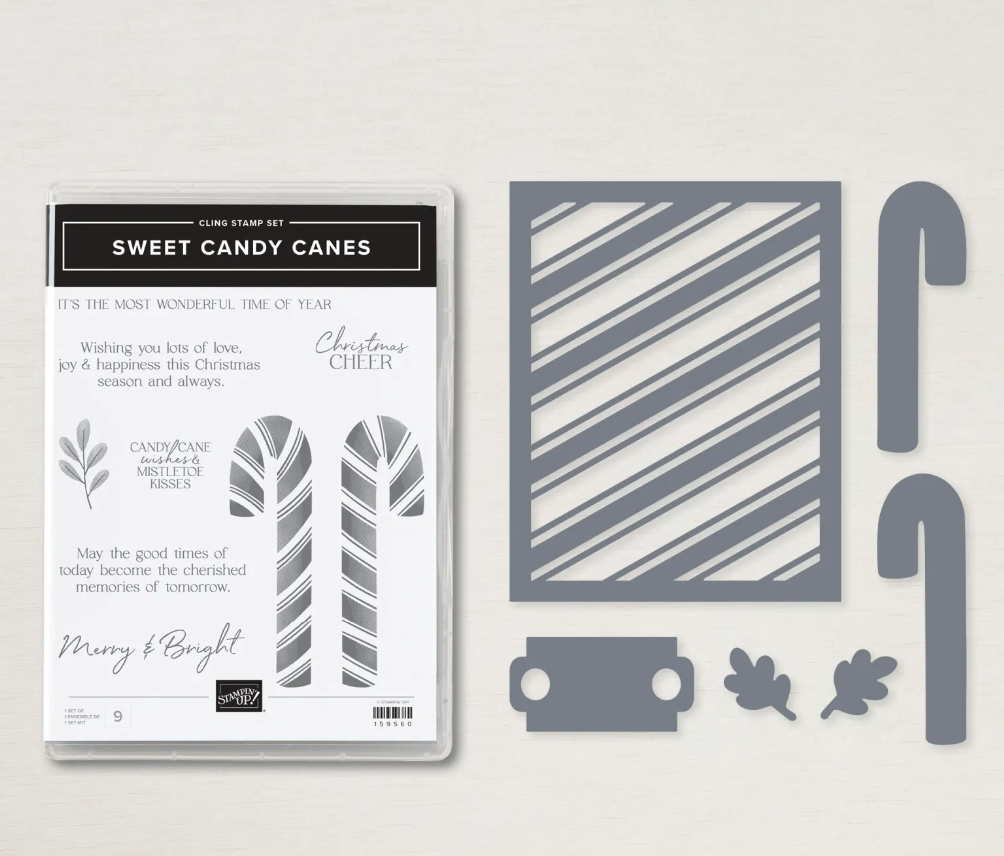
Product List ") |  |  |  |
 Cardstock") |  |  Designer Series Paper") |  |

")

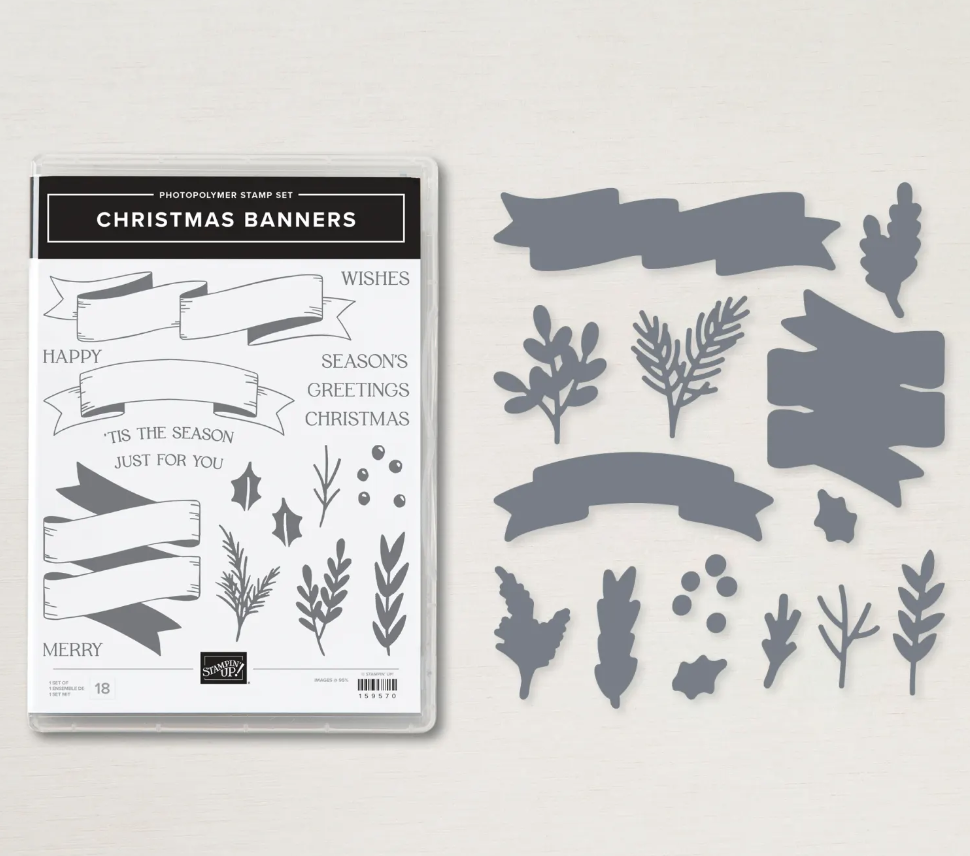
 Designer Series Paper")

 Ribbon Combo Pack")


")


 Designer Series Paper")


 Shimmer Ribbon")


")


 Glimmer Paper")

")


")
")


")


")